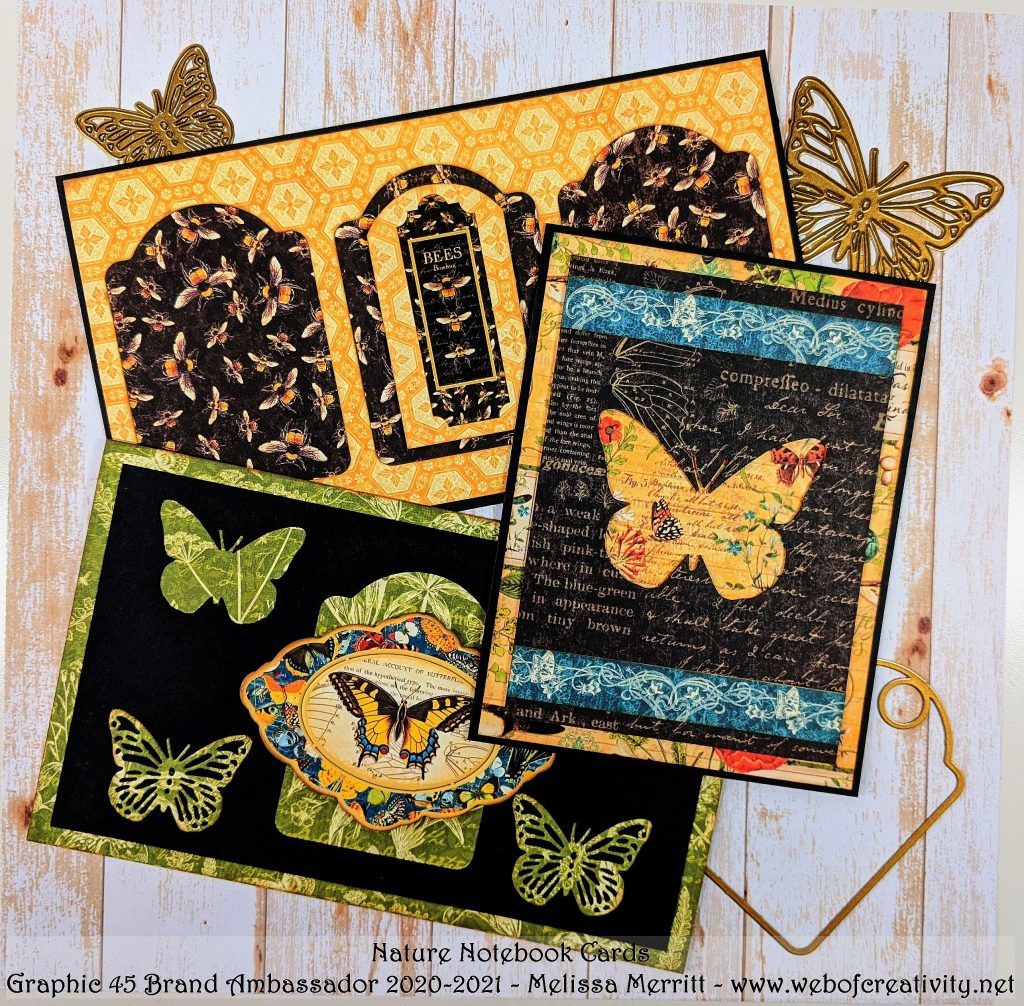
Hello Papercrafters! Today’s project is cards using negative space from dies. The card tutorials today feature Graphic 45’s Nature Notebook, ATC Tag die, and 2 Butterfly dies. These cards are fun to make and I hope you give it try with your own dies. In this post are tutorials for three cards and a video tutorial at the end of the post. #G45BrandAmbassador
Nature Notebook Cards
Using Negative Space from Dies
Materials:
- Graphic 45’s Nature Notebook Collection, Stickers and Chipboard
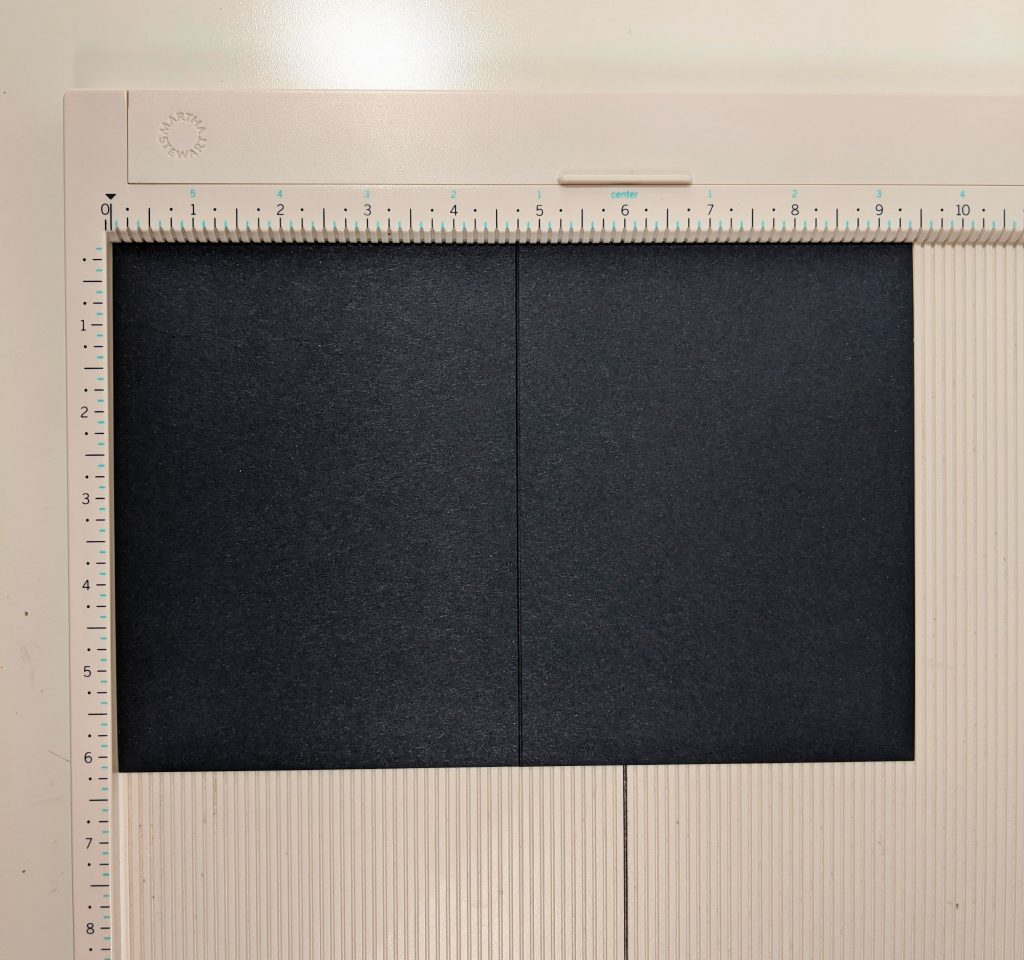
- (3) 8½ x 11” Black Cardstock
- Graphic 45’s ATC Tag Die and 2 Butterfly Dies
- Ink: Distress Oxide Gathering Twigs
- Optional: Foam Squares
ATC TAG CARD
(CARD 1)

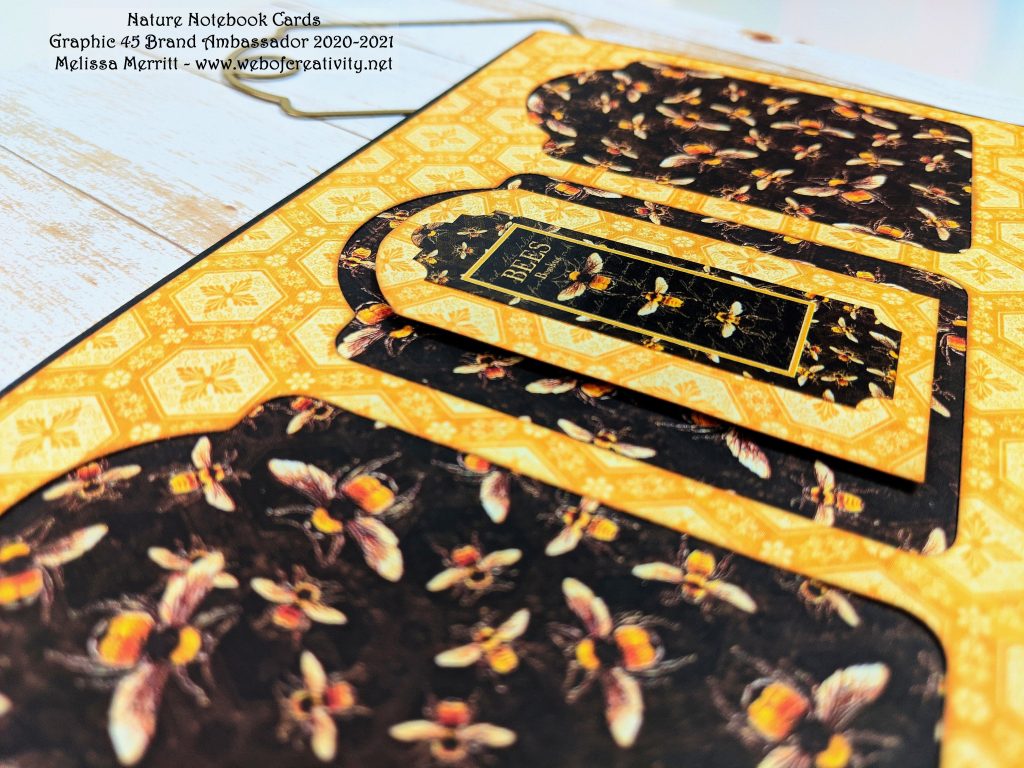
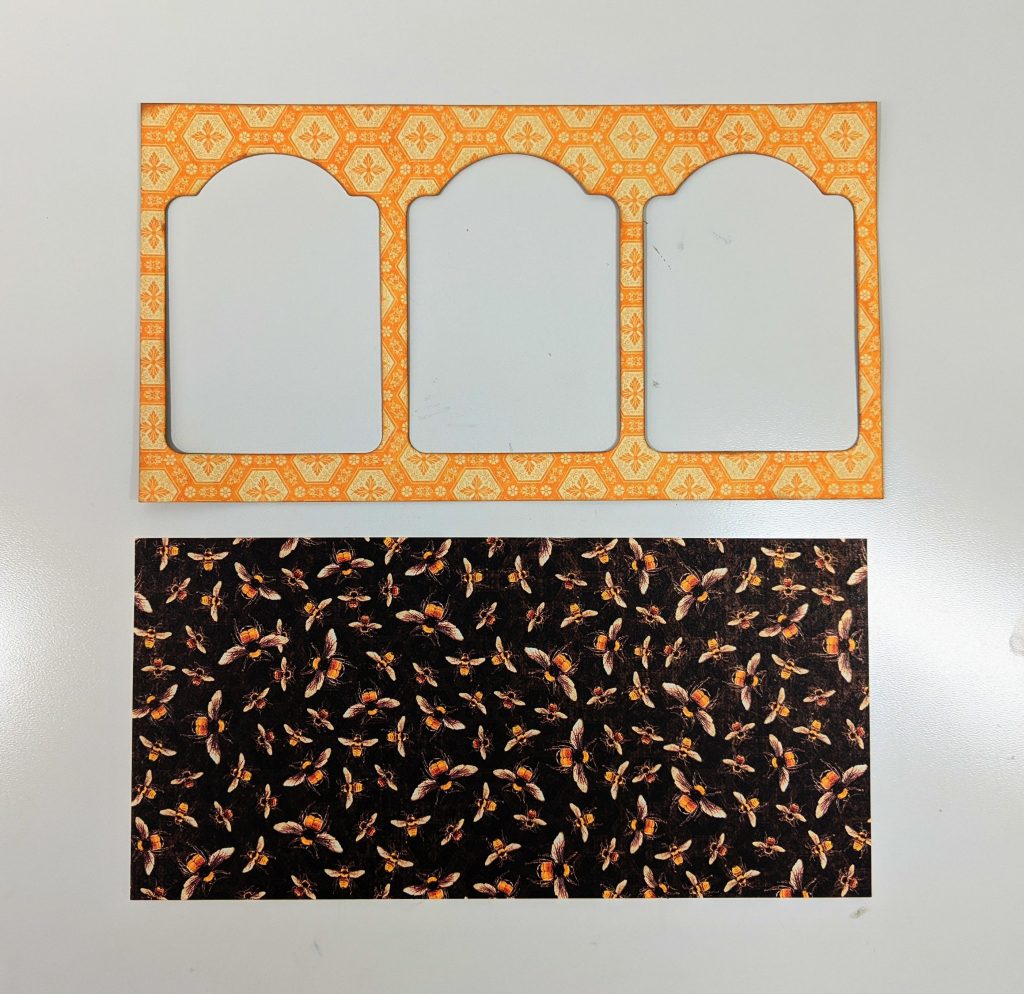
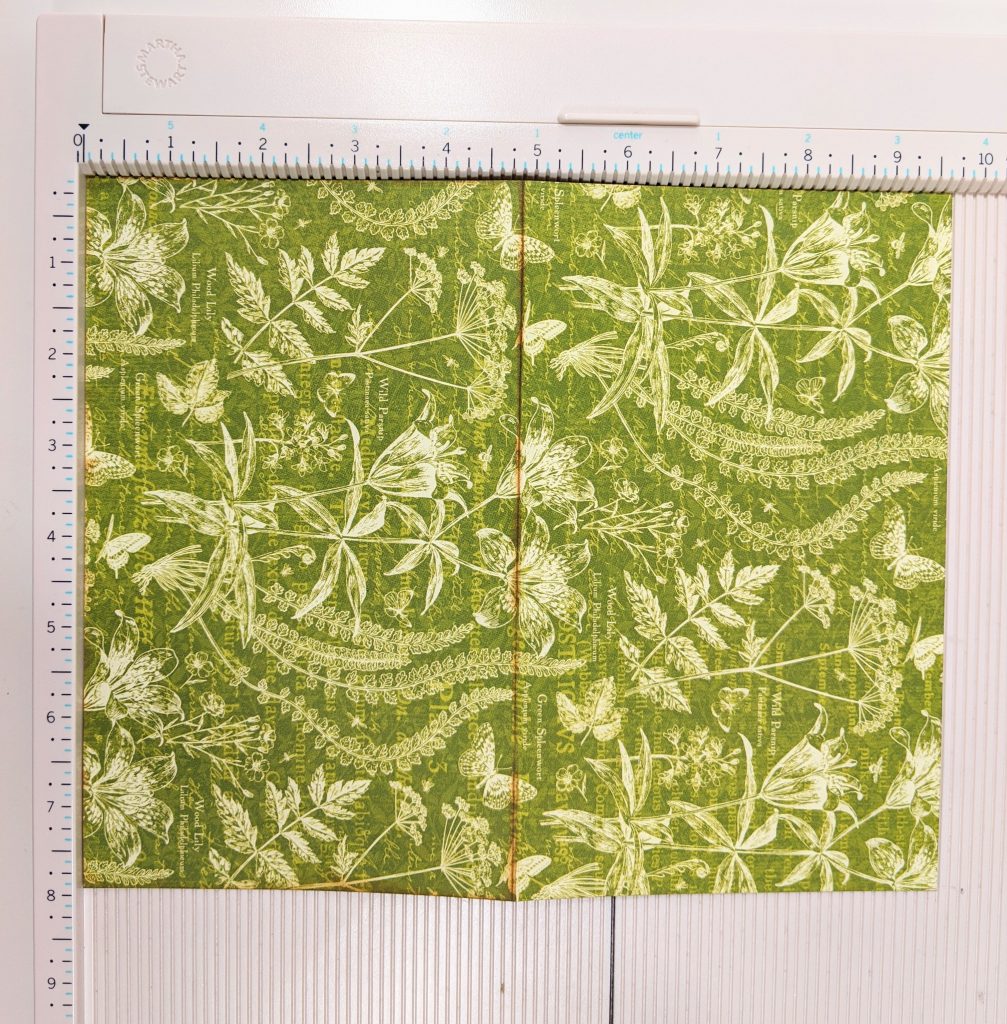
Cut the frame sheet (yellow sheet) 8⅜ x 4¼”. Place the die ½” from the bottom and ¼” from the edge and in between each tags. Cut the background sheet (bees sheet) 8¼ x 4”.
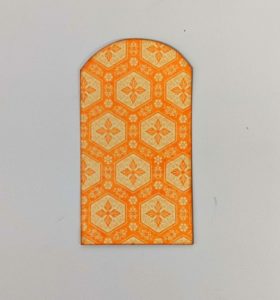
The center piece, also the background for the sticker, is 1⅝ x 3”. To get the curve, I traced the inside of the ATC tag die at the top and cut out.
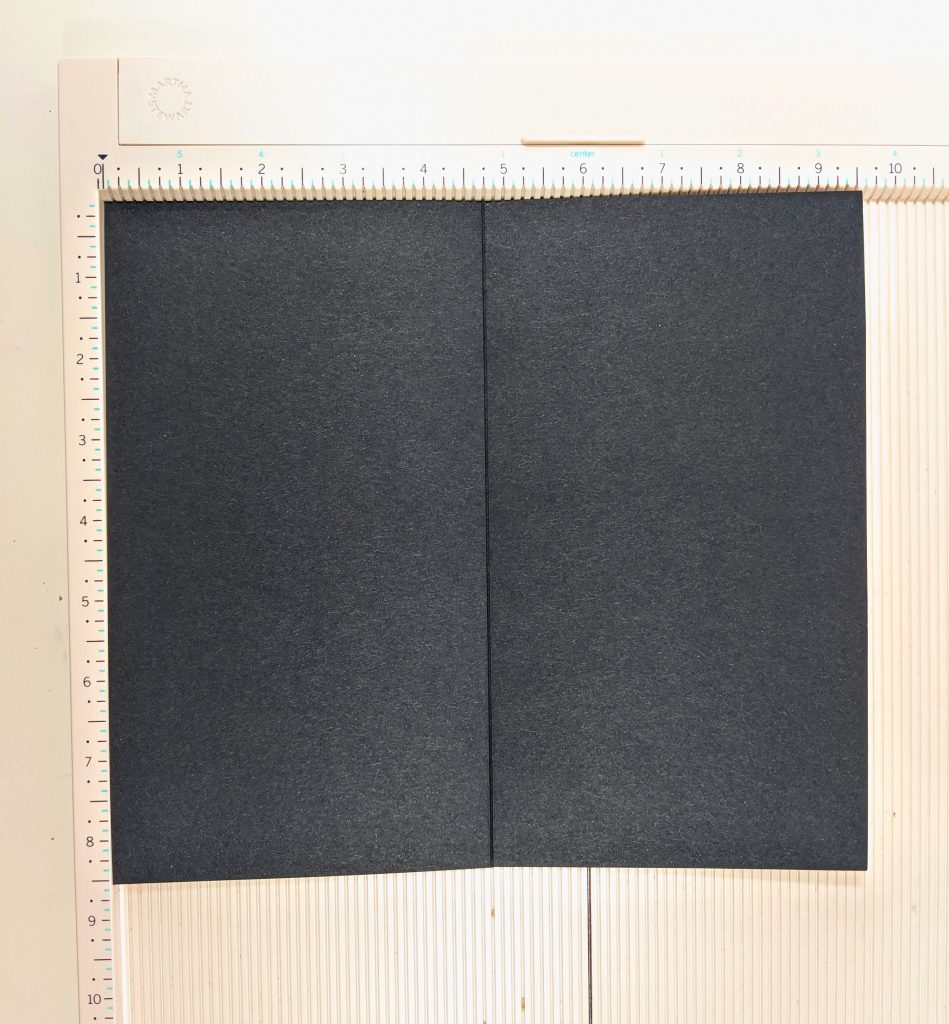
Card base: 8½ x 9½”. Score 4¾” on the 9½” side.
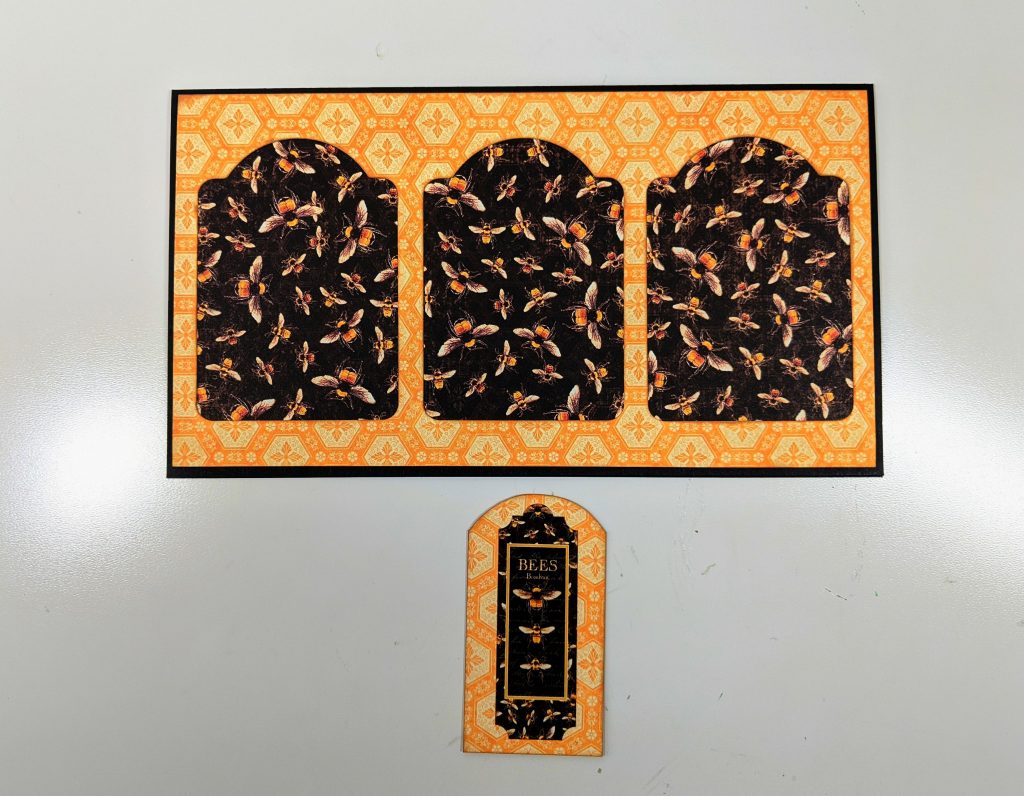
Optional: Ink edges. Distress Oxide Gathering Twigs. Attach background of frames first, then the frame. I attached the center piece with the sticker using foam squares.
ATC TAG/BUTTERFLY CARD
(CARD 2)
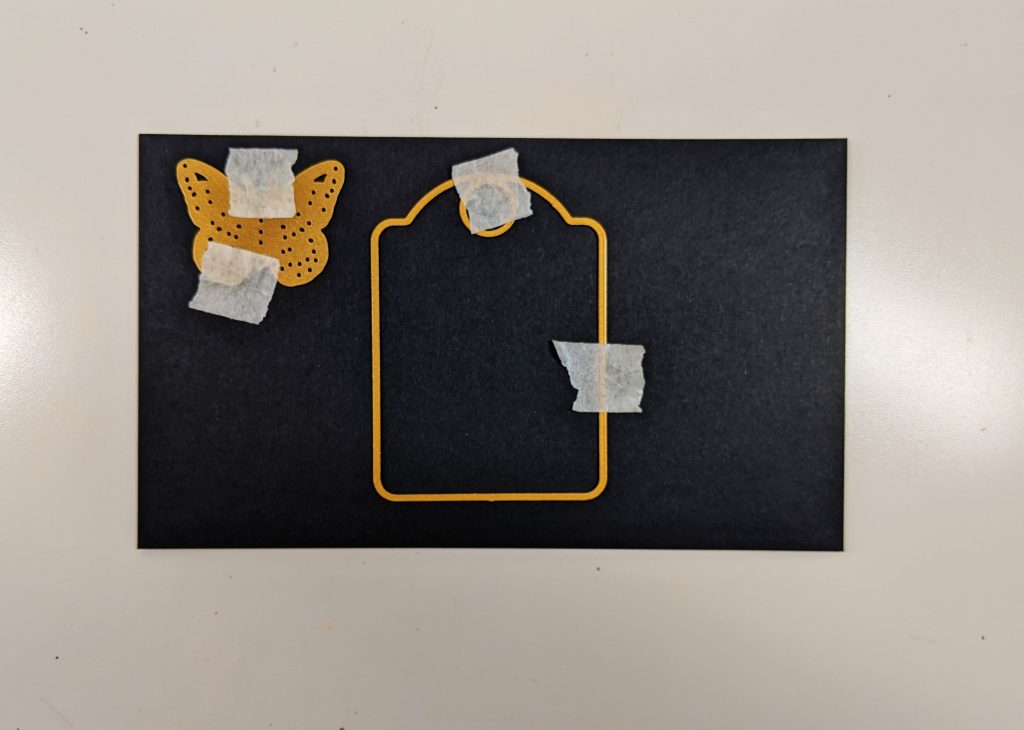
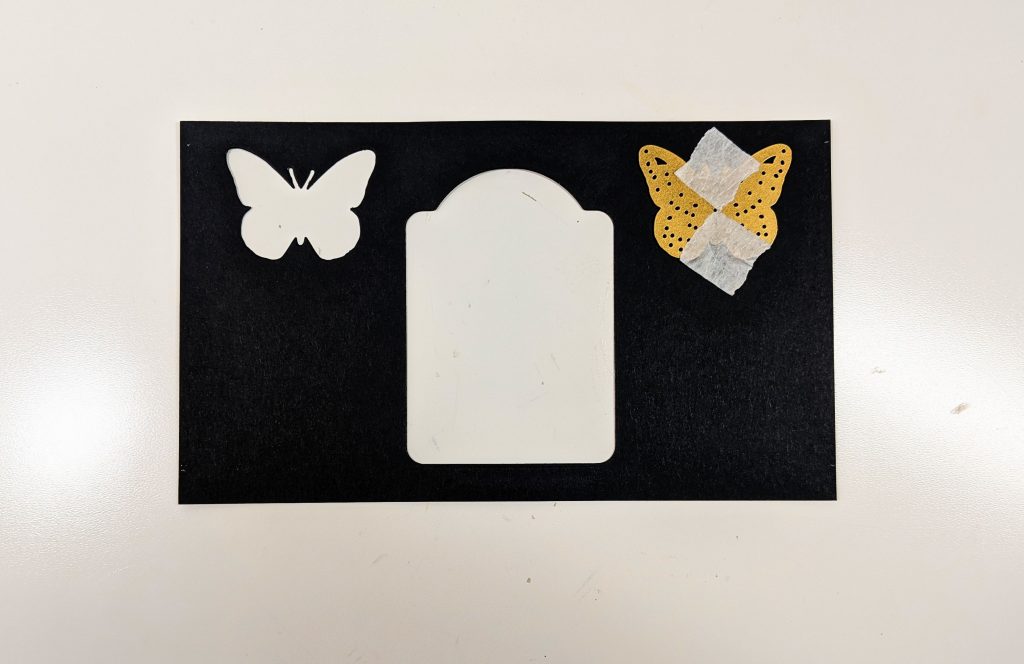
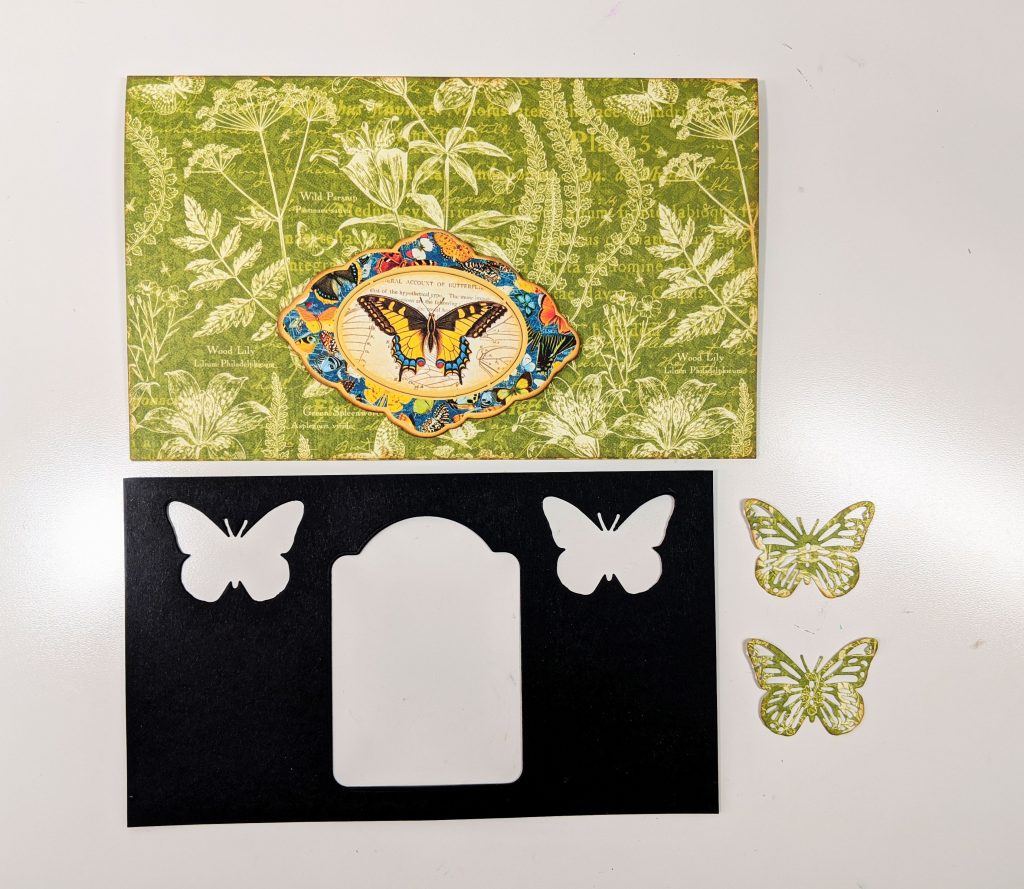
Black cardstock: 7½ x 4⅜”. Place the ATC tag die ⅜” from the bottom, centered. The small butterfly die is ¼” from the top and ½” from the edge.
Card Base: 8 x 9¾”. Score: 4⅞” on the 9¾” side.
Optional: Ink edges. Distress Oxide Gathered Twigs.
Attach the black cardstock on the card base with ¼” border. Cut out two butterflies from the same paper as the card base and attach on the black cardstock ¼” from the bottom and ½” from the side. Then attach the butterfly chipboard piece to the center of the ATC tag.
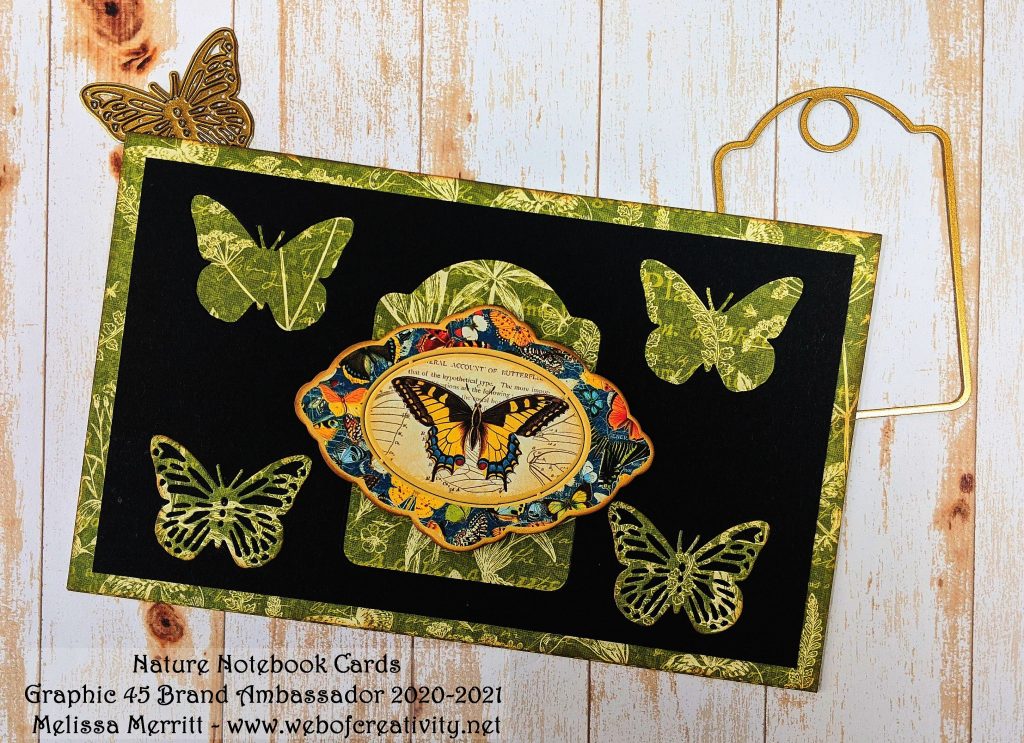
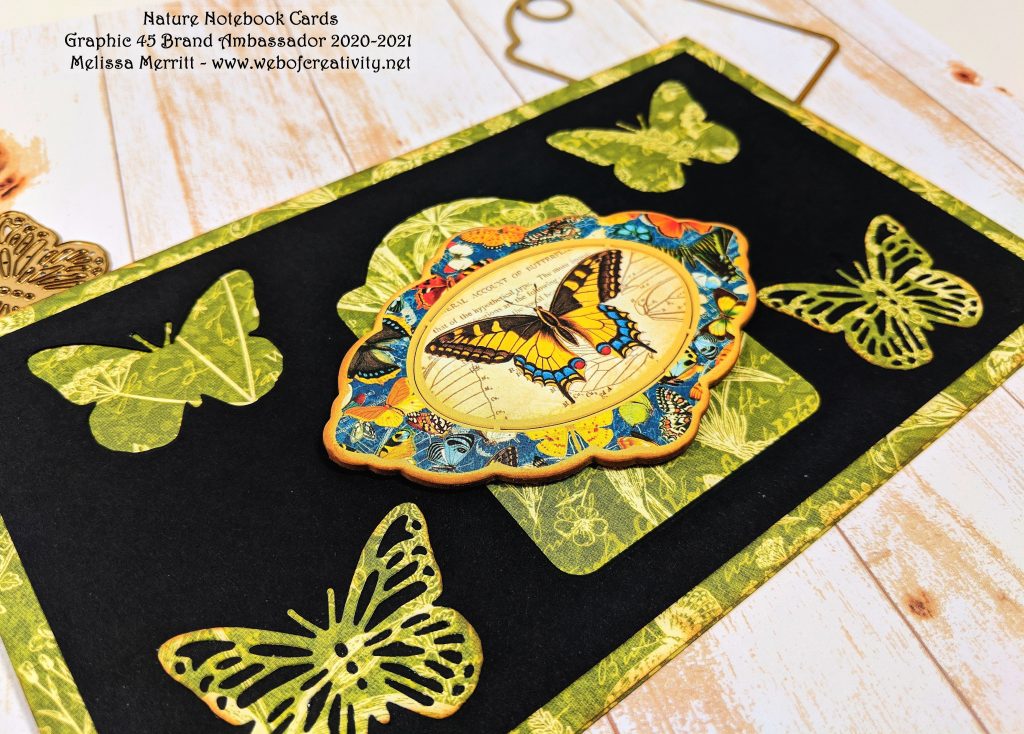
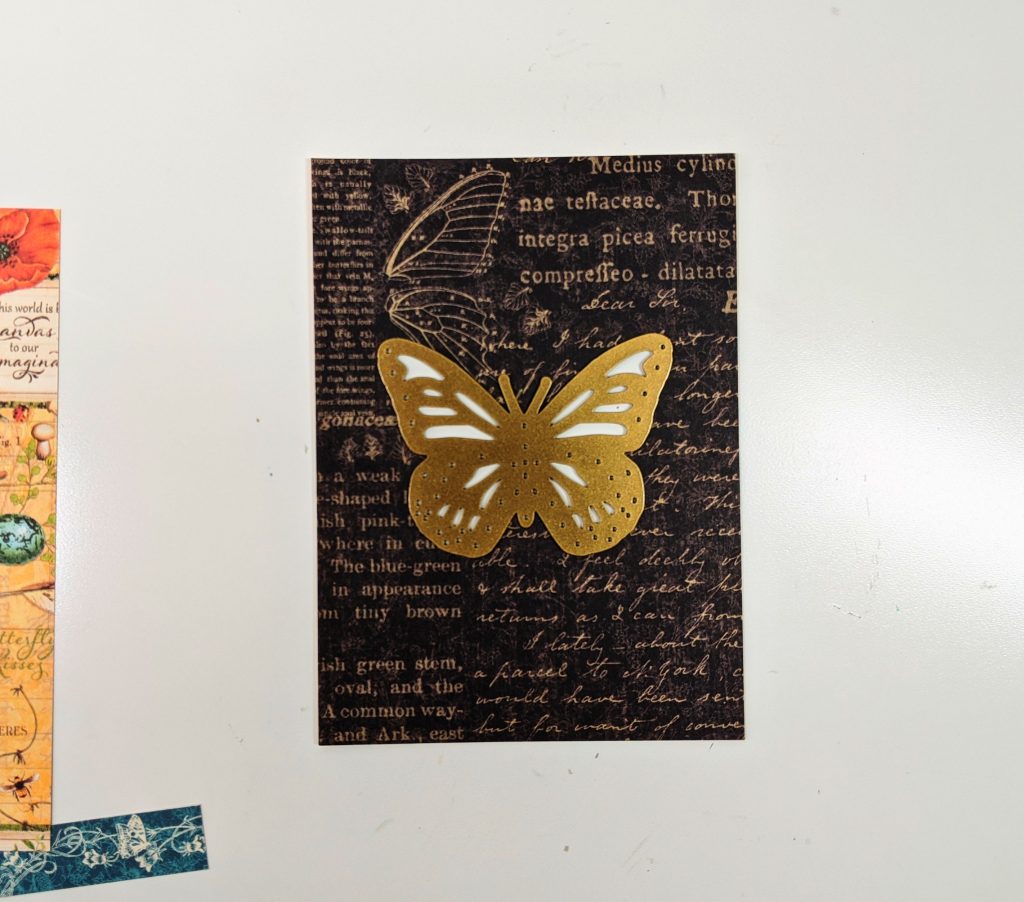
BUTTERFLY CARD
(CARD 3)
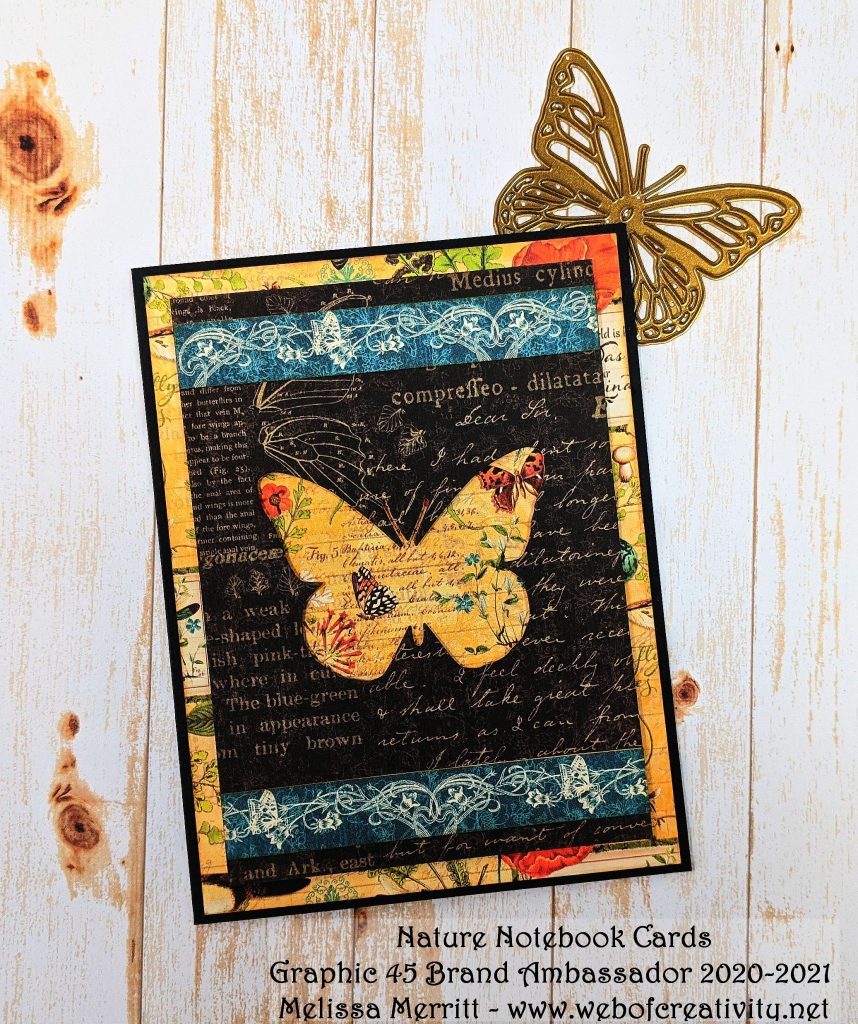
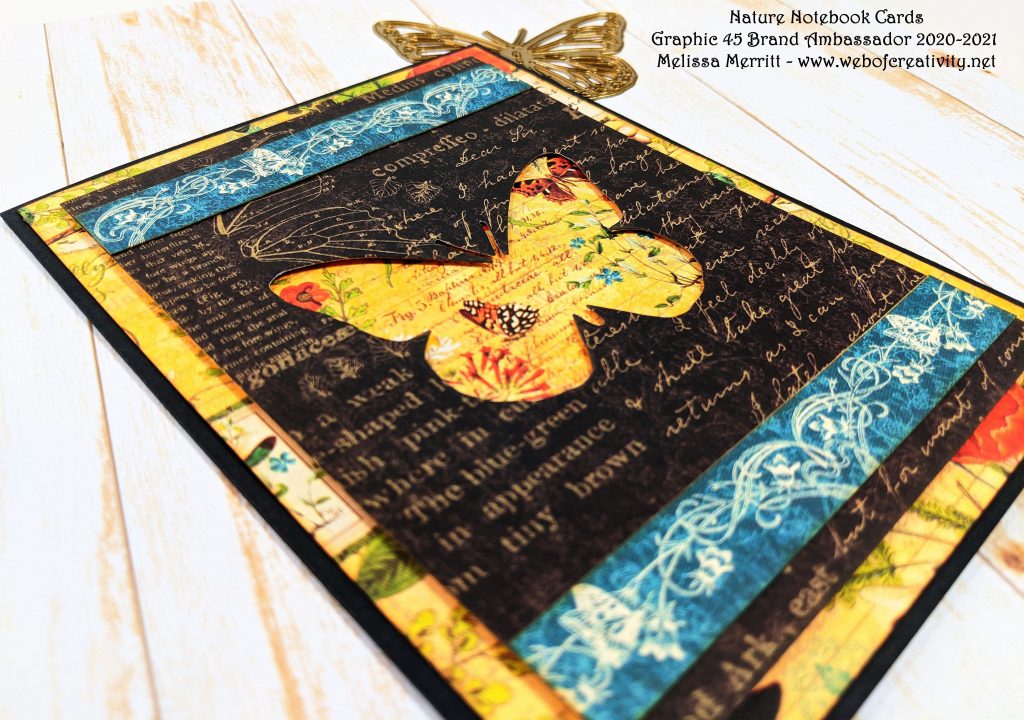
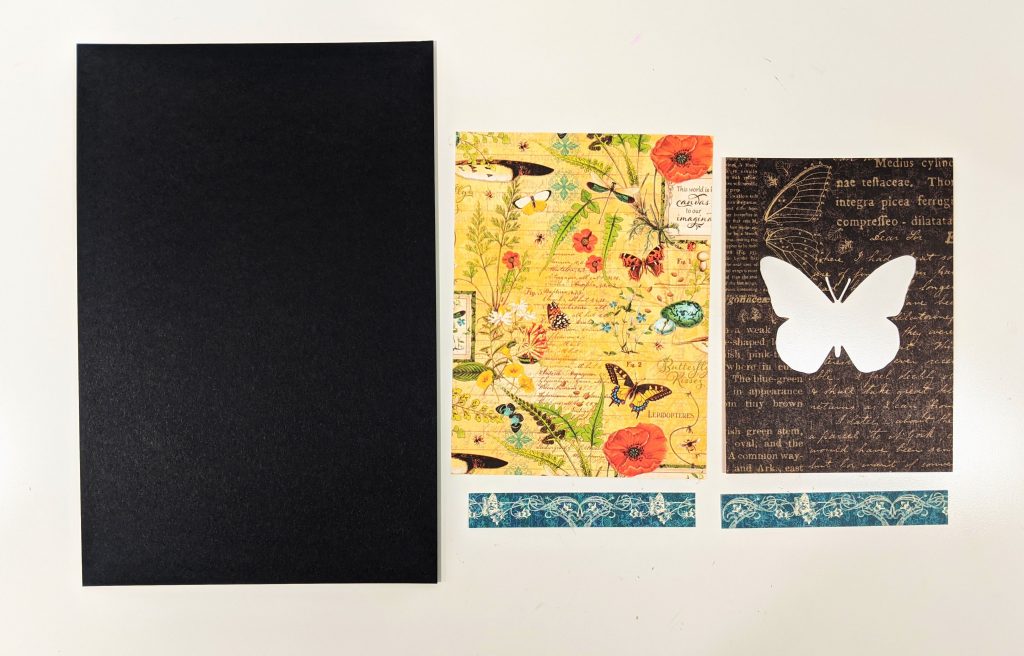
Card base: 9½ x 6¼”. 1st Mat: 4½ x 6”. 2nd Mat: 4 x 5½”. Cut the large Graphic 45 Butterfly from the 4 x 5½” mat, centered. 2 Strips: 4 x ⅝”. Optional: Ink edges. Distress Oxide Gathered Twigs.
Card Base: 9½ x 6¼”. Score 4 3/4″ on the 9 1/2″ side.
Attach the 1st Mat, then the 2nd Mat I used foam squares, and then attach the strips 1/4″ from the top and bottom.
I hope you enjoyed this tutorial. Please try your hand at making cards using negative space. Also, check out the tutorial video below.
TUTORIAL VIDEO