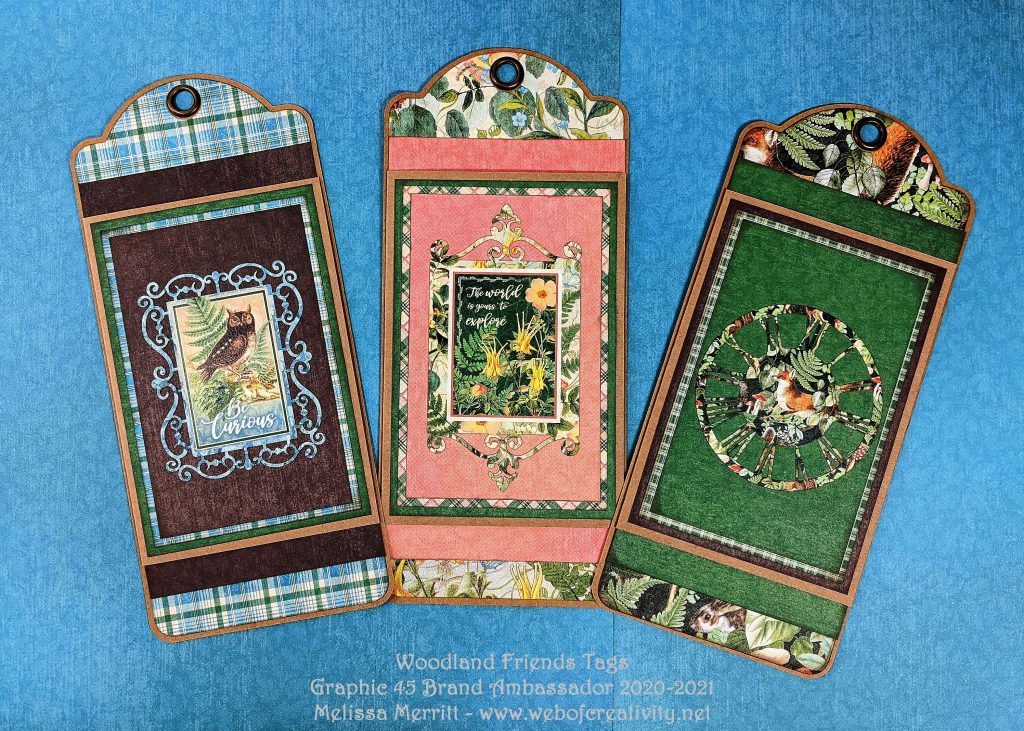
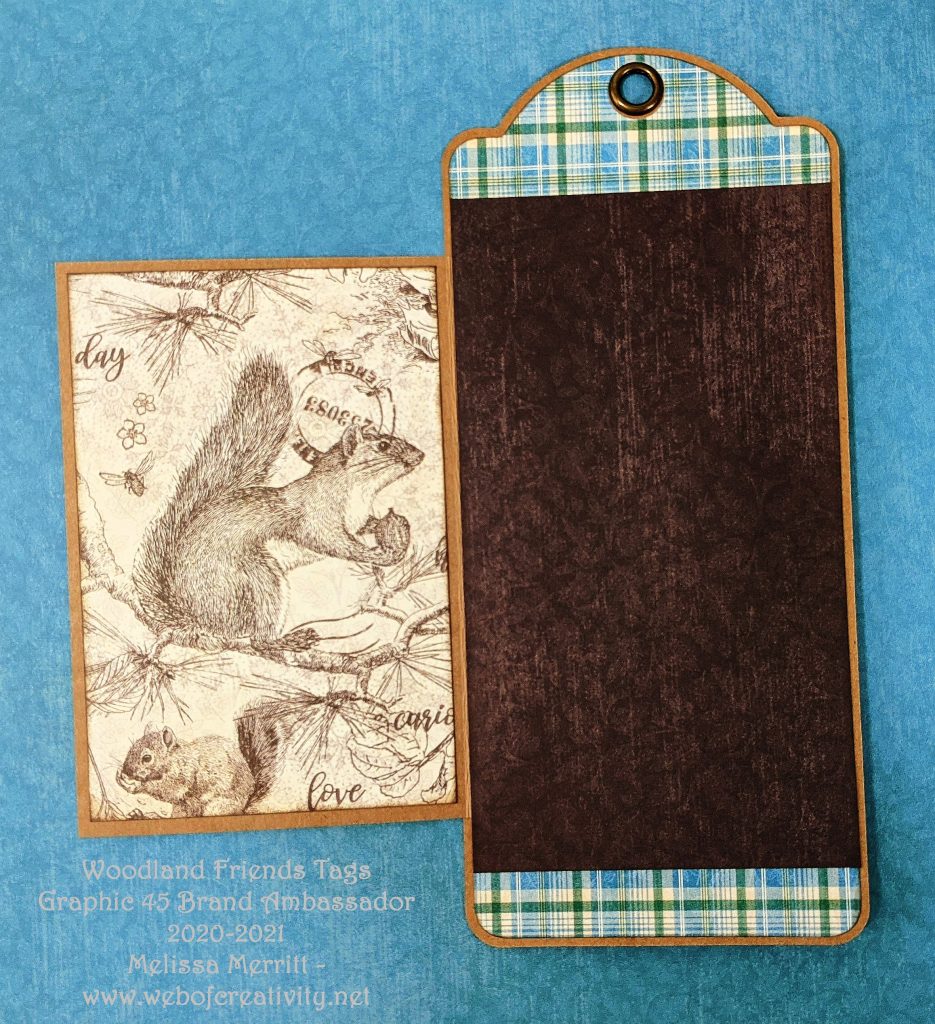
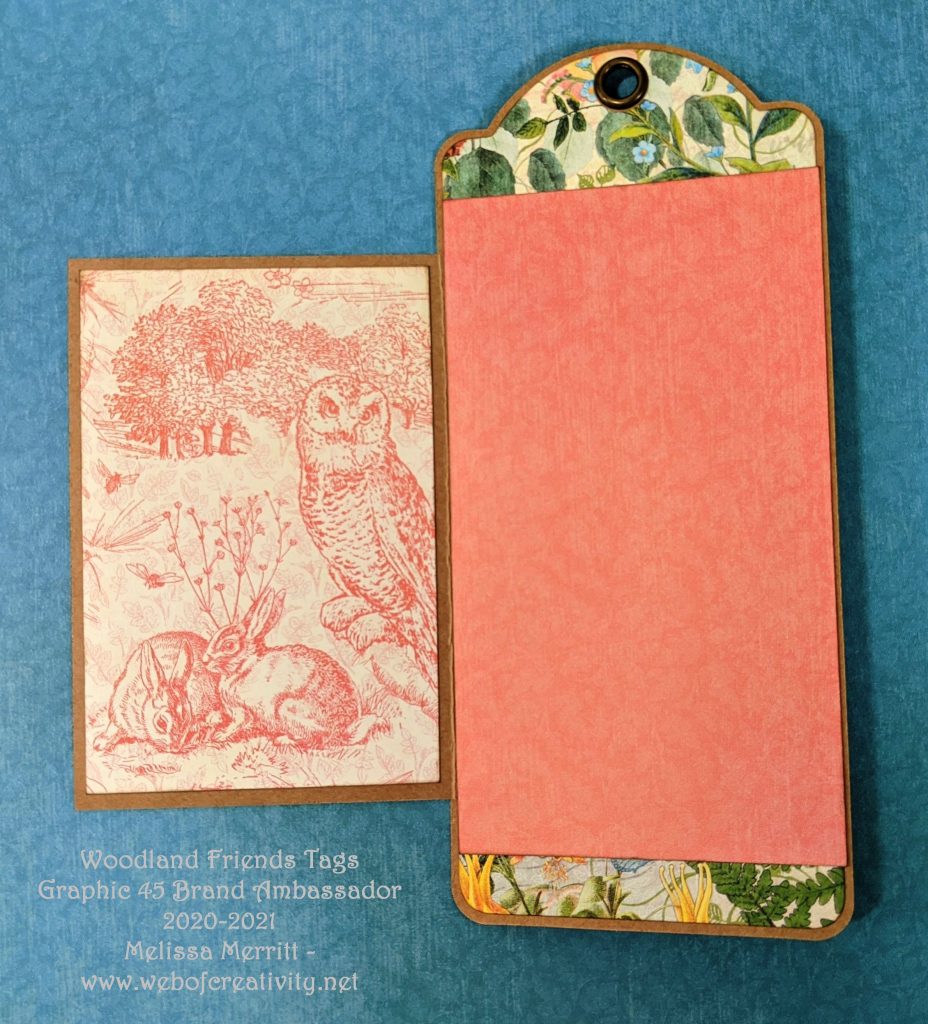
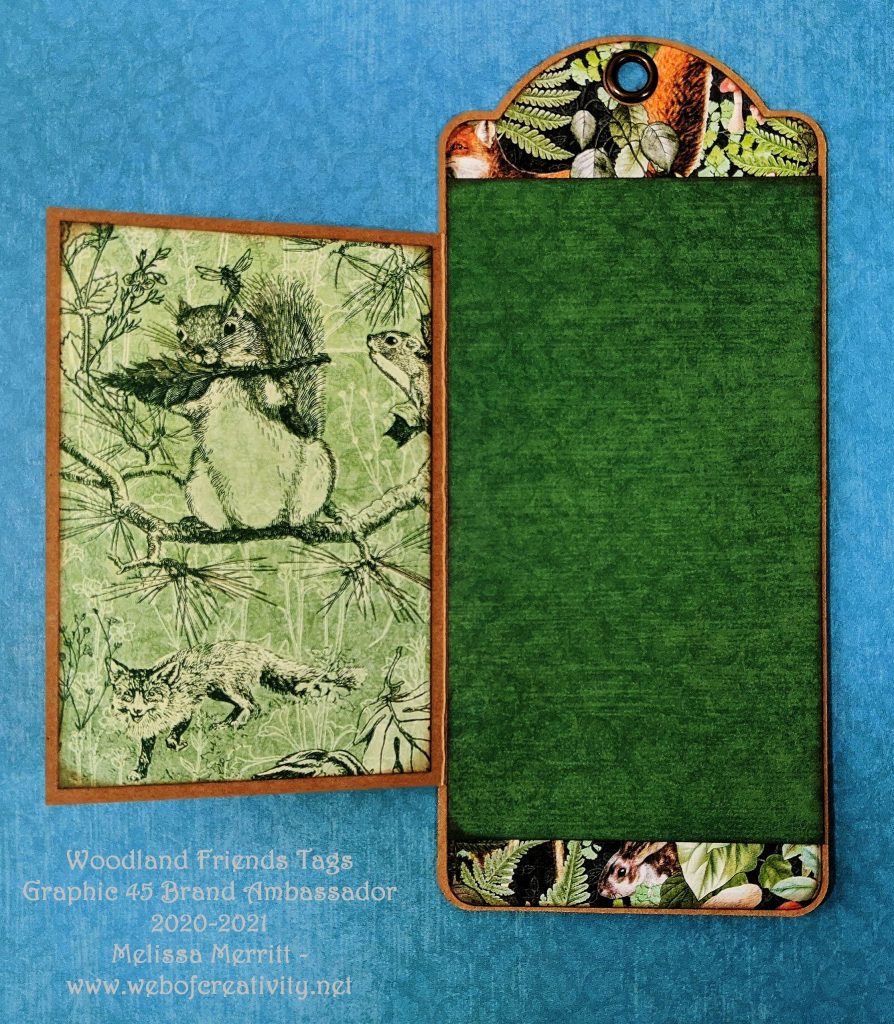
Who loves decorating tags? I know I do. I am happy to share my project using 3 Large Kraft Tags and Graphic 45 Woodland Friends paper collection. Each tag is made the same way and has a flap that opens up for a picture or journaling. Below I give directions on how to make these cute and fun tags.
You can check out my post on Graphic 45 Blog, click HERE. #G45BrandAmbassador
WOODLAND FRIENDS TAGS
Materials:
(3) G45 Large Kraft Tags
(1) 8½ x 11” Kraft Cardstock
(3 – 5) 12 x 12” G45 Woodland Friends Paper Collection
(3) 12 x 12” G45 Woodland Friends Pattern and Solids
G45 Woodland Friends Die Cut Assortment
(6) ½” Magnets
Also Used:
G45 Large Tag Die
Tim Holtz Distress Oxide Ground Expresso
DIRECTIONS
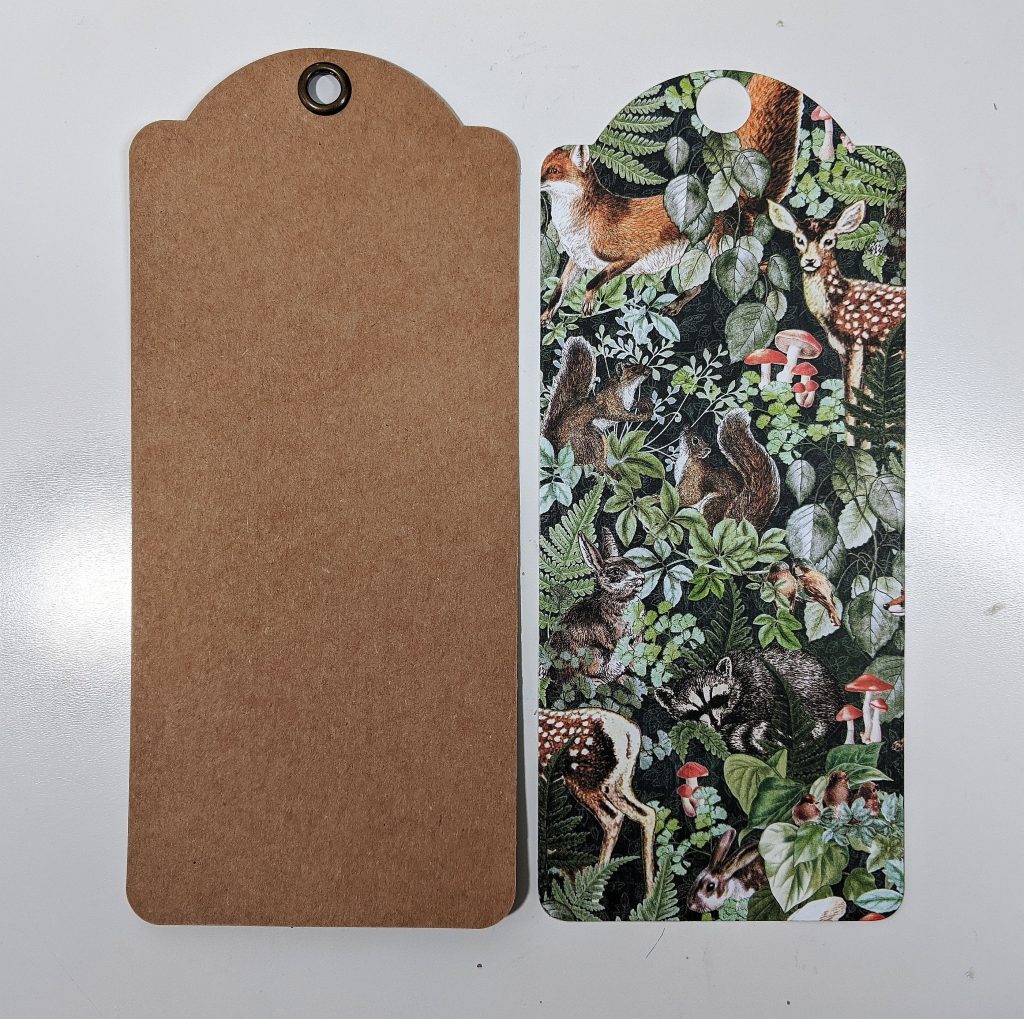
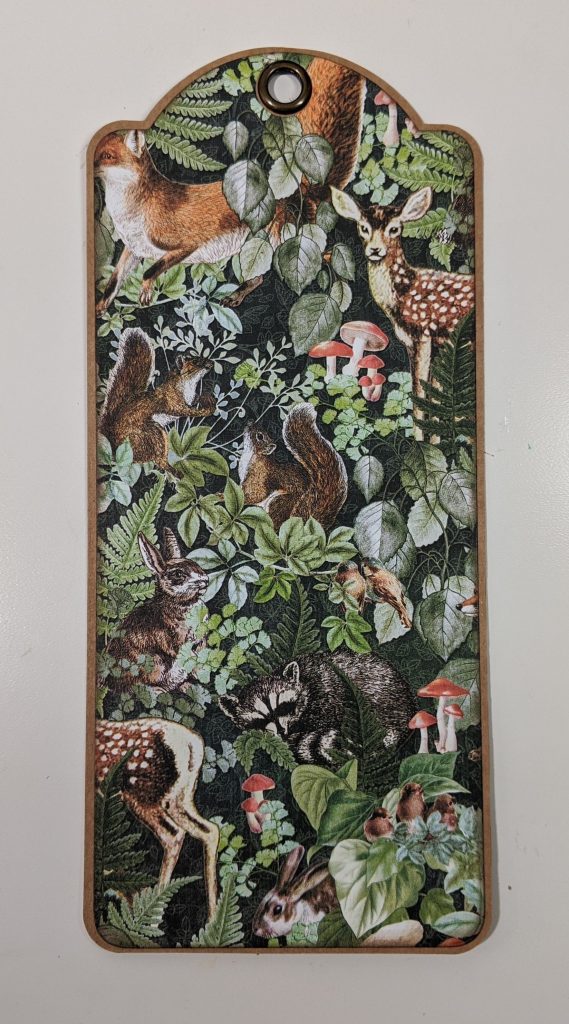
Cut out a tag mat using G45 Large Tag Die and attach to tag.
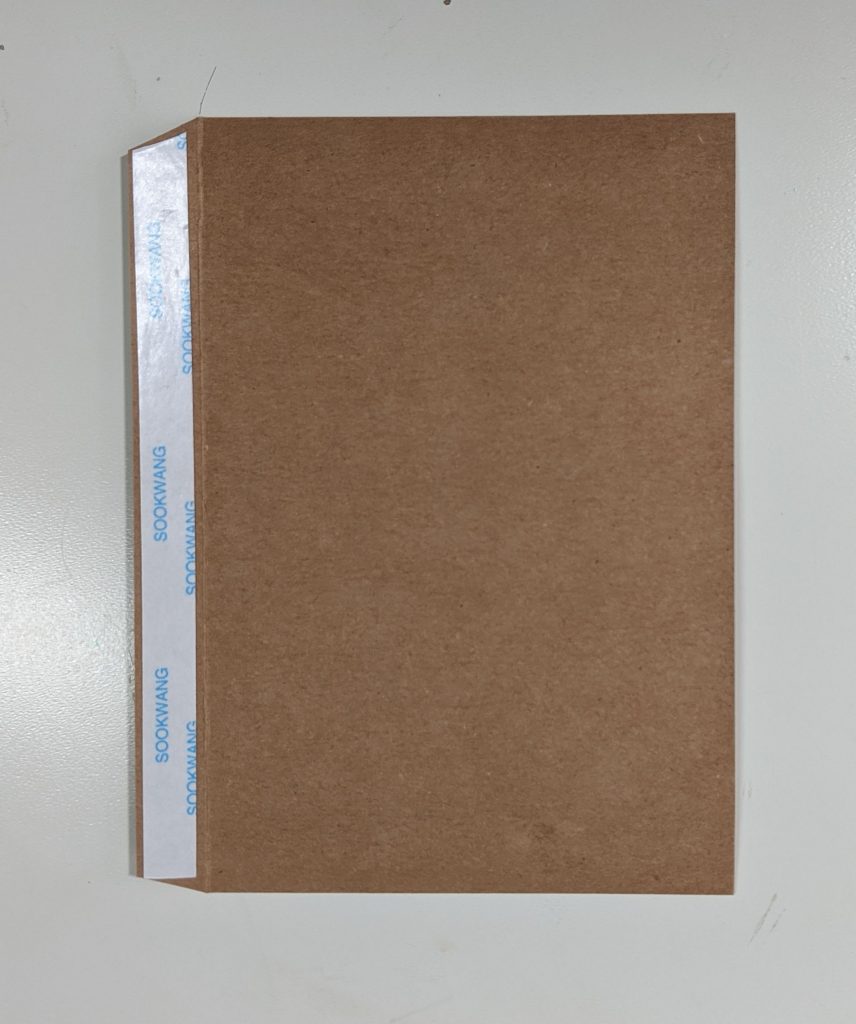
Cut out of the Kraft Cardstock 4¼ x 5½” and score ½” on the 4¼” side.

Fold on the score line, taper (cut at an angle from the score line) corners and add tape to the tab.
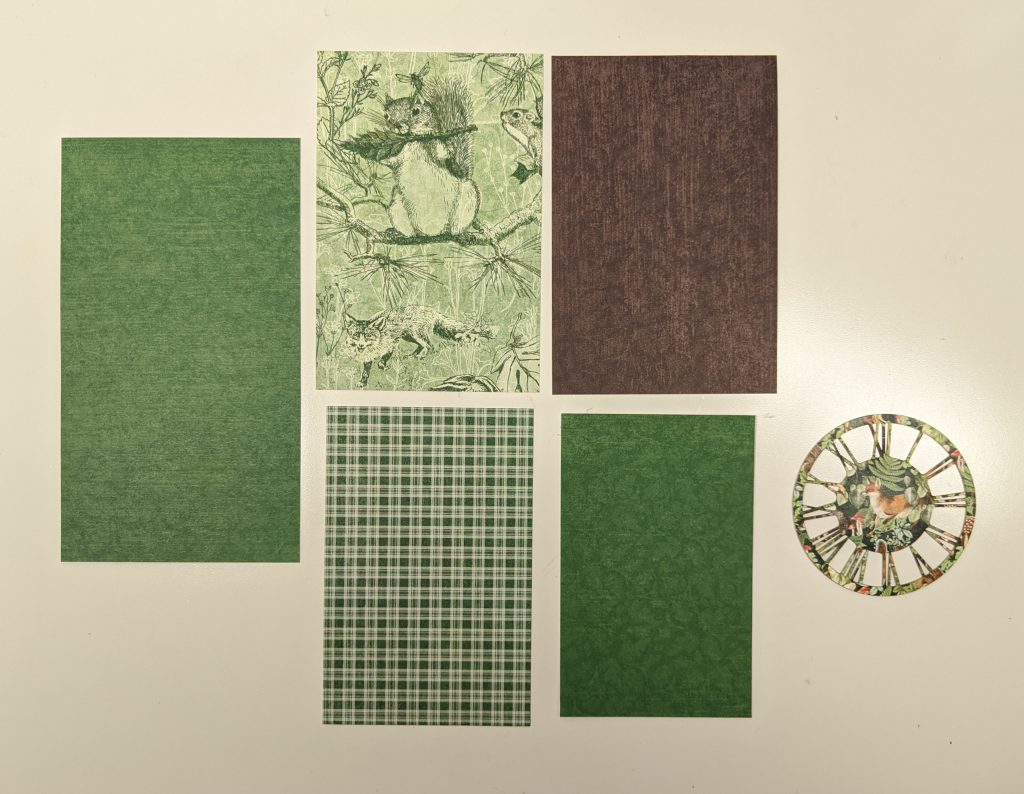
Cut out of the collection:
(1) 3¾ x 6⅝”
(2) 3½ x 5¼” – flap mats (front and back)
(1) 3¼ x 5” – 2nd front flap mat
(1) 3 x 4¾” – 3rd front flap mat
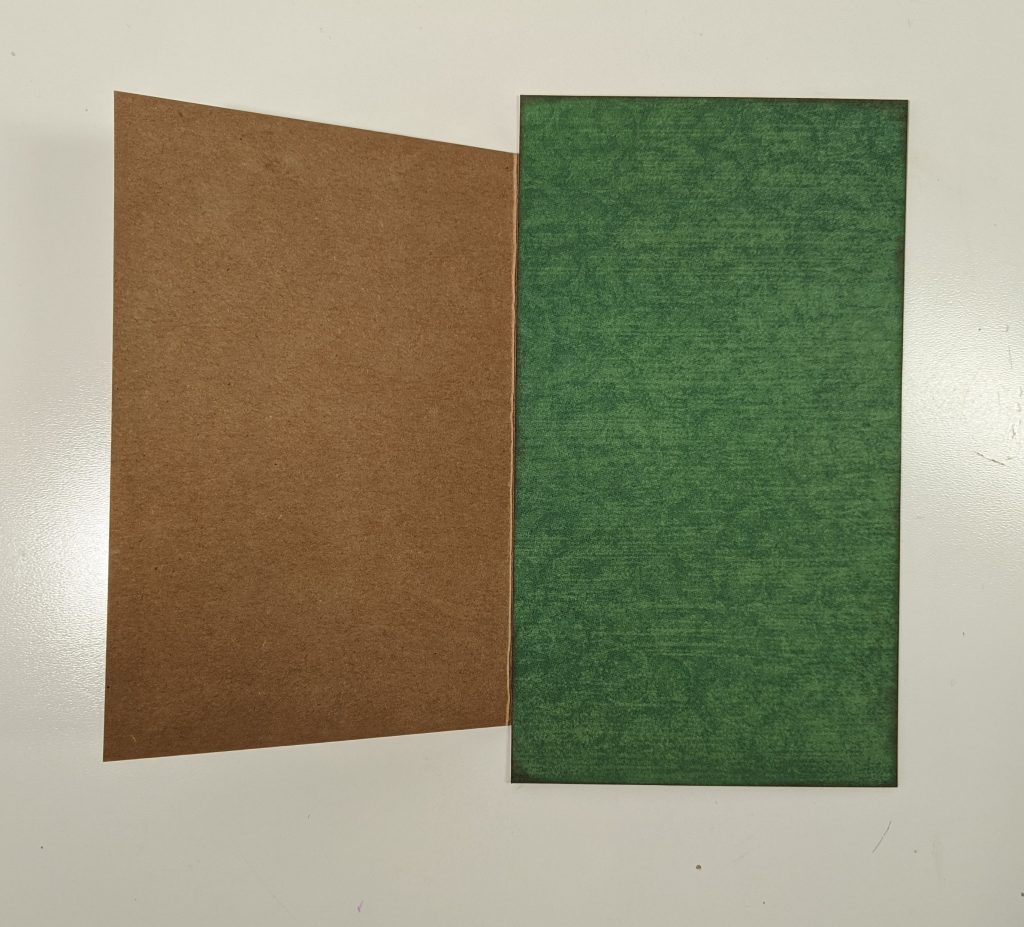
Attach the kraft flap (4¼ x 5½”) centered on the left side of the 3¾ x 6⅝” mat.
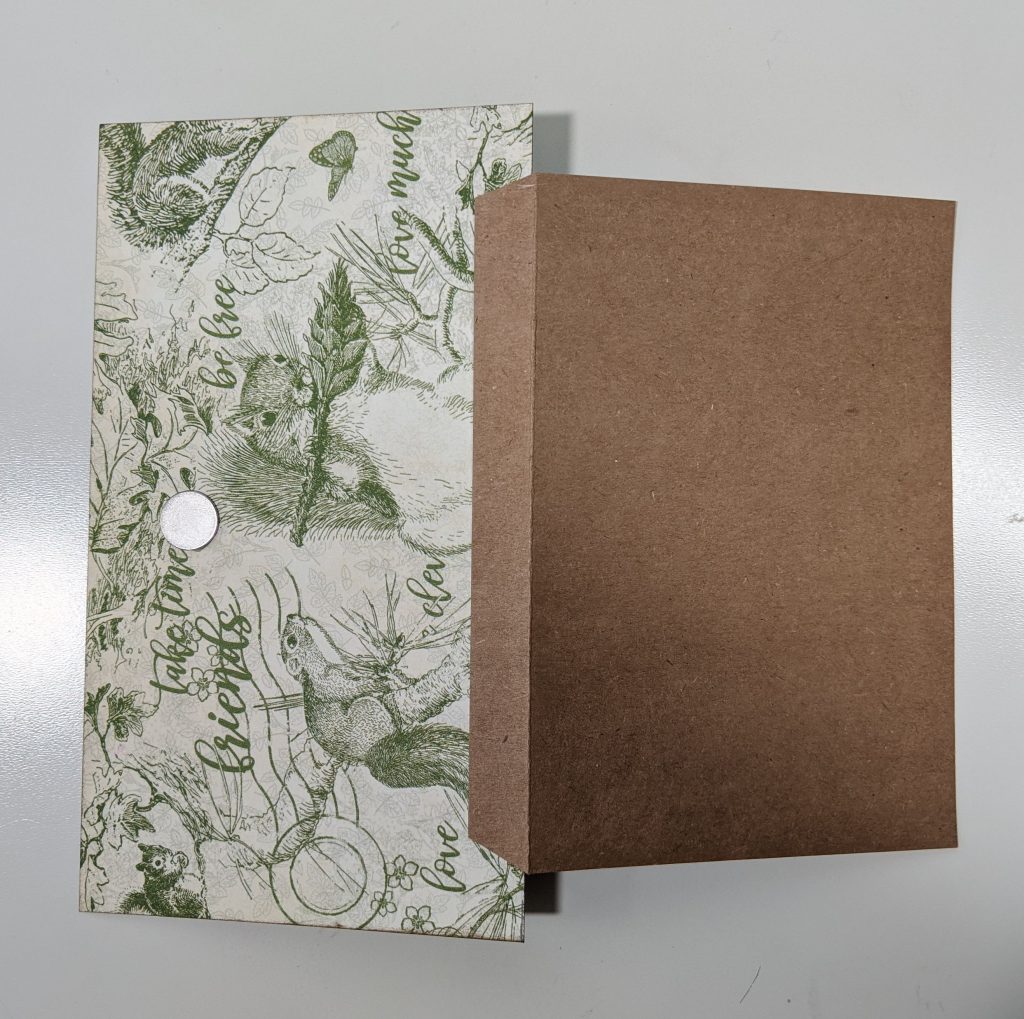
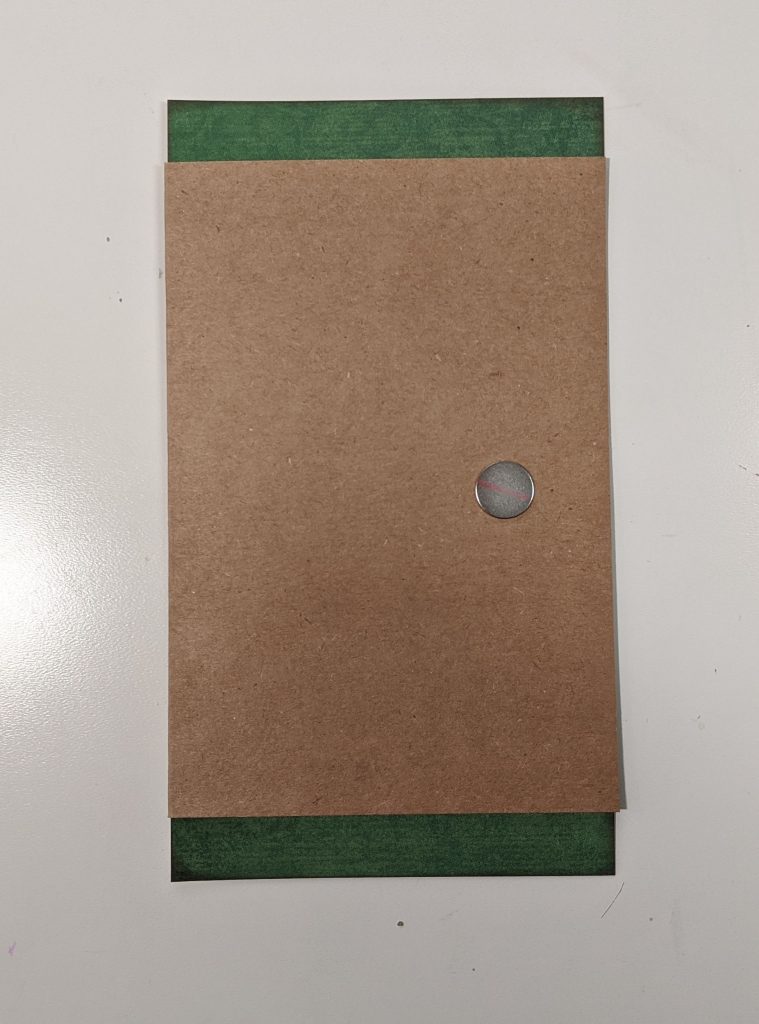
Flip piece over and add magnet, centered, ¾” from the edge on the 3¾ x 6⅝” mat.
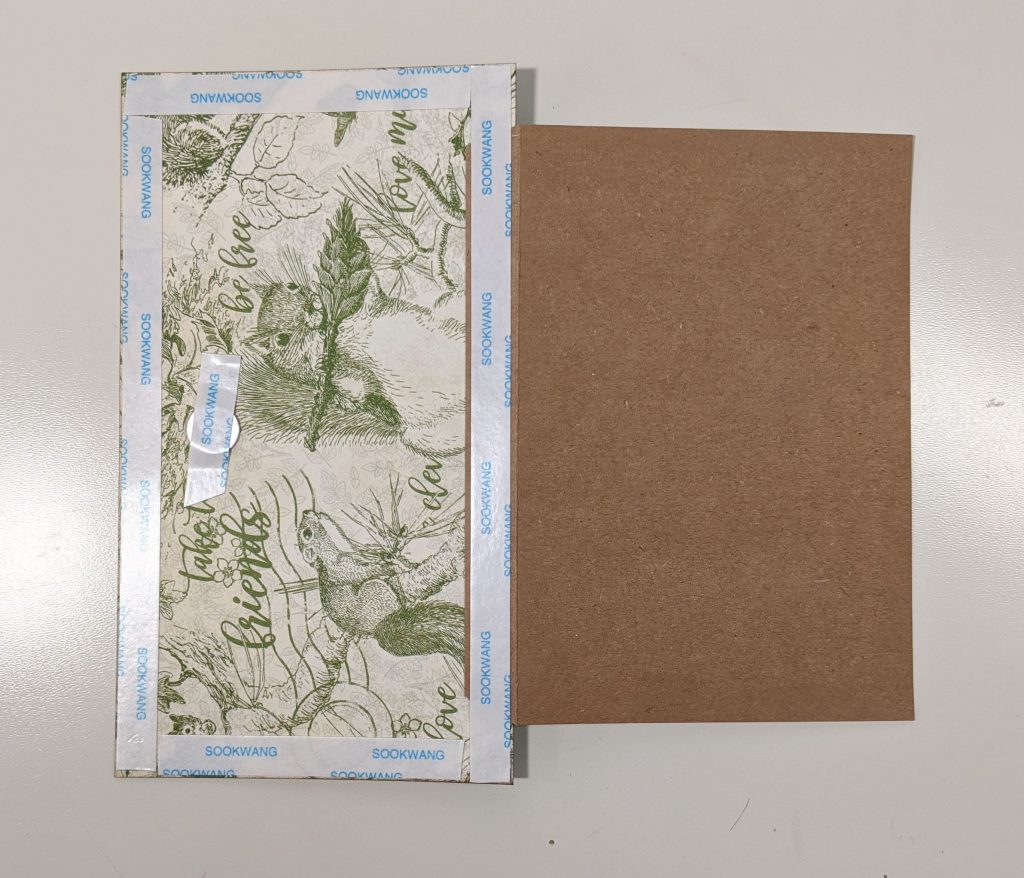
Add tape around the edges of the mat and on top of the magnet.
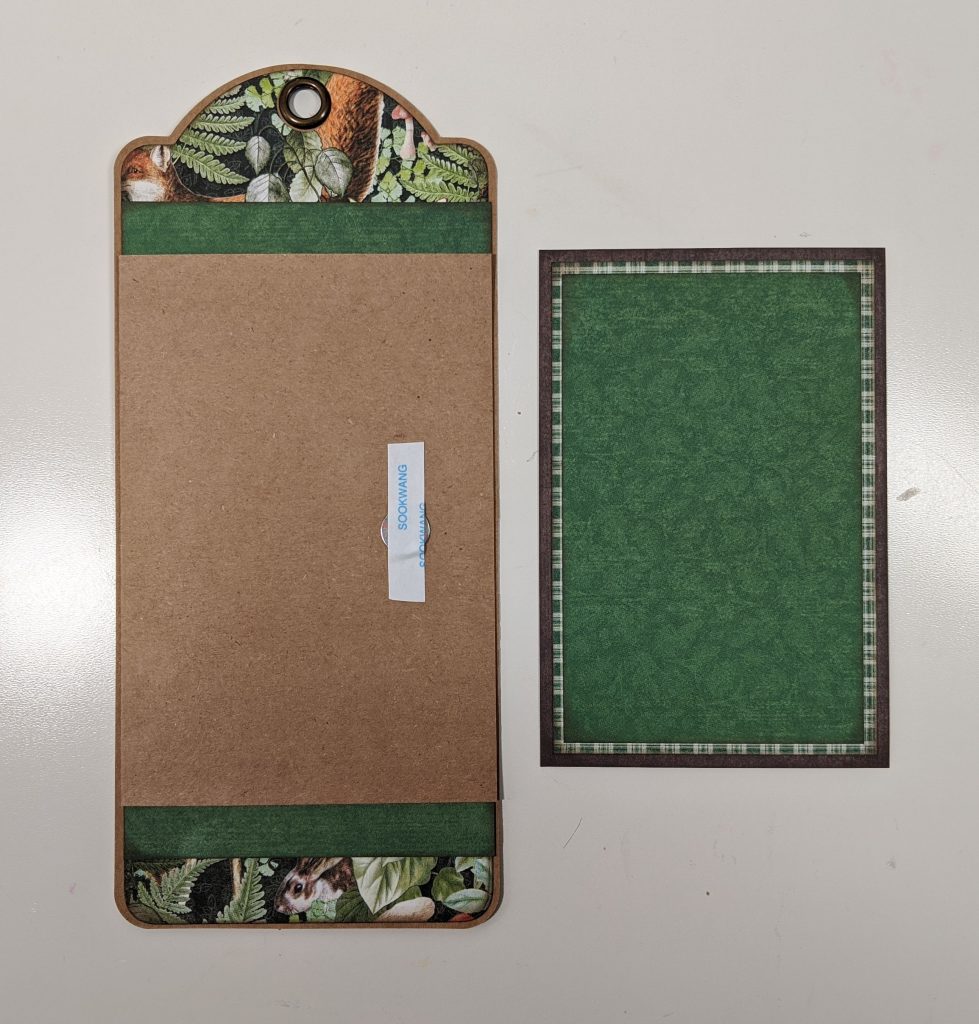
Attach piece to the main tag, centered, about ⅝” from the bottom.
Add tape to the magnet on the front side. Attach the 3 x 4¾” (3rd mat) on top, centered of the 3¼ x 5” (2nd mat), on top and centered on the 3½ x 5¼” mat.
![]()
Attach to the center of the kraft flap.

Attach the second 3 1/2 x 5 1/4″ mat to the inside of the flap.
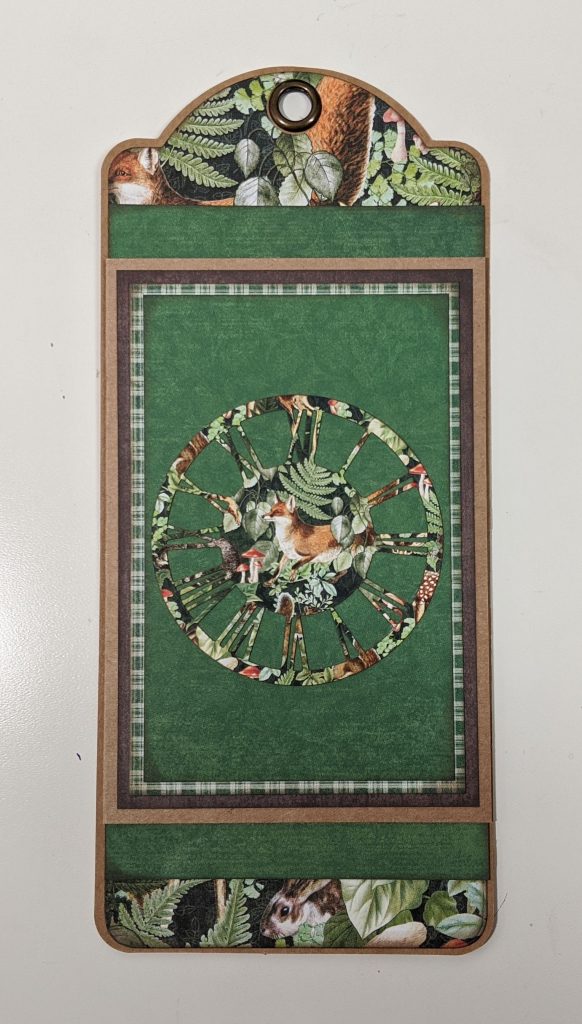
Add embellishments to the front.
I hope you enjoyed this tag tutorial and please, try to make some yourself.