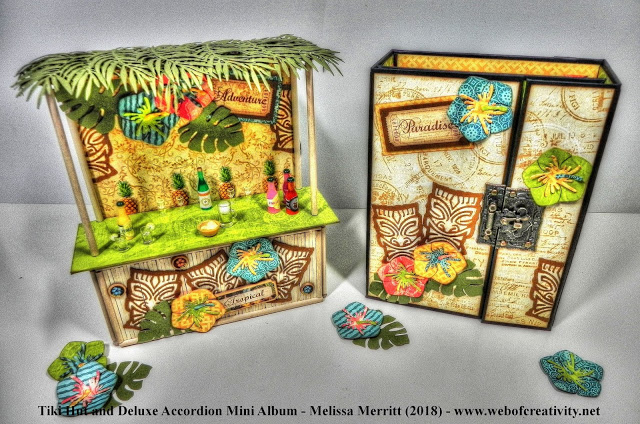
Ever wonder what it’s like to design a project from scratch? Here are some behind the scene photos of how my tiki hut became a reality…
I usually start by making anything with regular paper, in this case it’s yellow. The process is: I get an idea, which is sometimes inspired by the paper, then research it with either Google, Pinterest, YouTube, etc. Then, sketch out some ideas. Then, make samples. For this project, I made 2 samples of the Tiki Hut before deciding on the design and size. Once I get a better idea of what I want, I make a prototype sample.
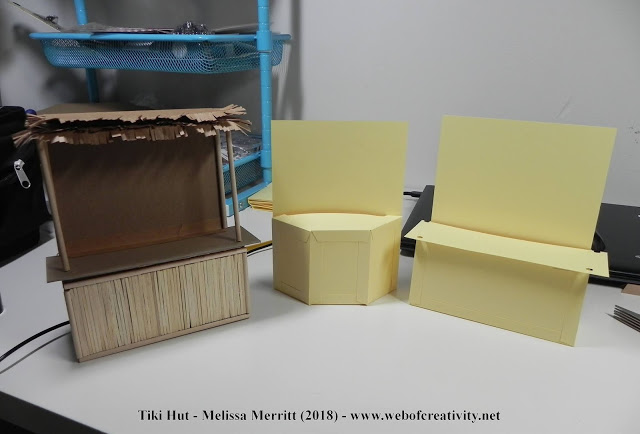
The middle picture (the smallest one) is where I started, then went to a different style that was bigger (right picture). Next, I made a prototype from chipboard. I also attempted a roof style with brown paper and fringe scissors. I added a couple of layers of chipboard between the roof papers to give it dimension. I ended up scrapping that idea and found the leaves roof was a better fit.
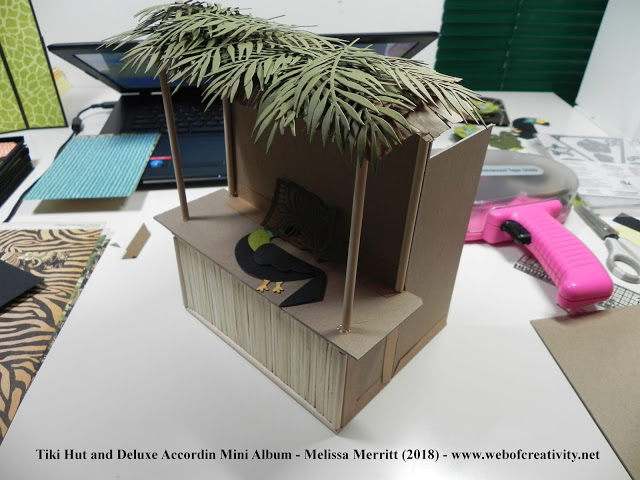
The above pictures is me trying for the leaf roof to see what it would look like. I just keep die cutting the leaves and throwing them on the roof.
Then came the dies. Right after I came up with the Tiki Hut, I knew I wanted a Tiki Mask and found two dies that I just had to have. Now I don’t always use dies in my projects, but when I do, I hunt for the perfect ones.
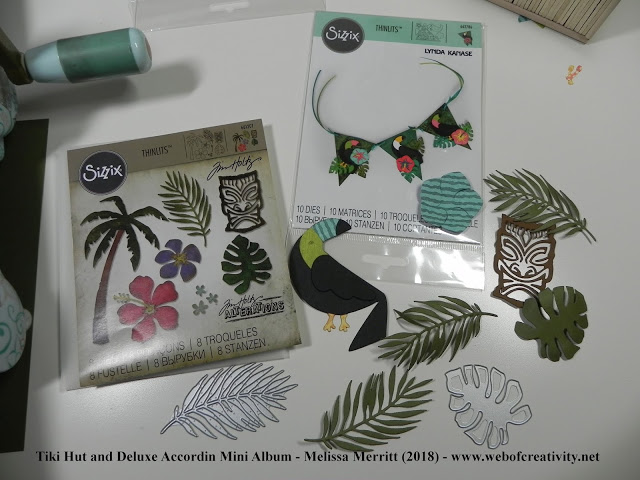
When I got the Sizzix die, I realized the birds were way to big for the Hut. I really wanted to use them on the Hut, so instead of wasting them, I put them in the album.
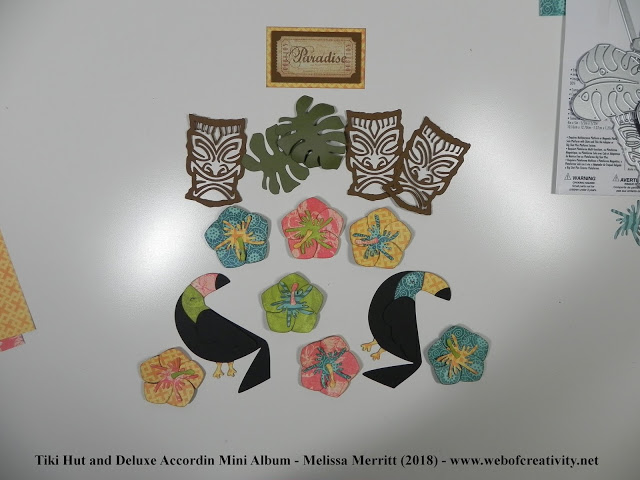
Below are a couple of pictures of me trying to figure out the placement of the embellishments.
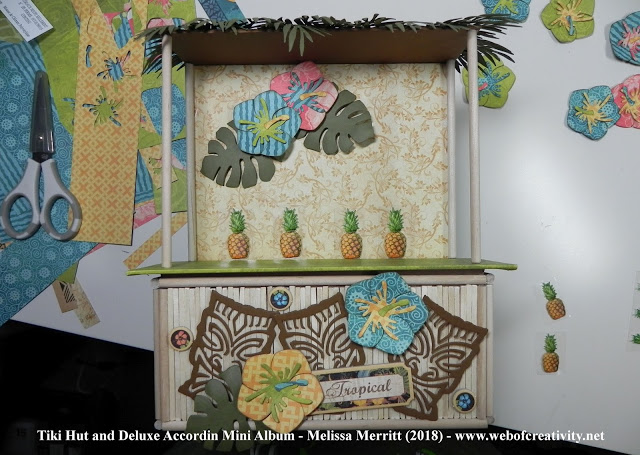
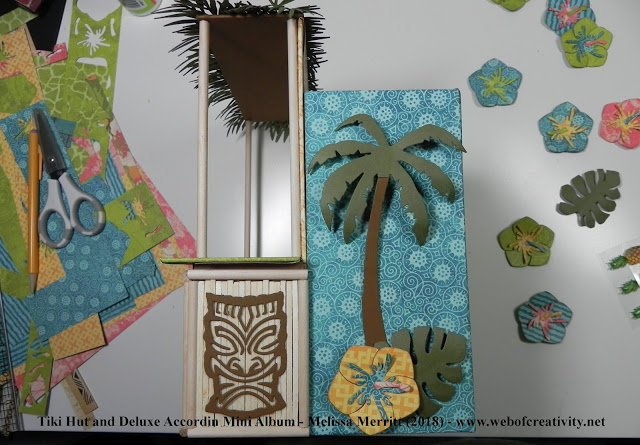
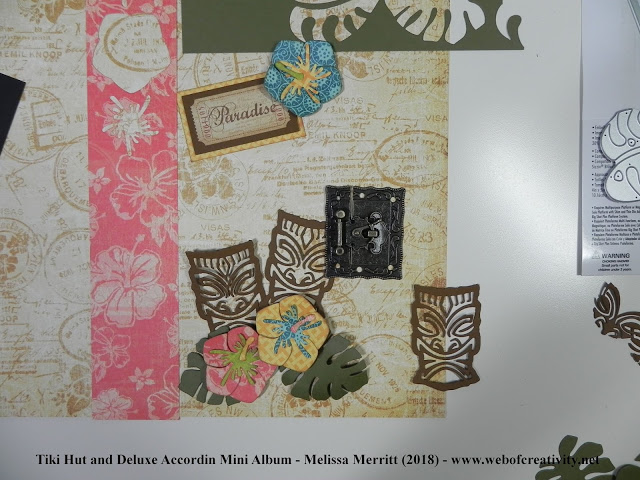
And lastly is a picture of me designing the front cover of the album. I always try to figure out the album before covering it. I try to make sure the paper won’t conflict with the embellishments I want to use.
If you missed the original post of this project, which has the links to all of the construction videos, click HERE.
I believe I only have one Kit left of this project, so if you want it click HERE.
If you want the written tutorial, it can be found HERE.
I hope you enjoyed a little behind the scenes fun at how I create some projects. Until next time, Happy Crafting!