Graphic 45 is holding their Brand Ambassador Auditions. For my audition pieces I made a project using Graphic 45 Deep Square Matchbook Box and Square Tag and Pocket Album. I also made two versions of an old project of mine. I updated my Accordion 4 x 6″ Mini Album and made a 2 x 3″ version of it, both using beautiful Graphic 45 papers. As most of you know, I love Graphic 45 papers and products, and use them often for my mini albums. I am excited to apply for their team. Graphic 45, thank you for this opportunity.
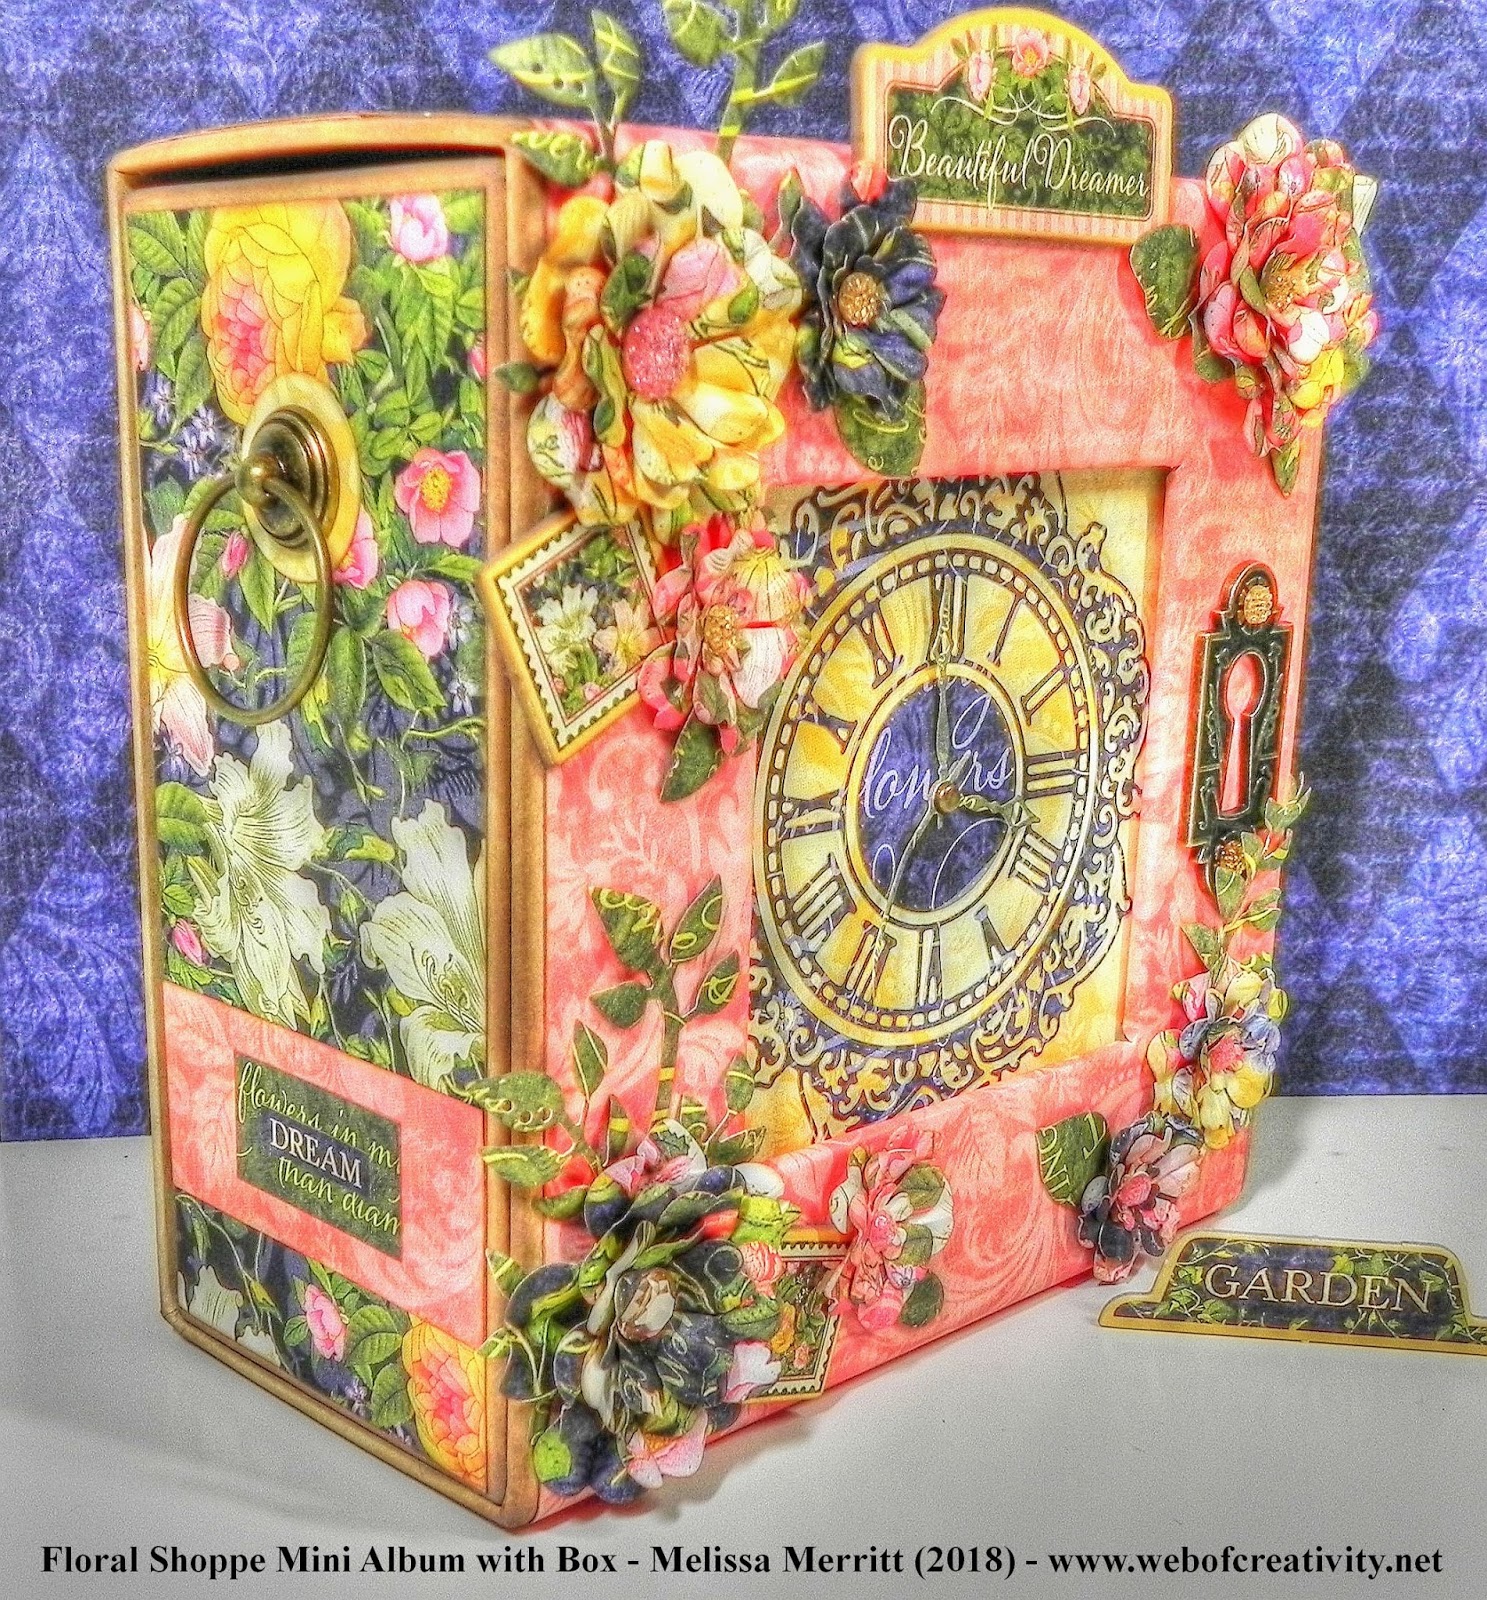
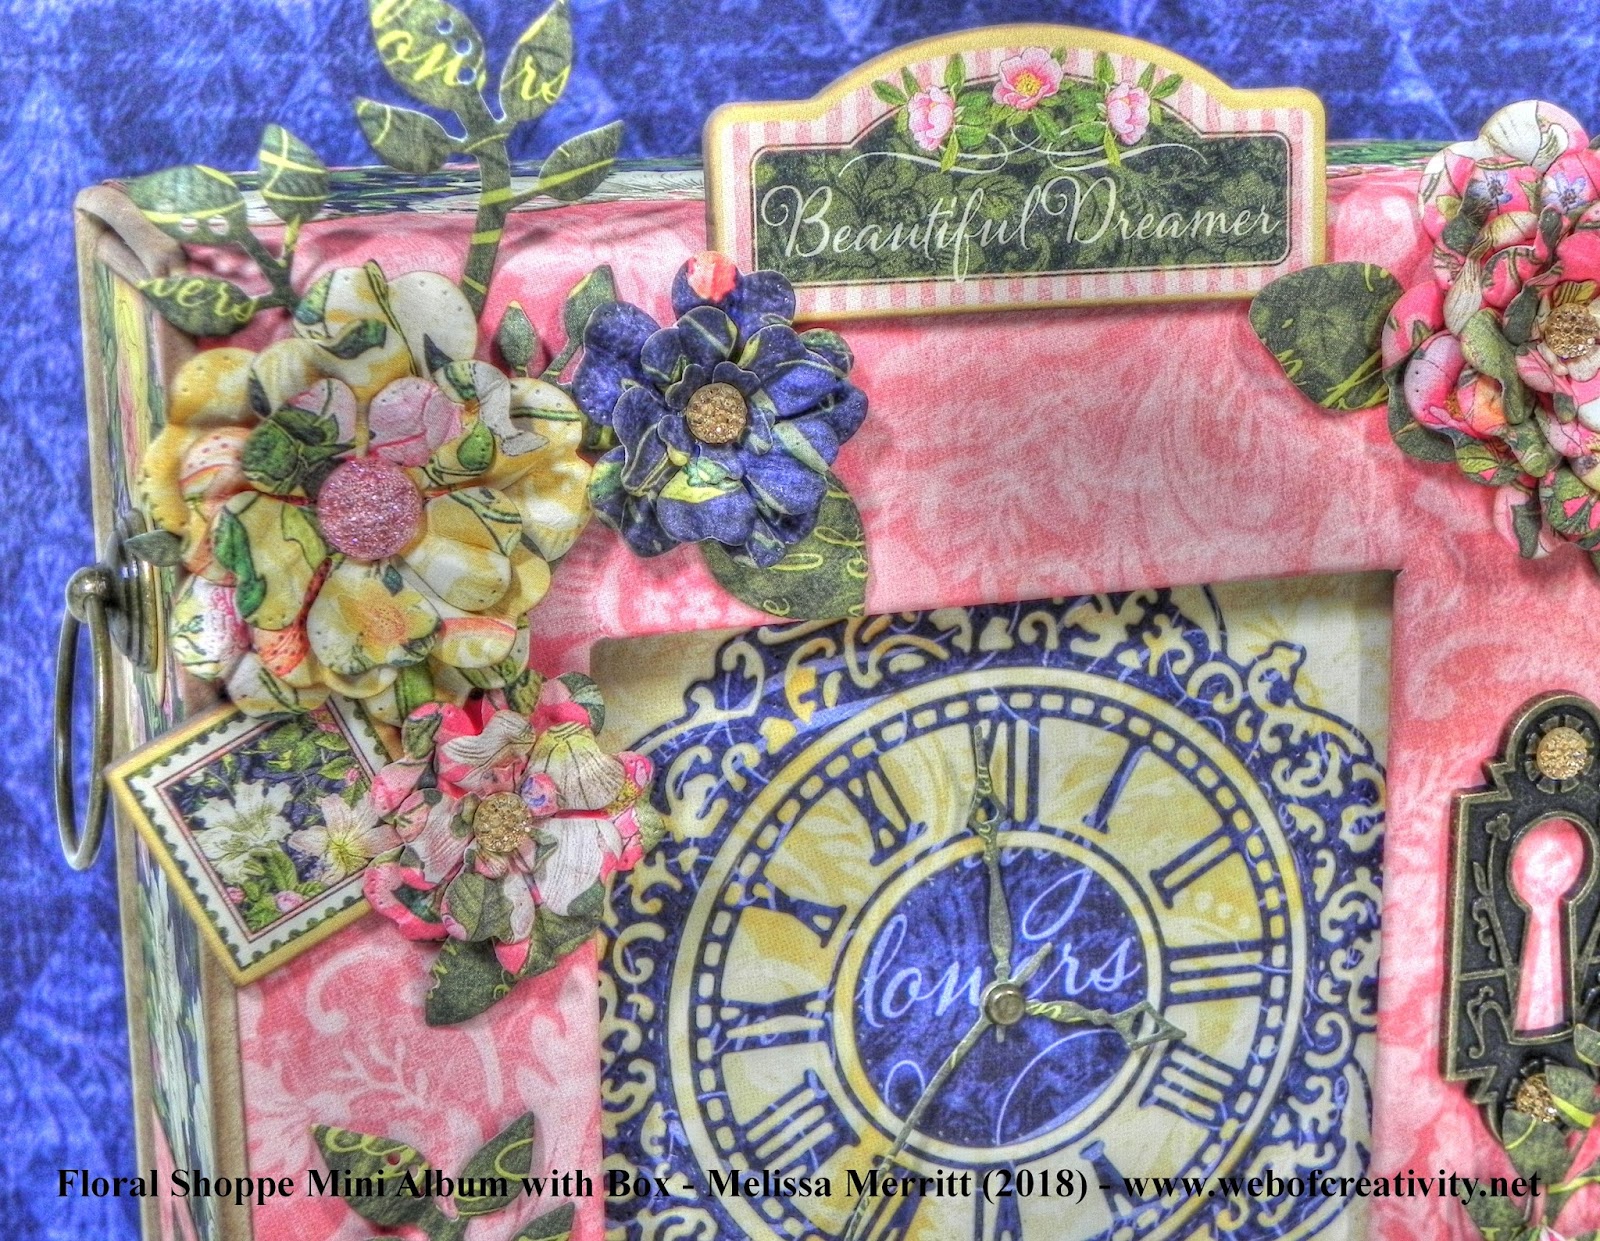
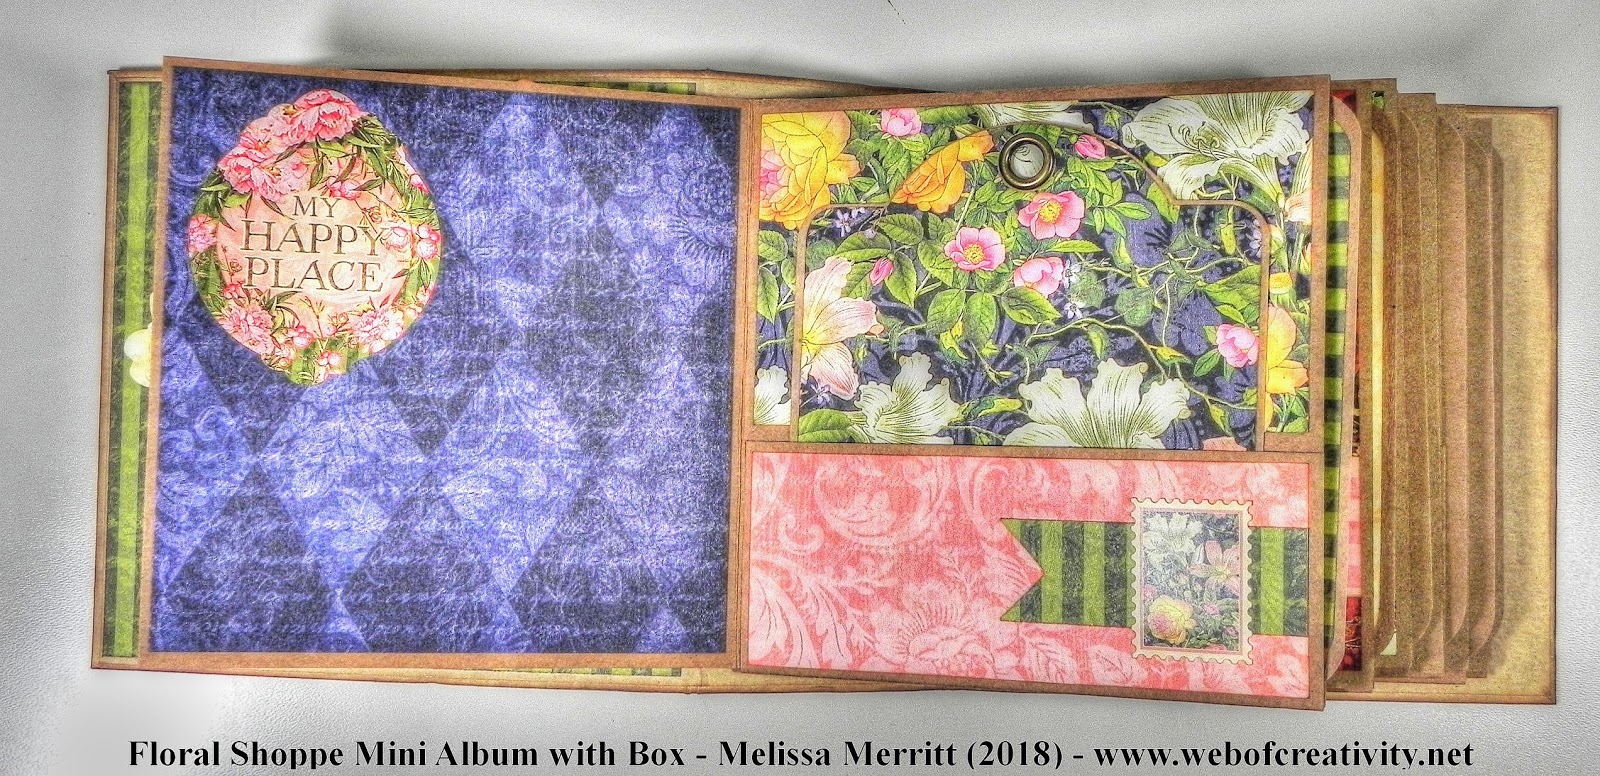
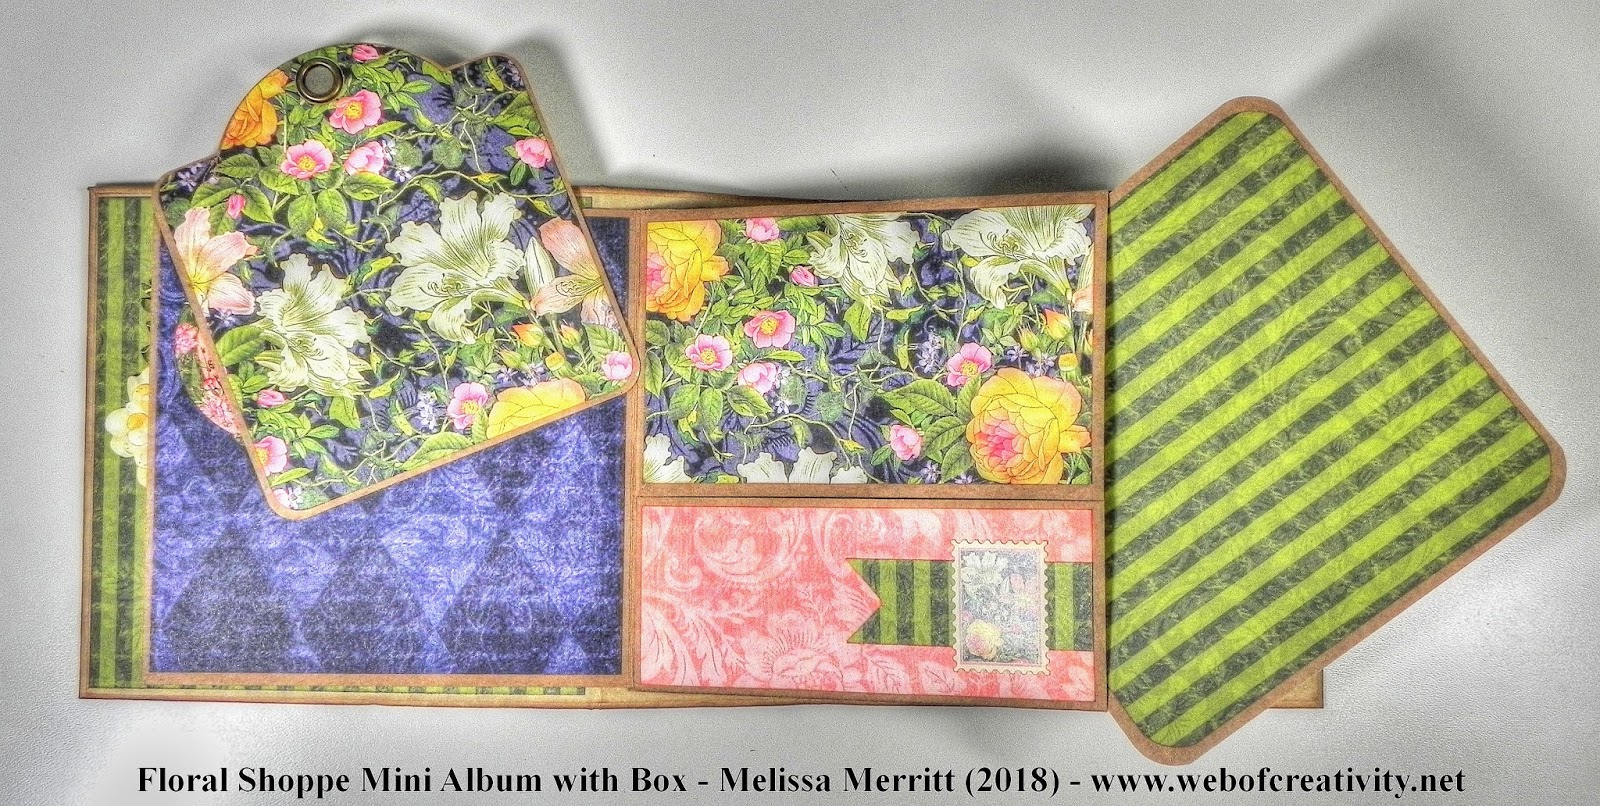
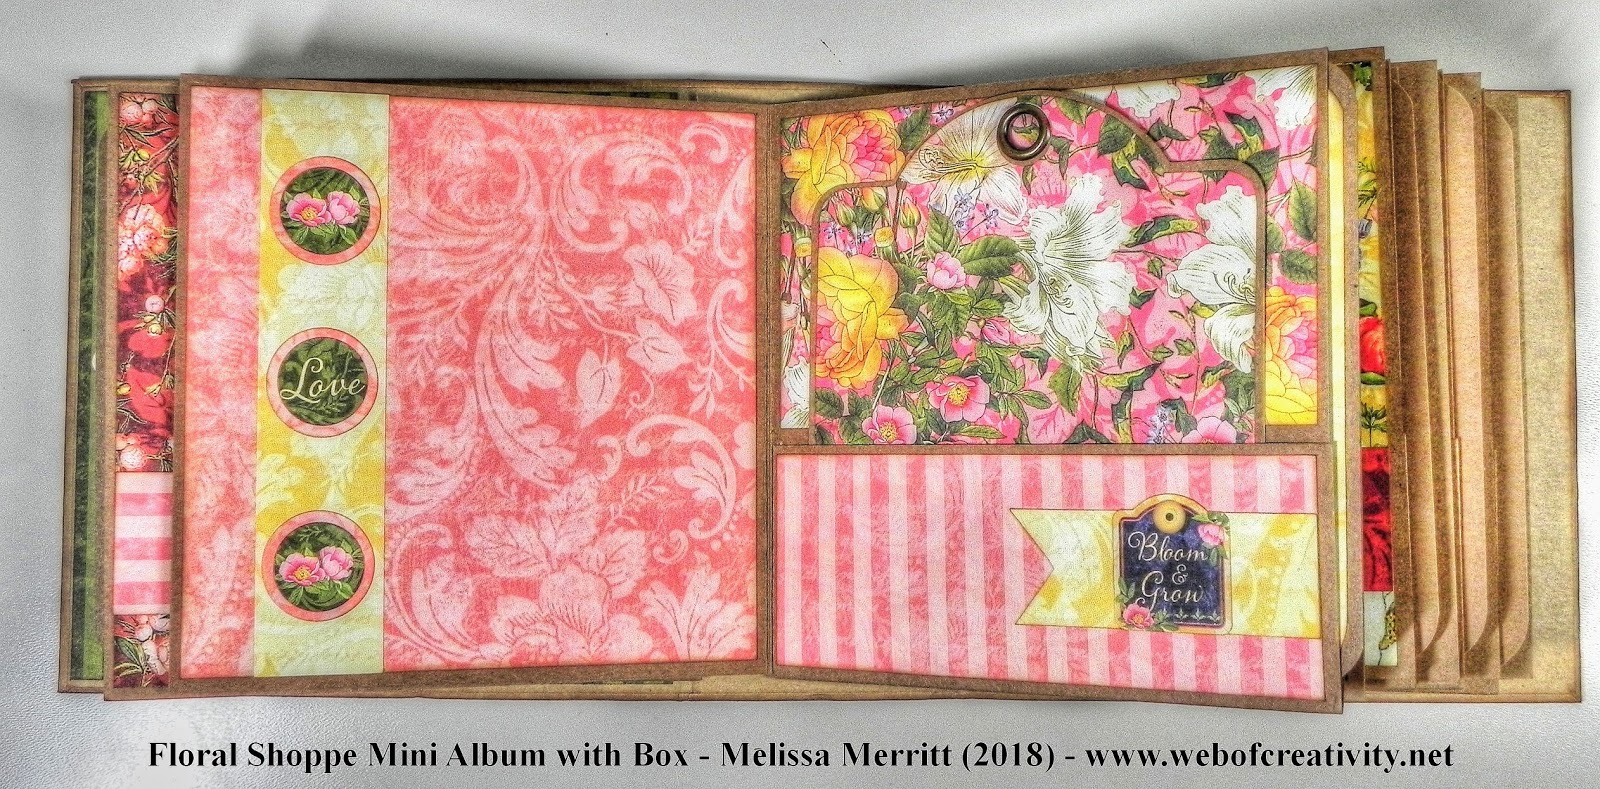
My first project I am sharing uses Graphic 45 Deep Square Matchbook Box and Square Tag and Pocket Album. I used Graphic 45 Floral Shoppe papers, stickers and chipboard collection along with their new metal dies: Large Tag, ATC Tag and Flower Die, and Square Tag and Clock Die.
FLORAL SHOPPE MINI ALBUM IN A BOX
~ Graphic 45 Floral Shoppe ~
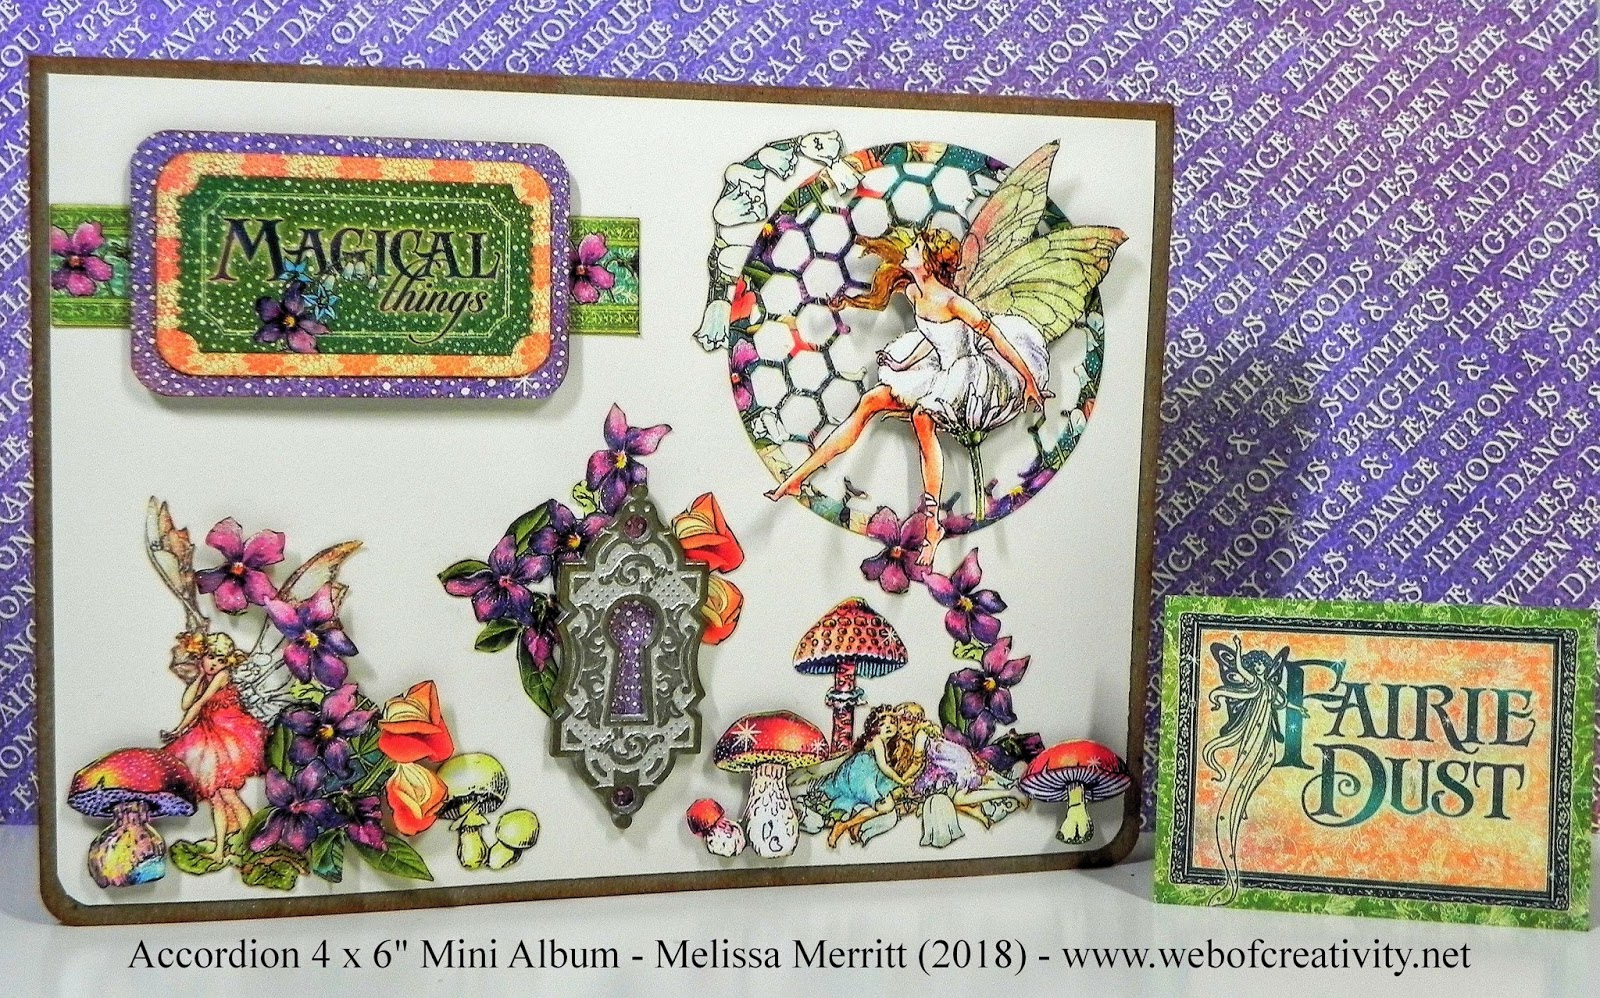
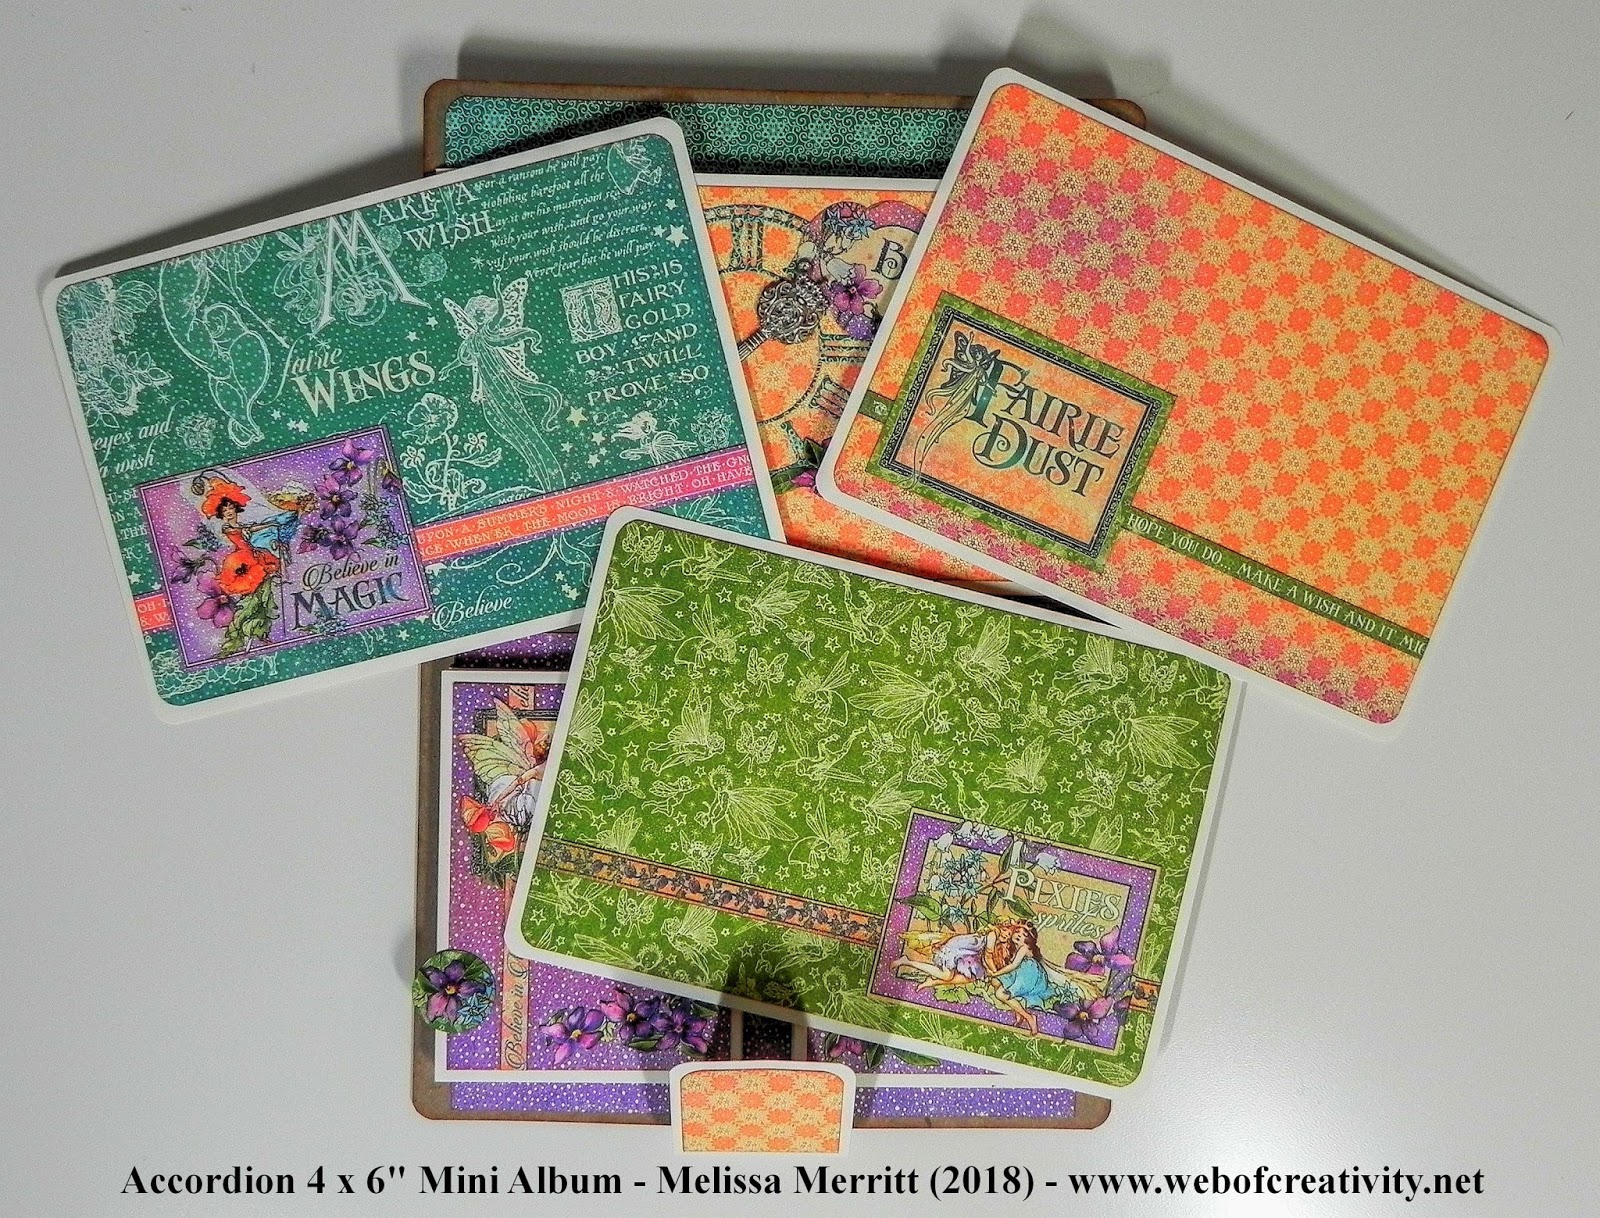
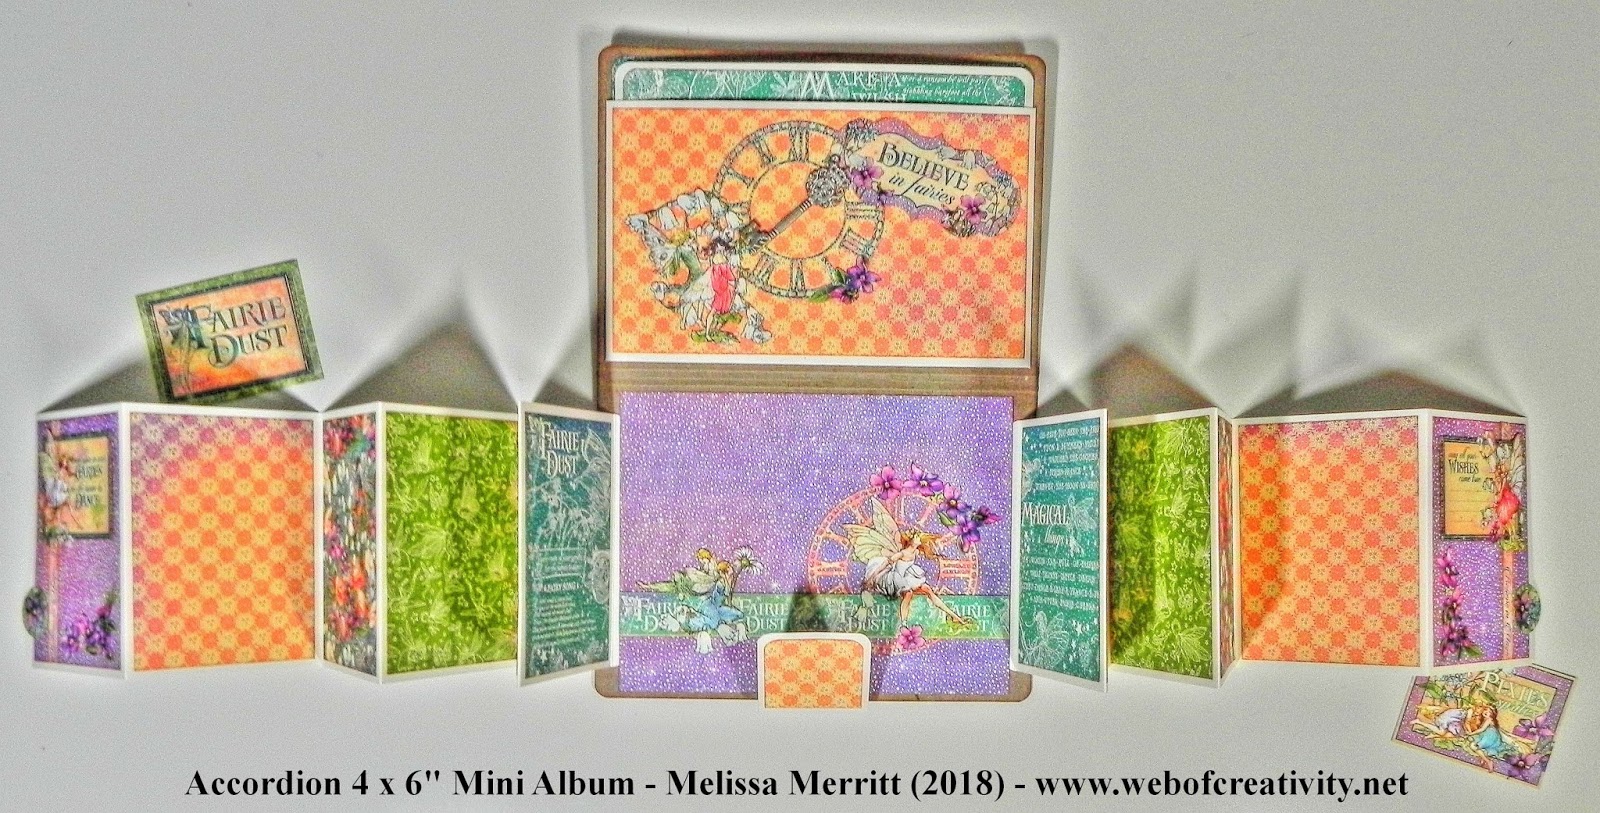
The next project I wish to share is an updated version of my Accordion 4 x 6″ Mini Album, using Graphic 45 Sun Kissed paper collection. I also revamped this project and created an Accordion 2 x 3″ Mini Album, using Graphic 45 Fairie Dust paper collection. The tutorial below and in the video is for the Accordion 2 x 3″ Mini Album. The Accordion 4 x 6″ already has a tutorial and video tutorial, which can be found here: Tutorial Post and Video.
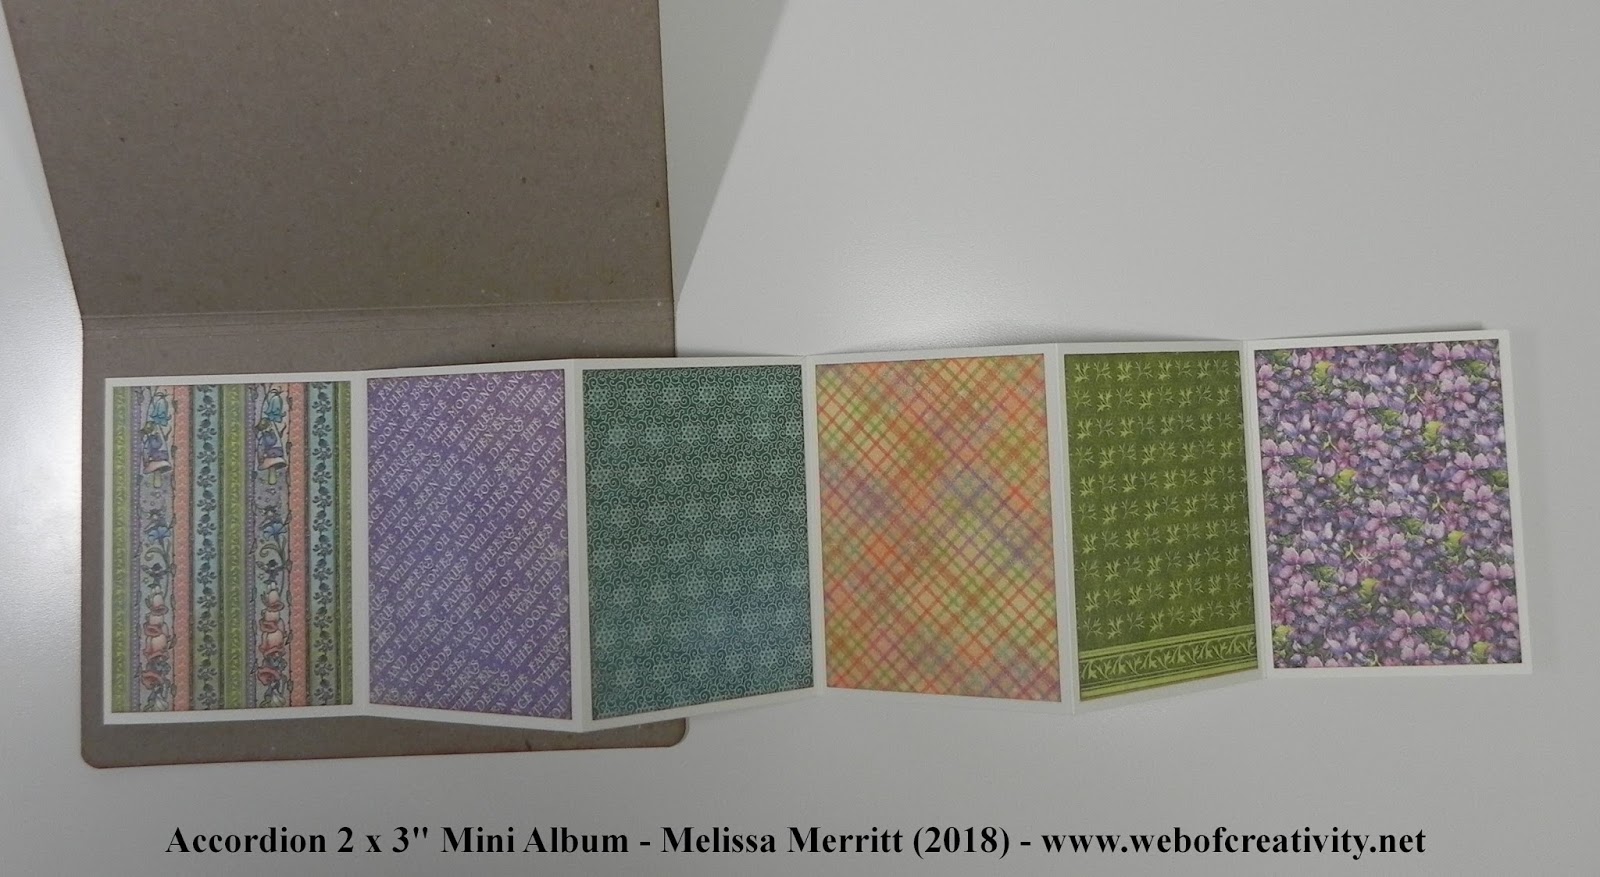
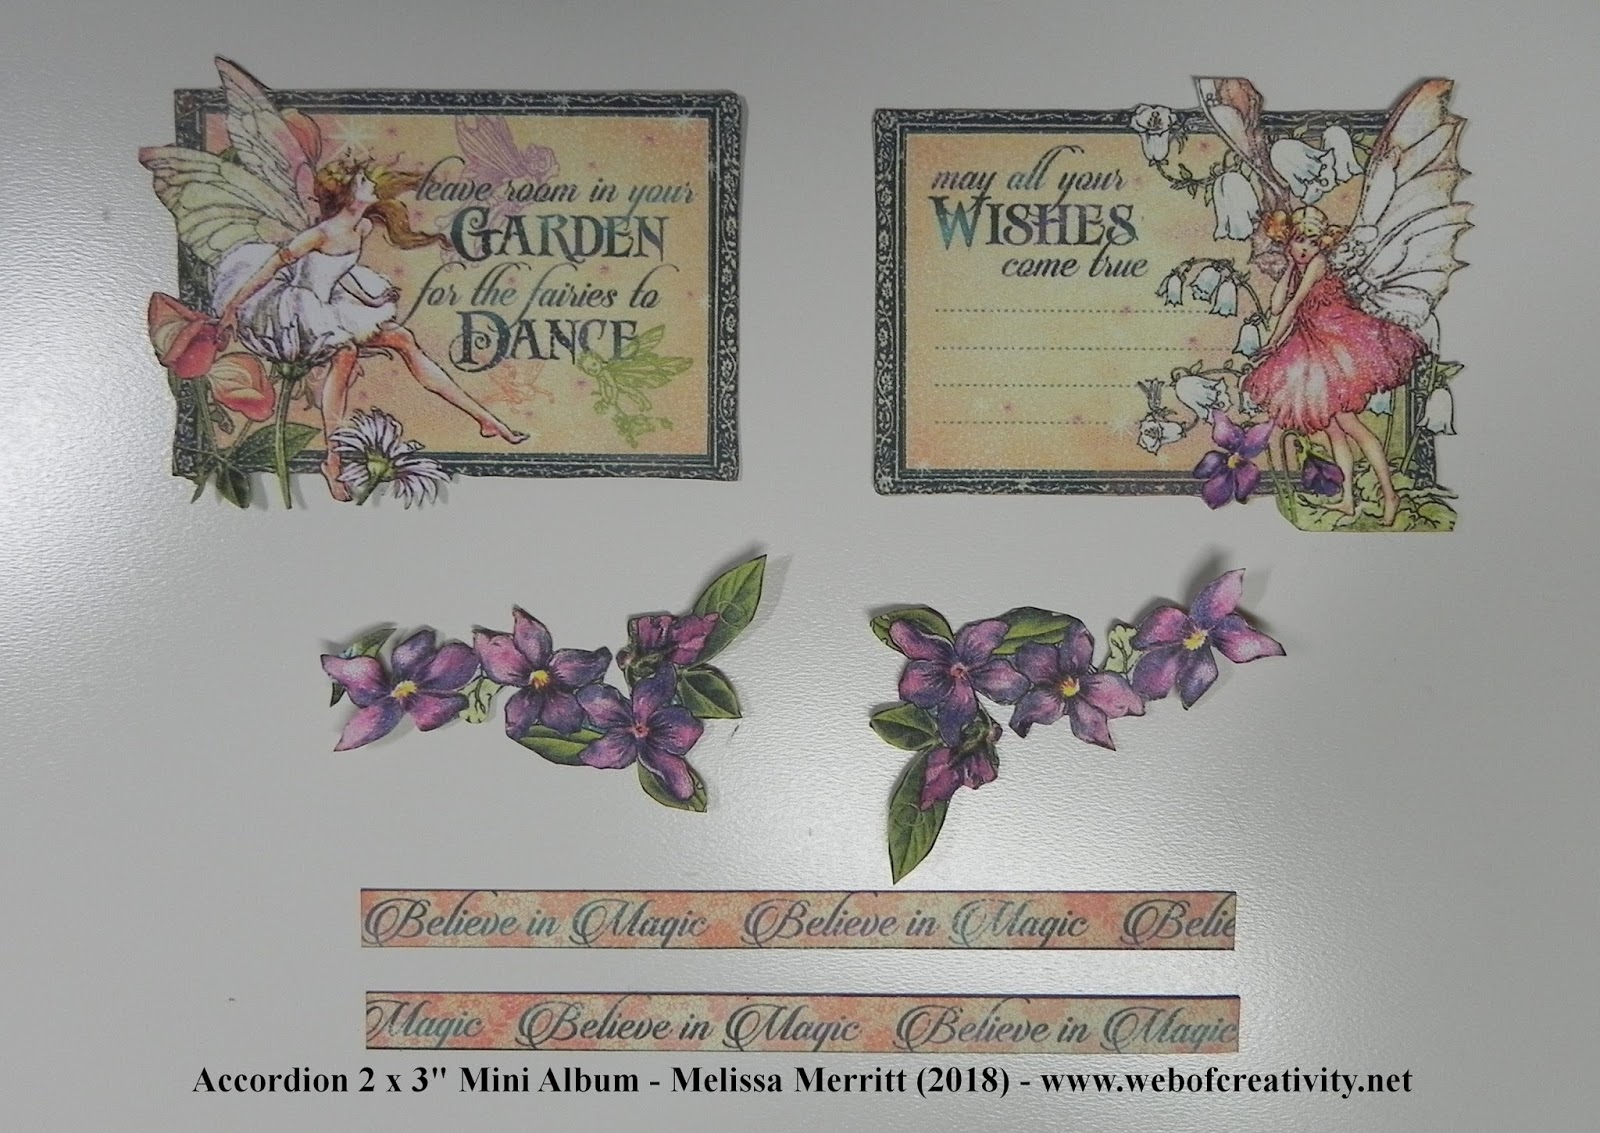
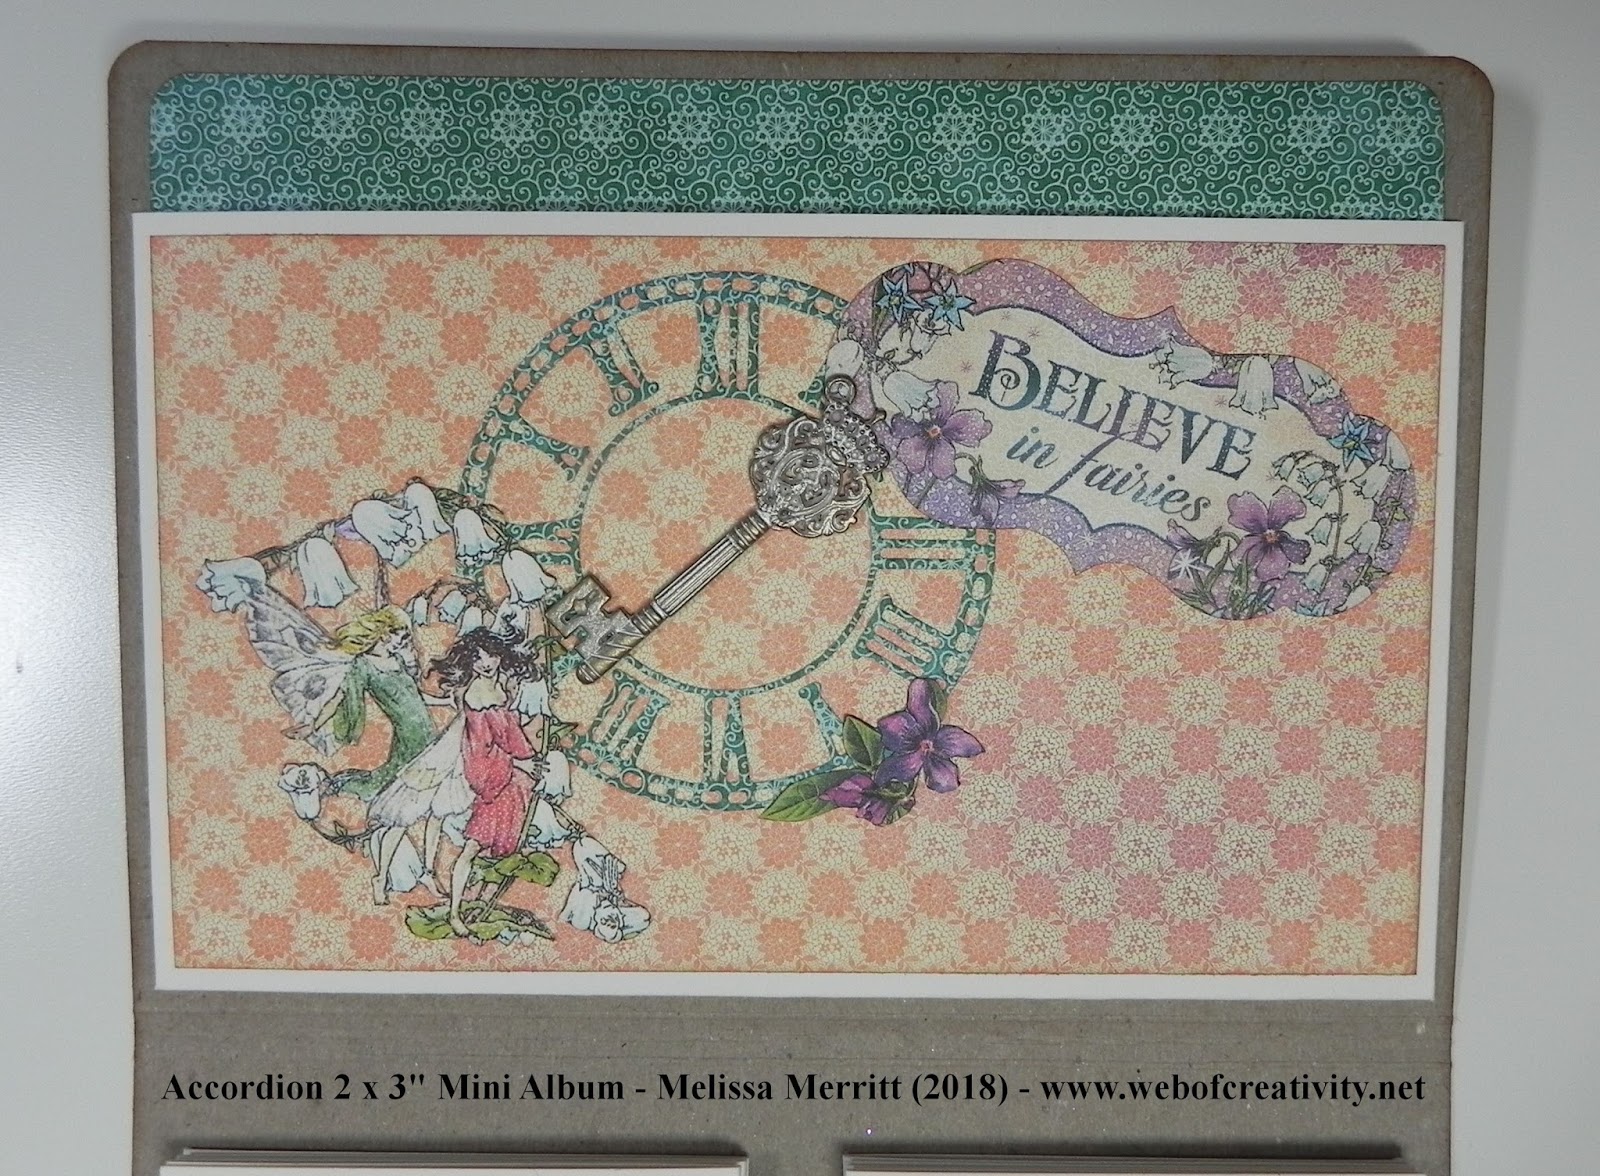
ACCORDION 2 X 3″ MINI ALBUM
~ Graphic 45 Fairie Dust ~
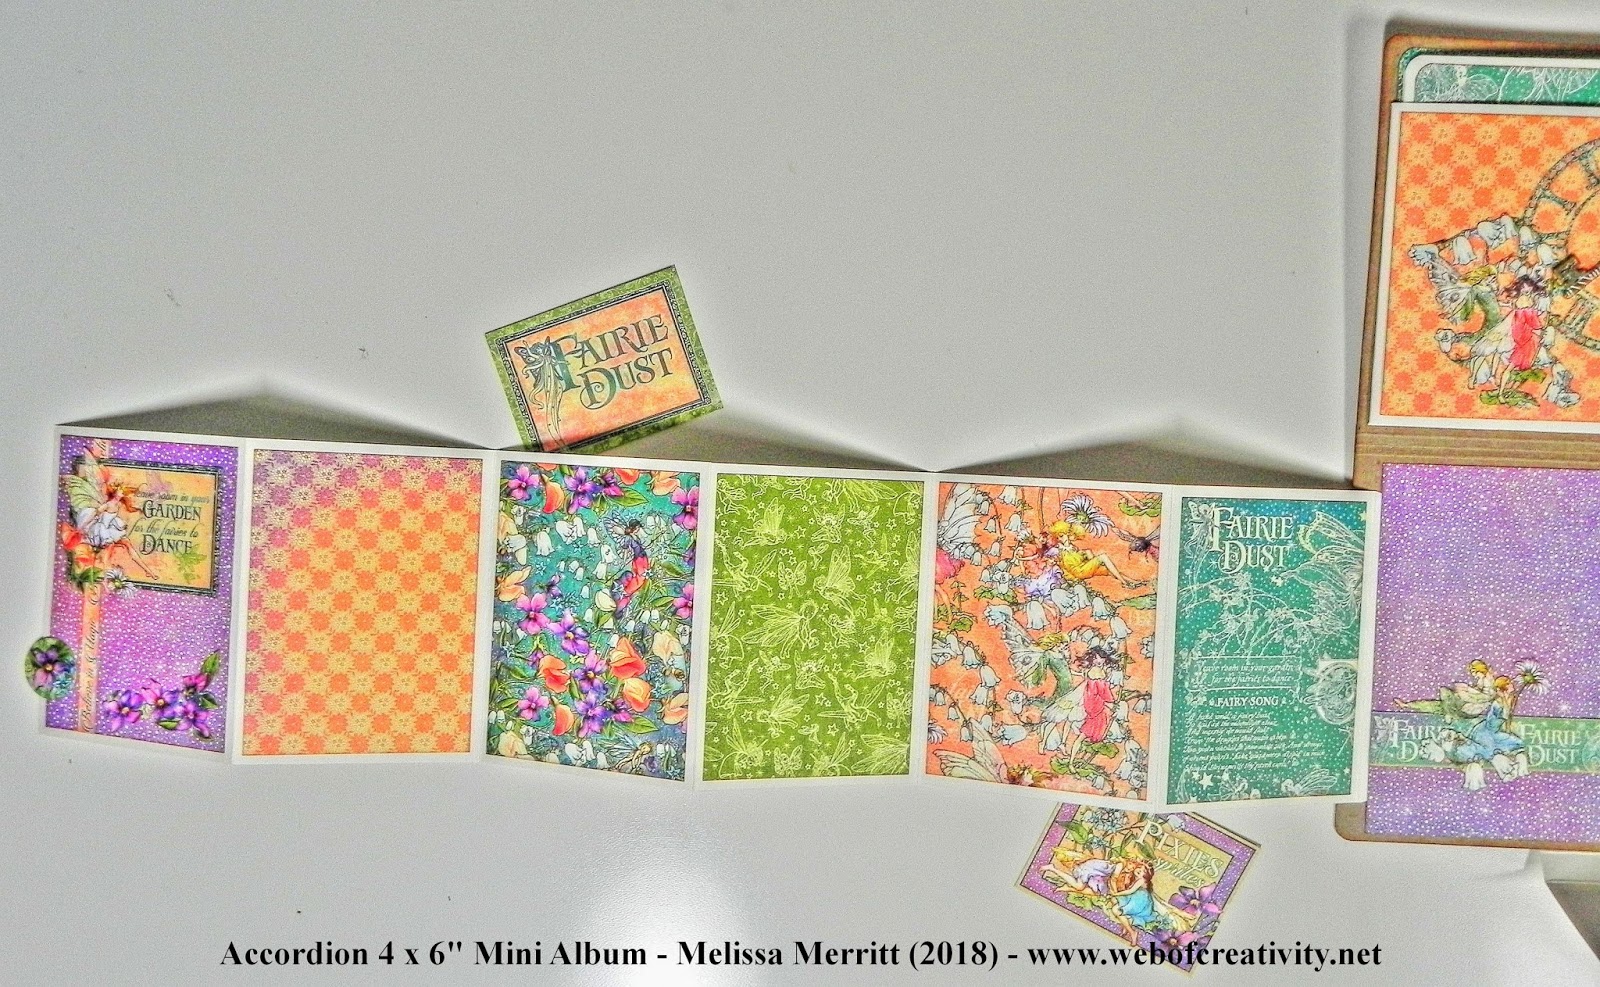
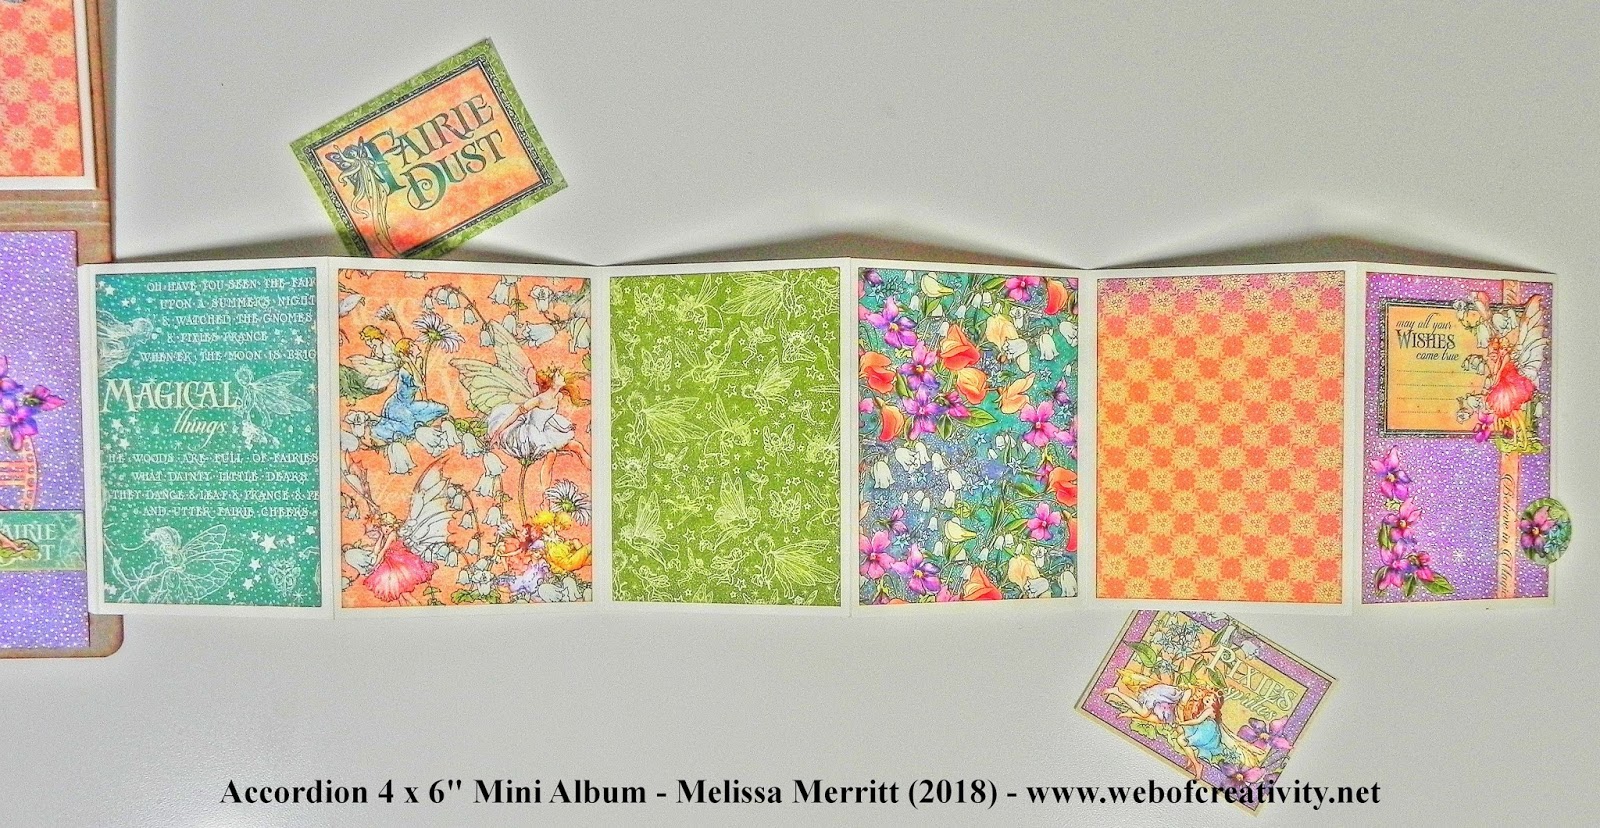
ACCORDION 4 X 6″ MINI ALBUM
~ Graphic 45 Sun Kissed ~
ACCORDION 2 x 3″ MINI ALBUM TUTORIAL
Materials:
(1) 8 1/2 x 11″ Lightweight Chipboard (5) 8 1/2 x 11″ Cream Cardstock (1) 8 x 8″ Graphic 45 paper pad Graphic 45 Stickers Key Hole Key (8) 1/2″ Magnets
Optional: Ink: Tim Holtz Distress Oxide Ink, Vintage Photo Punch: 1/4″ corner rounder Die: Memory Box Honeycomb Stitch Circle Frame Die: Graphic 45 Square Tag and Clock Die
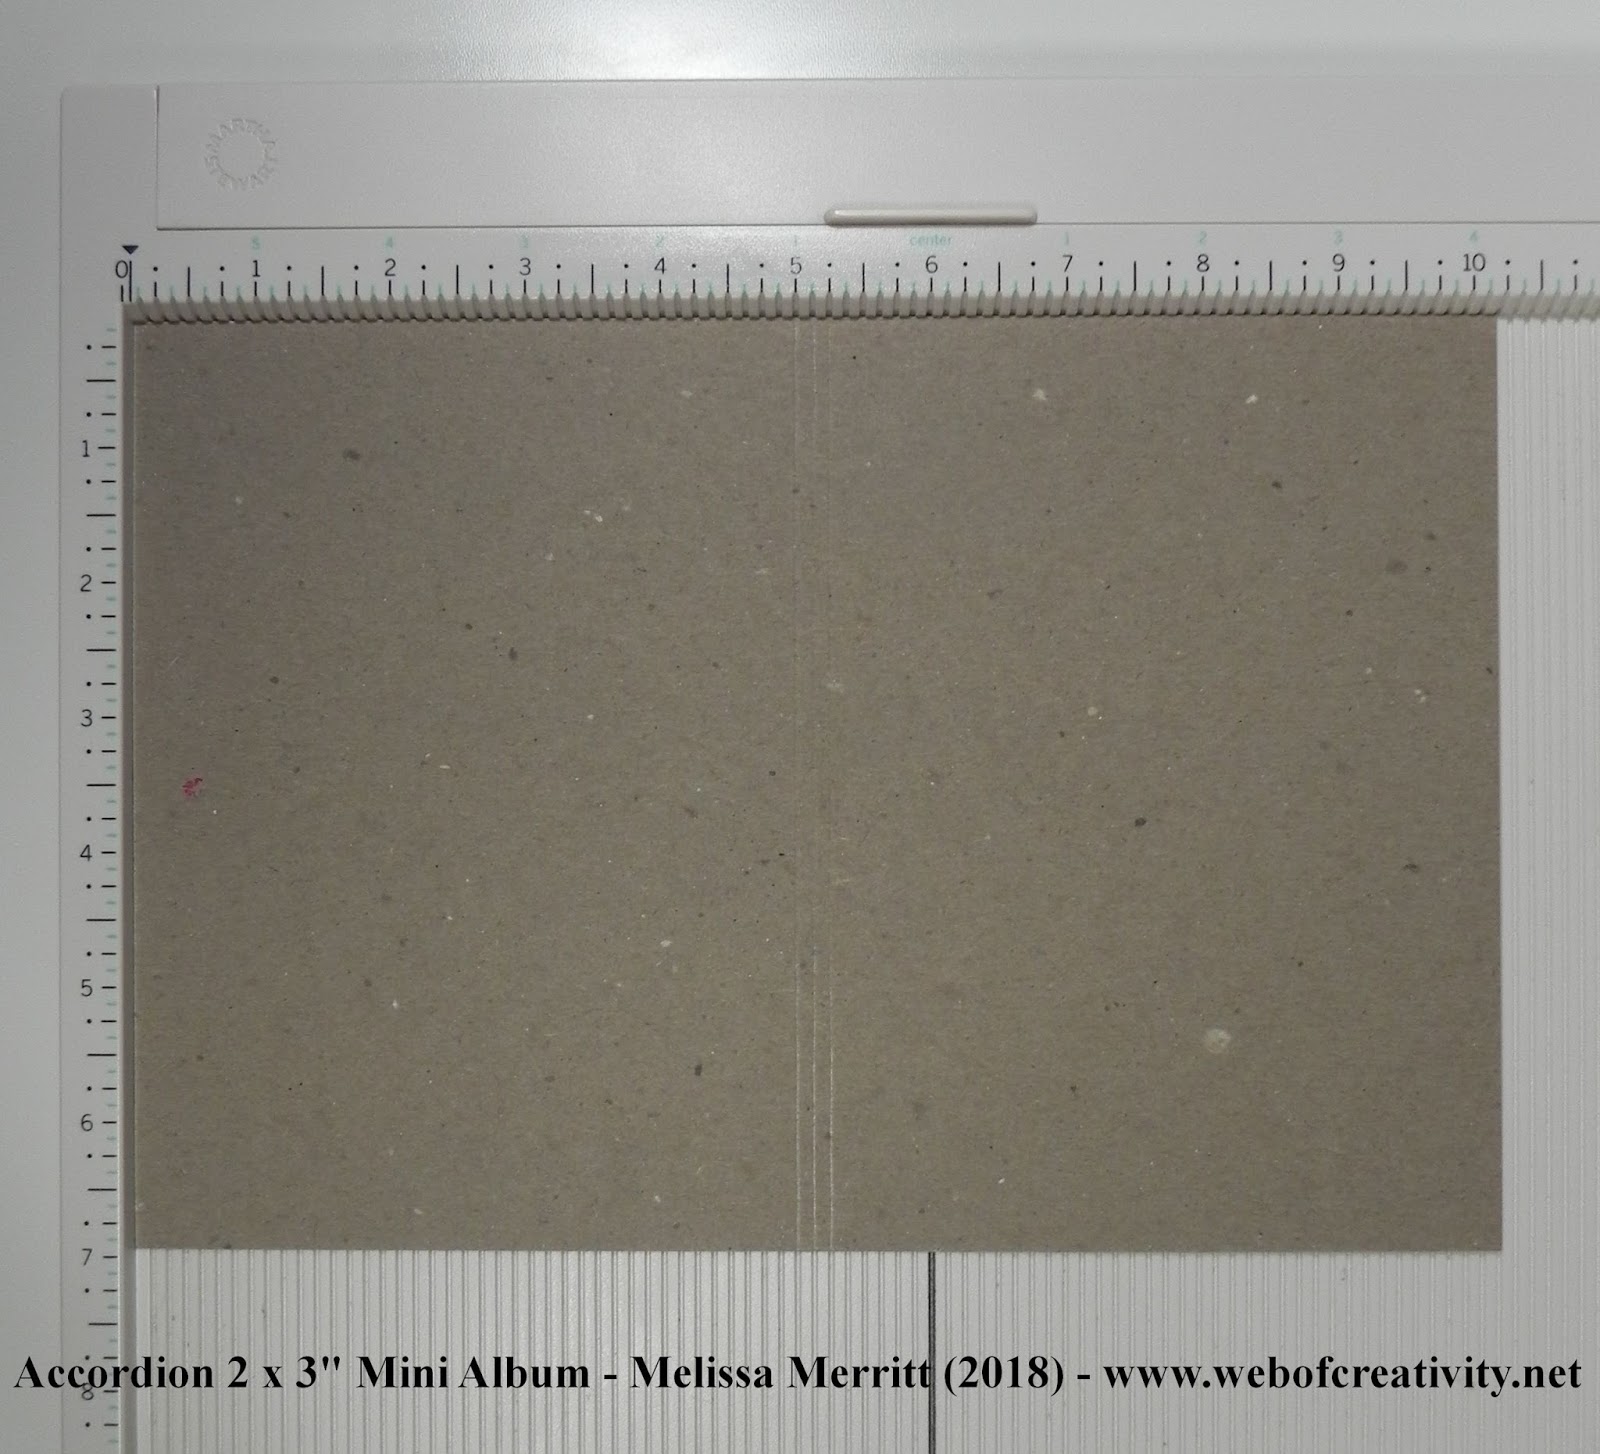
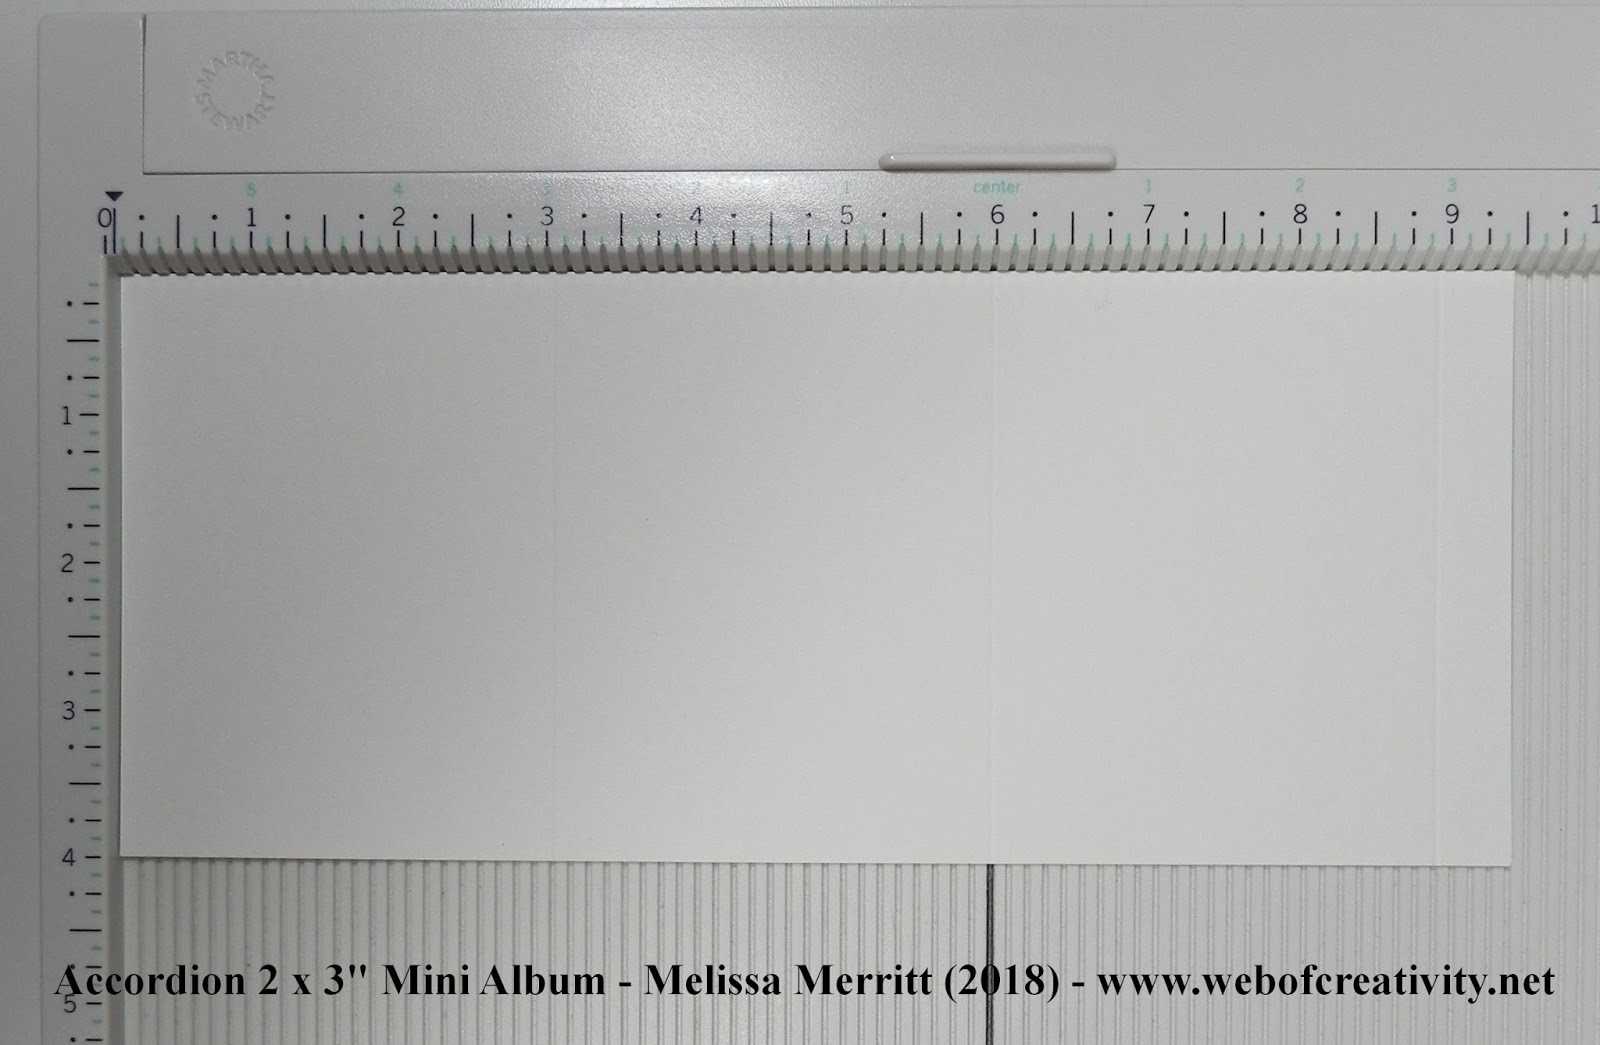
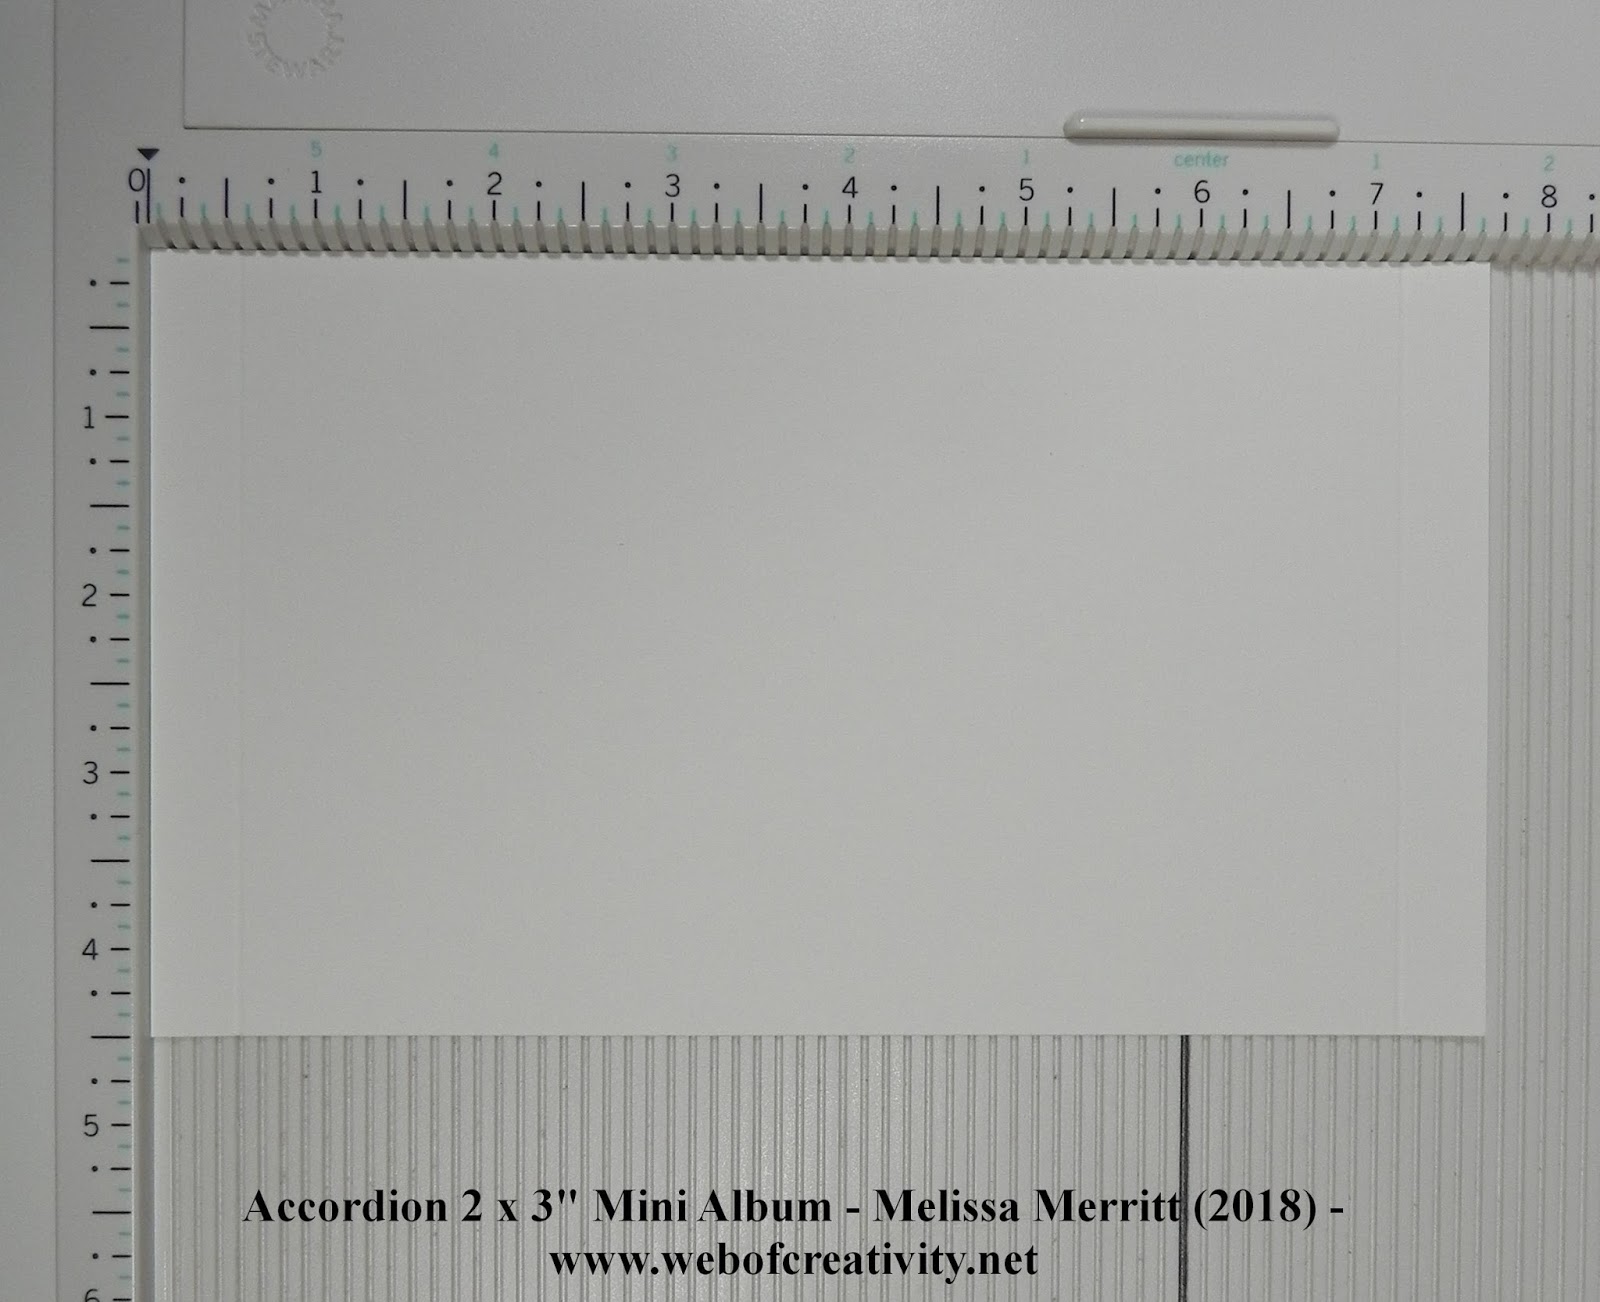
COVER
Cut out of lightweight chipboard, 7 x 10 1/4″
Score 5, 5 1/8, and 5 1/4″ on the long side (10 1/4″ side). Because lightweight chipboard is thicker than cardstock, you need to go over a couple of time on each score line to give it a good score.
Use a ruler to help fold on the score lines.
Punch the corners with 1/4″ corner rounder.
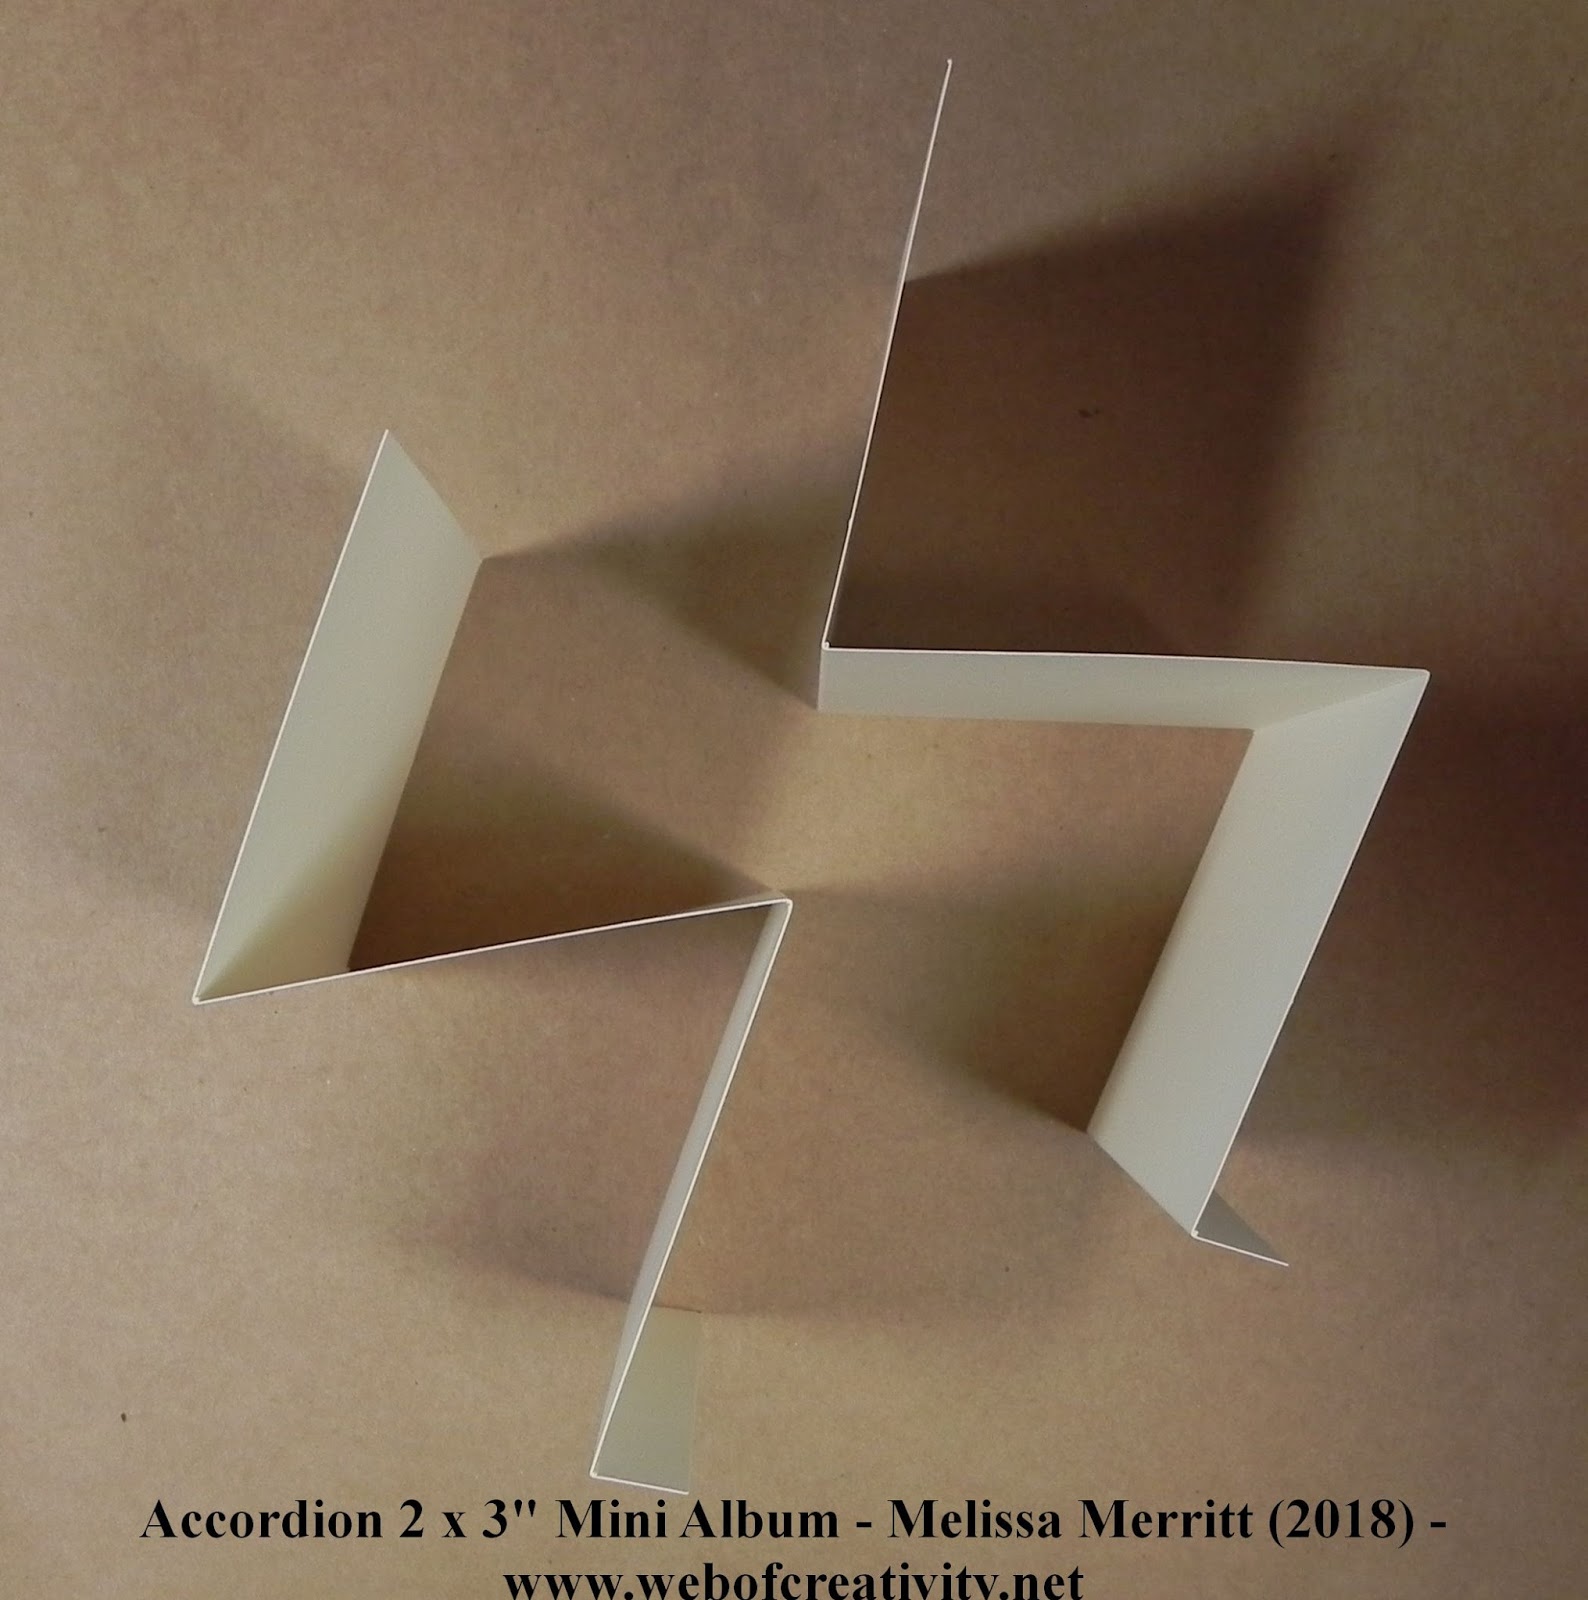
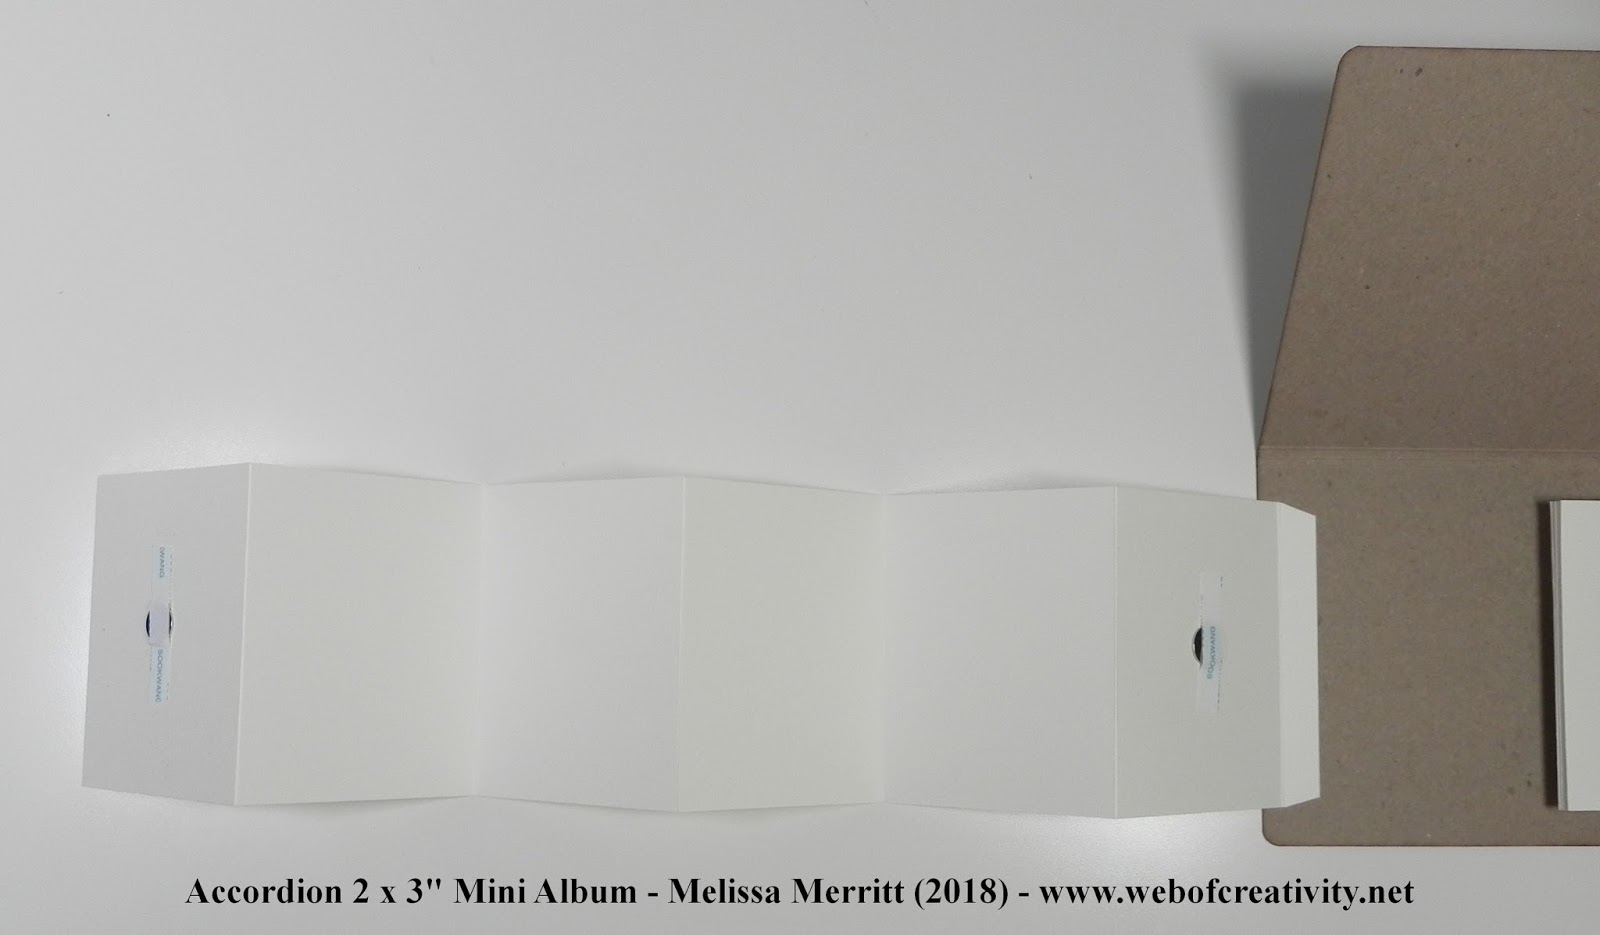
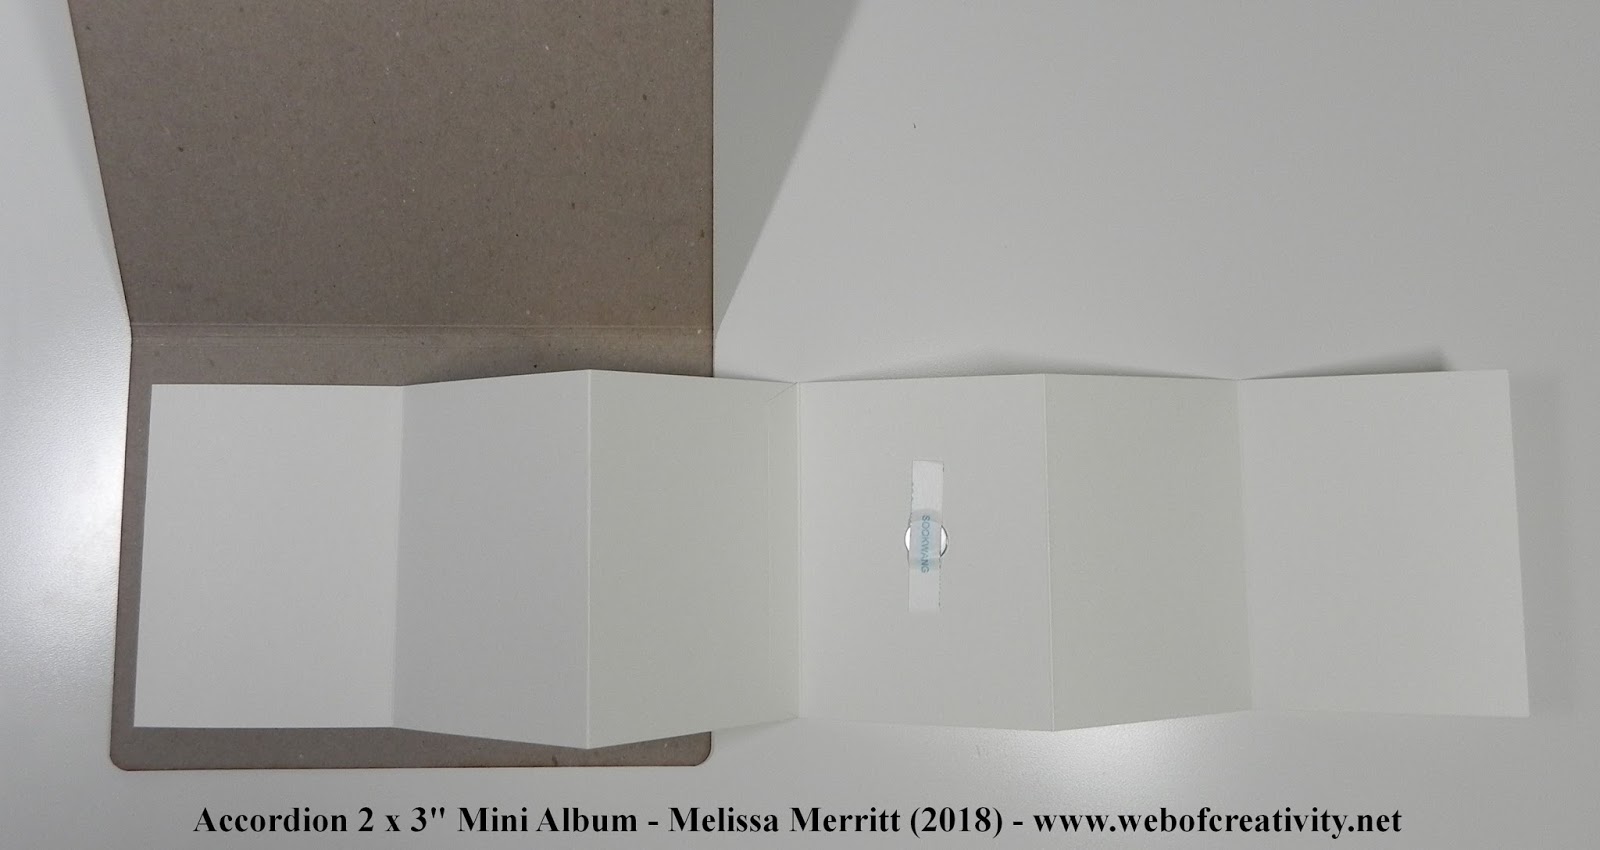
PAGES
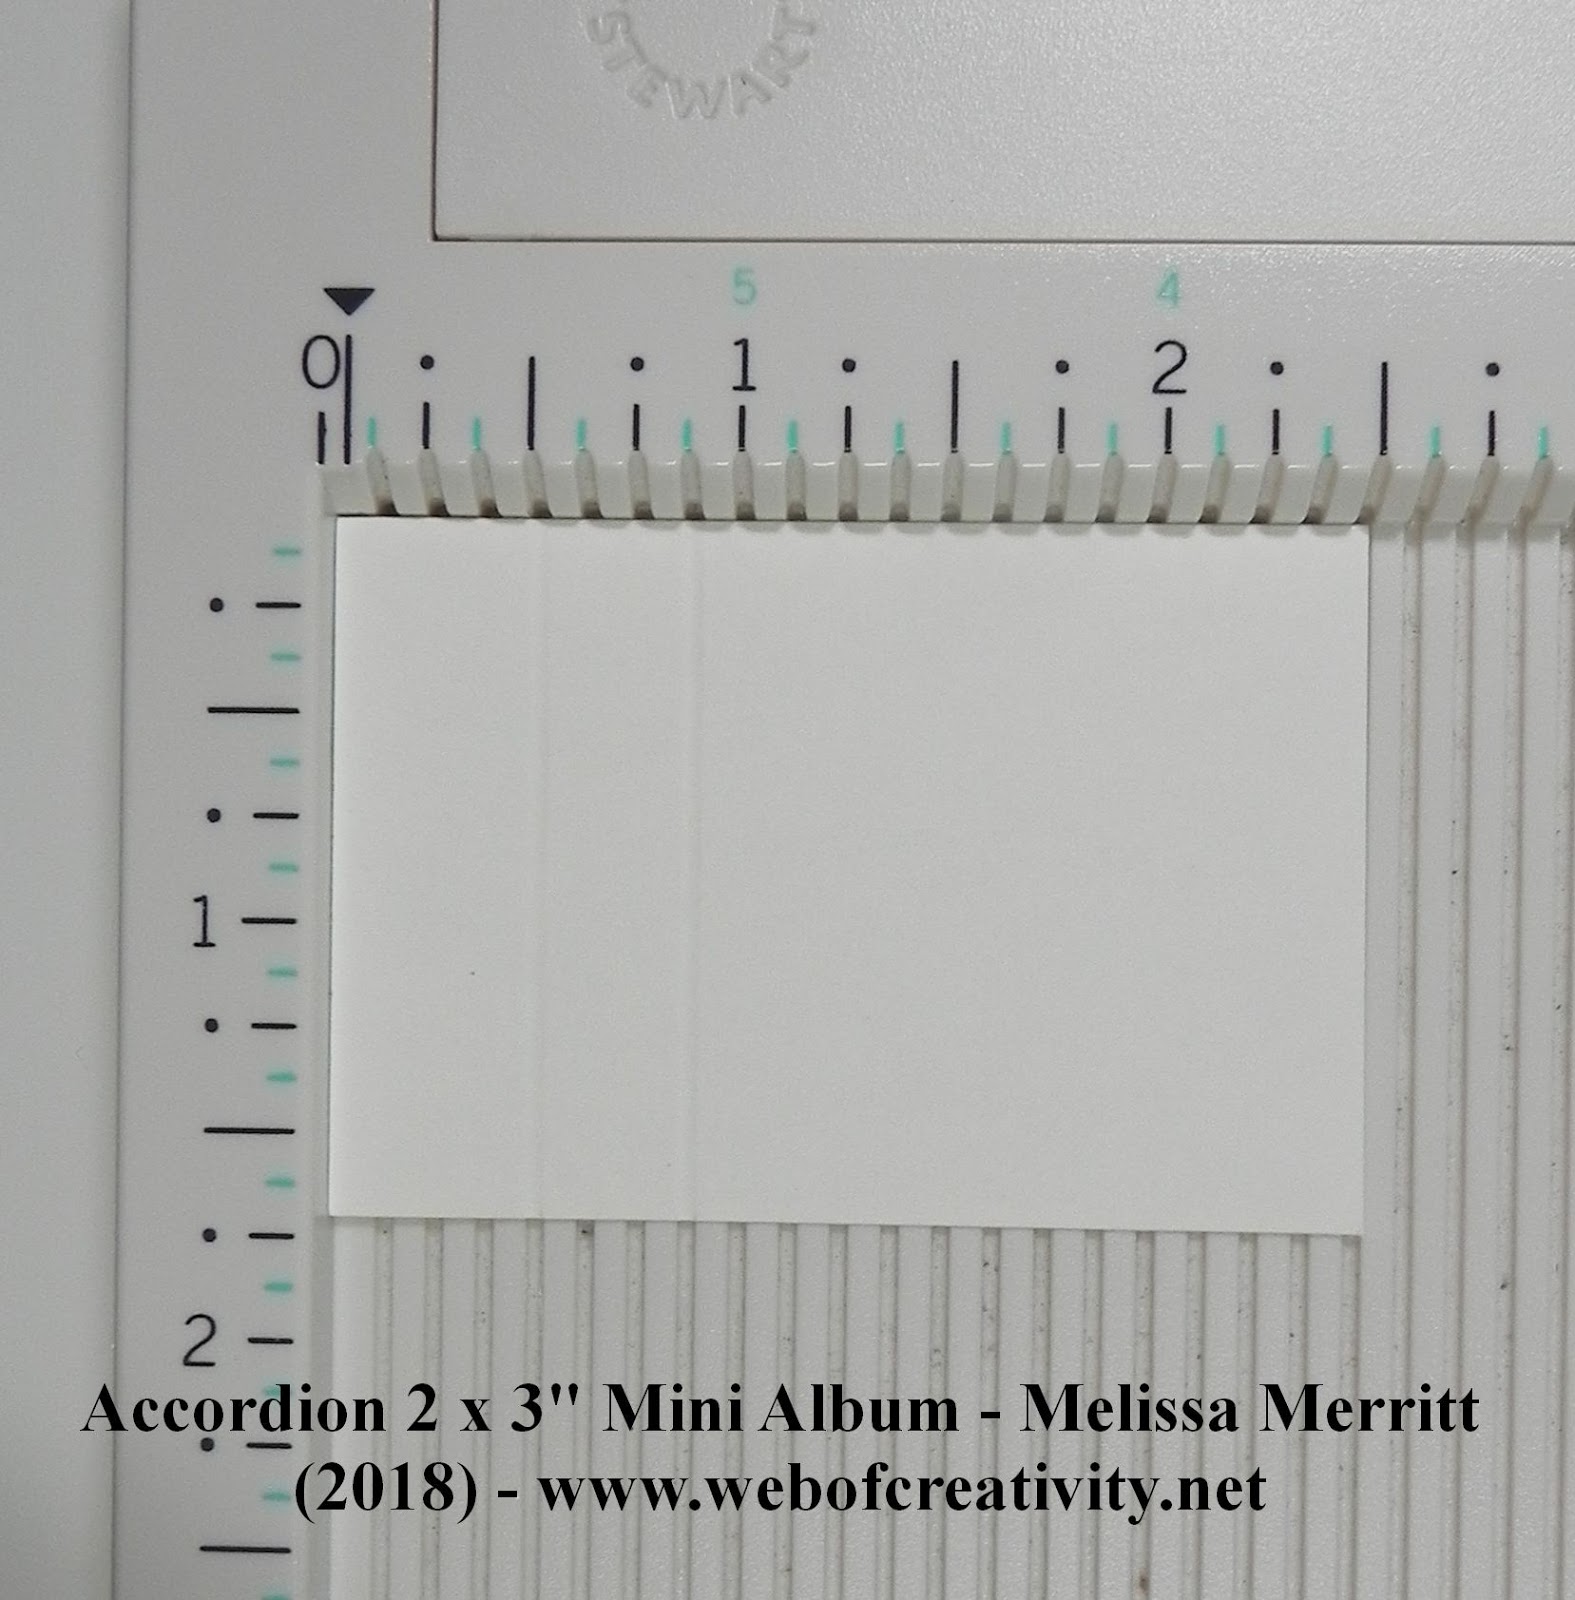
Cut out of cream cardstock (4) 4 x 9 1/2″ for the pages.
Score all 4 pages at 3, 6, and 9″ on the long side (9 1/2″ side).
Accordion fold each page.
On the 1/2″ section (tab), taper corners (taper means to trim a corner up to the score line at an angle, this usually creates a tab), and add tape to the tab.
Attach two pages together by attaching the 1/2″ tab to the 2nd page, flush to the edge. Repeat for the other two pages.
Attach the pages by attaching the 1/2″ tab about 1/4″ from the edge and 1/2″ from the bottom for both pages.
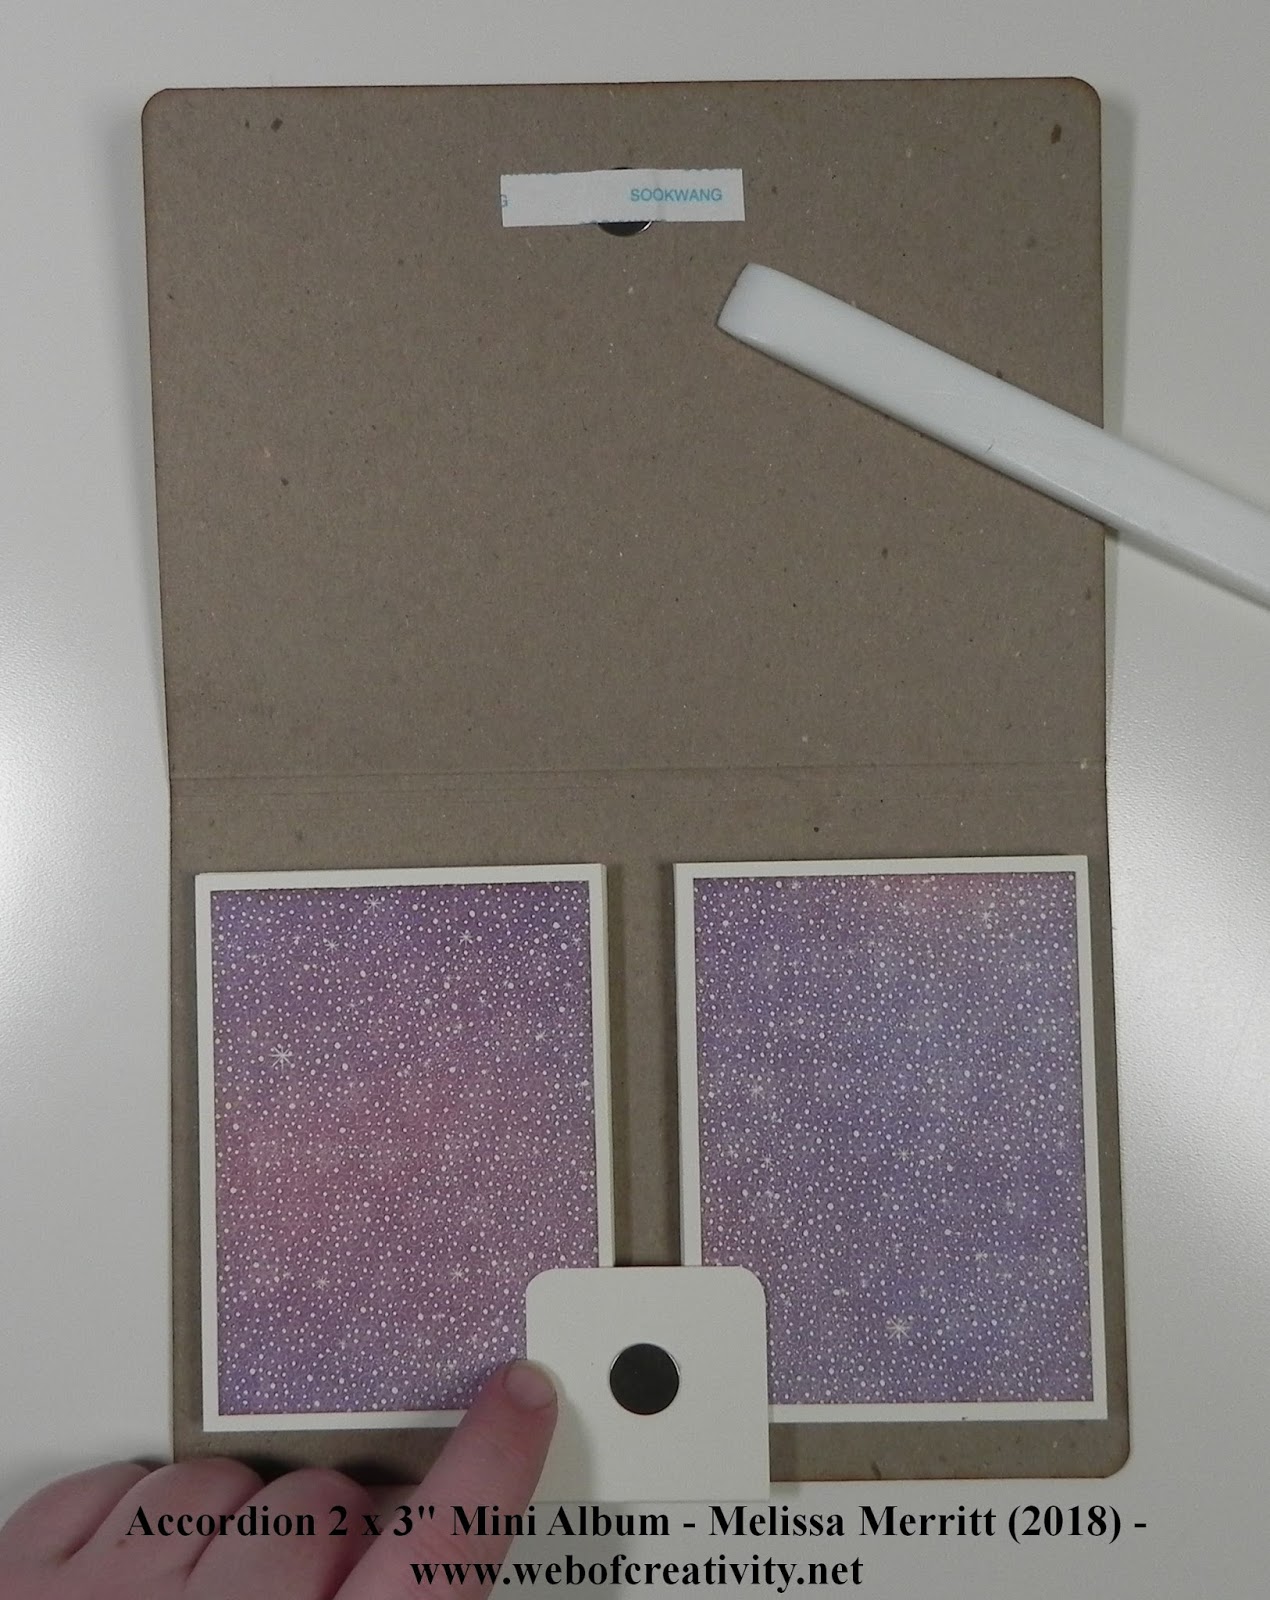
Attaching magnets. Attach one magnet to the first section in the middle and attach another magnet to the last section. For the third magnet, flip the page over and attach to the 3rd section.
Mats: Cut out of pattern paper (24) 2 3/4 x 3 3/4″. Ink edges.
Attach mats to the pages.
Pocket: Cut out of cream cardstock (1) 4 1/2 x 7 3/4″
Score 1/2 and 7 1/4″ on the long side (7 3/4″ side).
Score 1/2″ on the short side (4 1/2″ side).
Fold on score lines, taper corners and add tape to the tabs.
Closure: Cut out of cream cardstock (1) 1 3/4 x 2 1/2″ Score 1/2″ and 7/8″ on the long side (2 1/2″ side).
Attach closure by attaching the 1/2″ tab to the backside of the album, centered.
Add magnet to the center of the closure piece. Then attach 2nd magnet by placing it on the first magnet, add adhesive to the top of the magnet, and then close the album to attach the magnet to the inside of the front cover.
Add tape to the magnets.
Cut out of pattern paper: (1) 5 1/2 x 1″ and (1) 5 1/2 x 3 3/4″ mats for the pocket. Ink edges.
Attach pocket 1/4″ from the bottom (1/4″ above score line) and 1/4″ from either side. Attach mats.
Closure Mat: 1 1/2 x 1 3/8″. Ink edges.
Decorate
For the pull tab, I used a sticker and attached a piece of scrap paper to about 1/4″ of the sticker and then attached sticker to the front of the page. See above.
Back inside cover mat: 6 1/4 x 4 3/4″. Ink edges.
Front and Back mats: (2) 6 3/4 x 4 3/4″
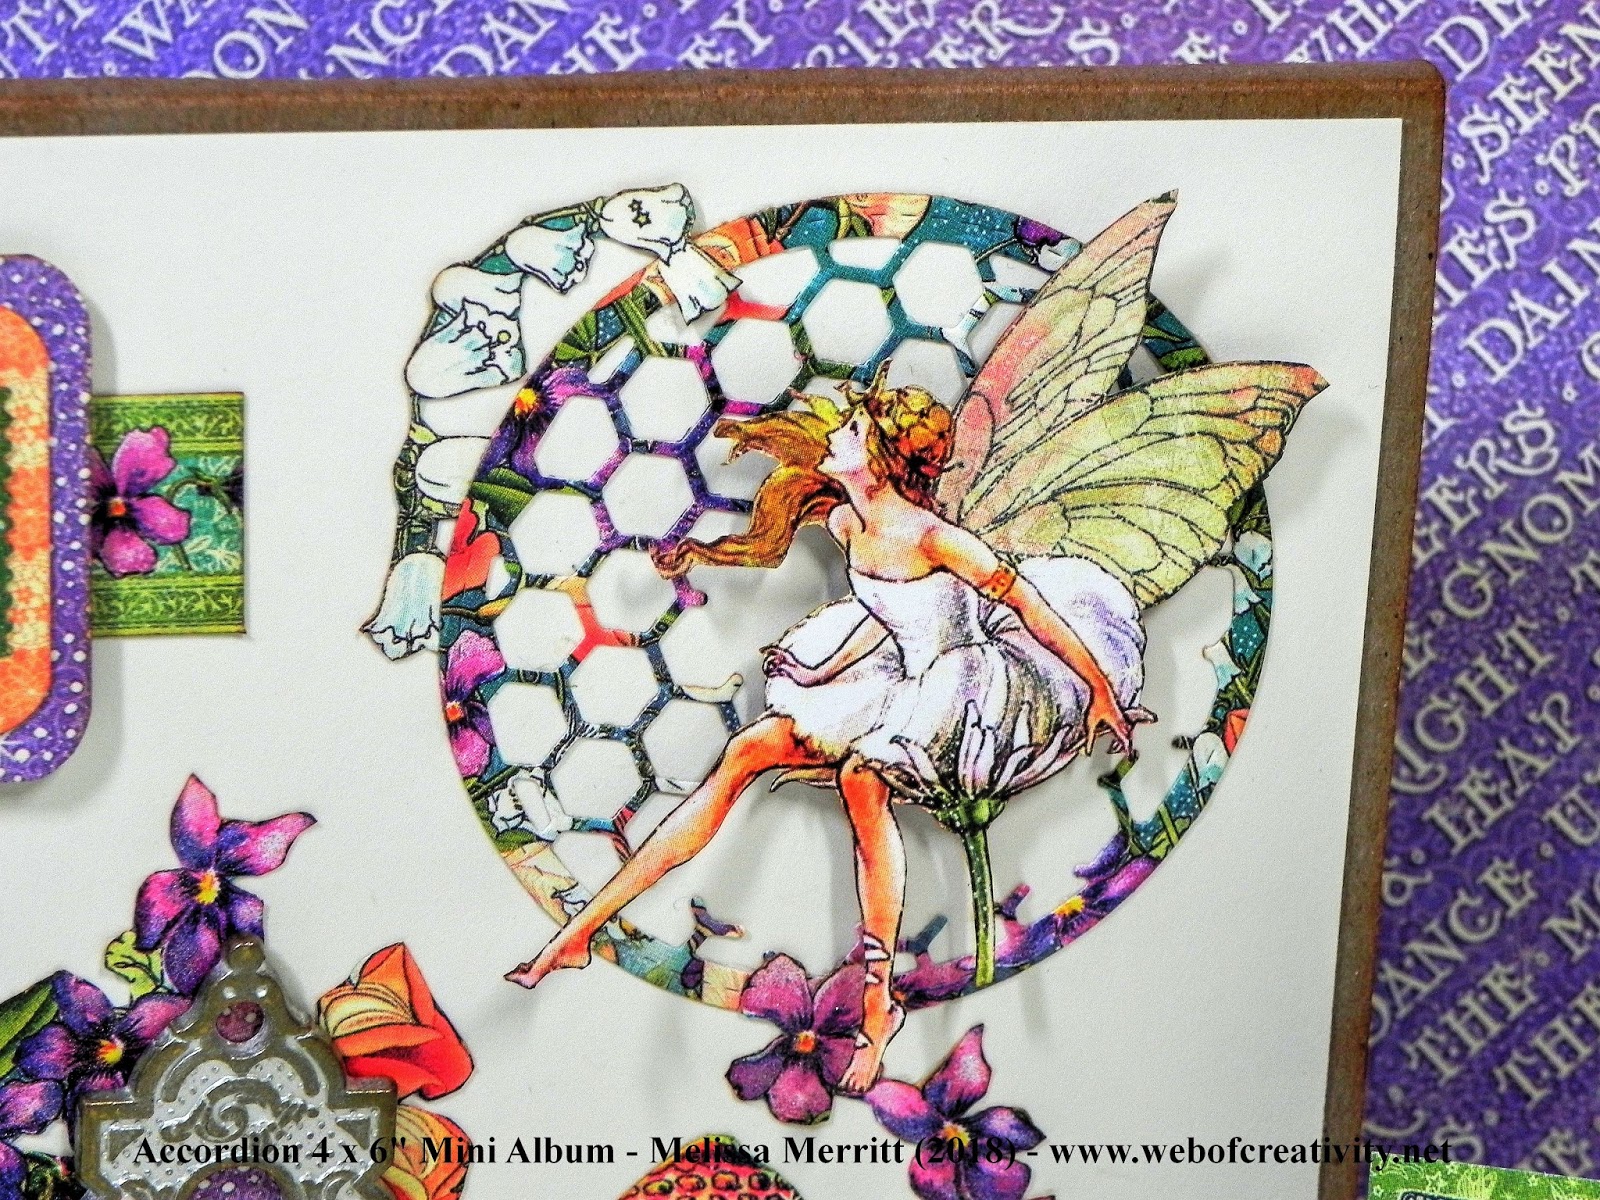
I used some foam squares to add dimension to the fairy, flowers and mushrooms. I also used Wink of Stella to add some glitter, which is hard to see in the picture.
Tags: Cut out of cream cardstock (2) 6 1/2 x 4 1/2″
Mats: Cut out of pattern paper (2) 6 1/4 x 4 1/4″. Ink edges.
VIDEO TUTORIAL
Thank you for watching!
I hope you enjoyed my audition pieces. It was a pleasure creating them. Thank you!
0 thoughts on “Graphic 45 2018 Brand Ambassador Audition”
Absolutely FABULOUS!!! I seriously hope you enter in Crafter's Castle monthly challenge…..this month we have a $100 gift certificate up for grabs for the winner. Visit us at crafterscastle.blogspot.com 🙂 Hugs…Janie
Hello Melissa! Thank you for sharing your creativity for our G45 Brand Ambassador call. Each of your projects are absolutely stunning. Happy Papercrafting!


Fabulous projects and fantastic tutorials! Best of luck to you and all who've applied! I hope you get chosen!!
~Sandy
Absolutely FABULOUS!!! I seriously hope you enter in Crafter's Castle monthly challenge…..this month we have a $100 gift certificate up for grabs for the winner. Visit us at crafterscastle.blogspot.com 🙂 Hugs…Janie
Looks great good luck. I wish I could apply but I am not great at videos. I have no idea on how to get videos nicely done. Fingers crossed.
Beautiful job! I loved all your projects! So much talent! Good luck!
Gorgeous creations and clear and concise directions!! Kudos and best of luck
Hello Melissa! Thank you for sharing your creativity for our G45 Brand Ambassador call. Each of your projects are absolutely stunning. Happy Papercrafting!