It’s beginning to look a lot like Christmas…
I hope everyone is having a great week. Today’s project is the 12 Days of Christmas Wreath. I am posting the tutorial right here on the blog for you. This is a fast and easy project to make either for yourself or to give to someone.

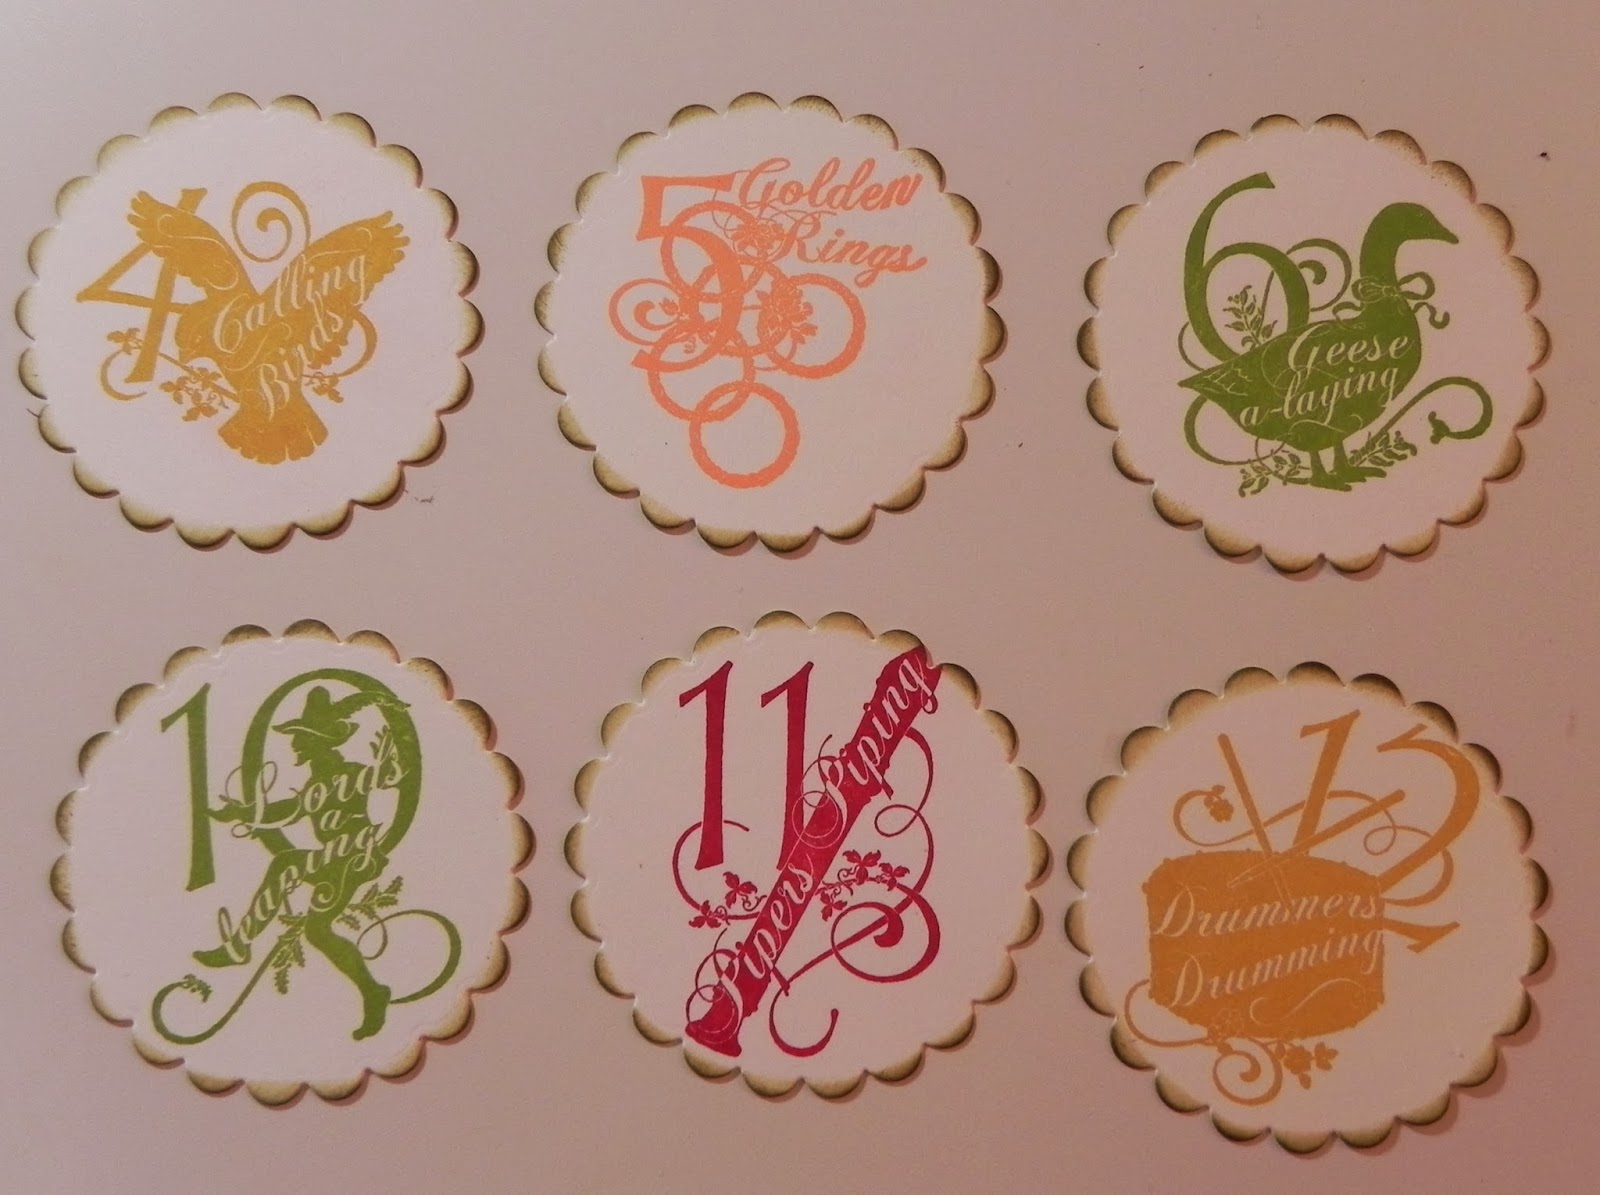
The wreath uses the Graphic 45 collection – 12 Days of Christmas and the stamp set. The Wreath measures from the inside circle 10” and the outside 18”.
Step 1) Cut out 12 scallop circles measuring 2 5/8” and stamp one day per circle. I used four inks from ColorBox for the stamps, Sweet Melon, Moss Green, Chianti, and Curry. Also inked the edges of the scallop circle. I used Forest Moss Distress Ink.

Step 2) Cut out of pattern paper (2) 2 1/8 x 12” strips from the same paper. Using a decorative punch, punch one edge on both strips. Ink the edges, if desired. I used Gathered Twigs Distress Ink.

Step 3) Score in ½” intervals for both strips. If using a scallop decorative punch as I did, you want to score where the dip (a/k/a the valley) is on the edge. Mine was just a hair more than ½”.

Step 4) According fold both pieces.

Step 5) Attach both pieces together to form a circle.

Step 6) Cut out two circles and attach forming your rosette.

Step 7) Repeat to make 12 rosettes. (I made 3 identical sets to form my 12 rosettes)
Step 8) Attach all your stamped scallop circles to all your rosettes.

Step 9) To make the wreath base, you need (3) 12 x 12 chipboard pieces. Taking a 10” plate and placing it on the top left portion of your chipboard and trace. From that line measure out 1½” and draw a line parallel to the first line. To do this, mark the center of your 10” circle, tie a string to a pencil that measure out from the center mark to 1½”, holding the string at the center mark and use it to guide your pencil to draw the parallel line. Repeat this step again, and measure 1½” from that line. Cut out your arc (cut from the further line from the center and the second furthest line). Repeat for other 2 chipboard pieces, you need three arcs.
Trace

Mark center

Draw parallel lines

Cut your arch

Step 10) Using the 10” plate as a guide, place your arc pieces 1½” from the plate (overlapping them) to form a circle. Attach the arches together to form a circle. You may need to trim the arcs so they don’t overlap by a lot. I have mine overlapping about 1” at each connection point. I used scor tape to attach.


Step 11) Attach your even numbers first on your wreath approximately 3” apart from each other. I used scor-tape to attach them.

Step 12) Using foam dots/squares, stack them 3 high, two stacks in each open section, then attach the odd numbers to your wreath.


Step 13) Fussy cut several pieces from the paper, such as flowers, holly berries, words, birds, drums, etc. and attach to the wreath.


