Nesting Die Mini Album uses Spellbinders nesting dies to create the pages and matting for this simple and adorable mini album. You can use almost any kind of nesting dies and it doesn’t have to be Spellbinders, I just happen to like their dies. This is a ring bound mini album and you can use one ring or two rings for it. This post will show you pictures, directions and supplies on how to make this entire album and also includes an instructional video posted at the end of this post.
Supplies List:
1. 6 x 6″, 8 x 8″ or 12 x 12″ pad (I used Graphic 45 A Christmas Carol)
2. Spellbinders Nesting Dies (or other kind of nesting dies) (For this album I used Spellbinder Label 17, but below are samples of other size dies)
3. (1) 12 x 12″ Light weight chipboard (for the covers) (but you can use cardstock or medium weight chipboard)
4. (3) 12 x 12″ Coordinating Cardstock (I used teal, red and gold)
5. (1 or 2) 1″ rings
6. Distress ink: Vintage Photo (optional)
NESTING DIE MINI ALBUM
Pictures of all the pages are below
INSTRUCTIONS
Use the largest die in the set and cut it out twice using cardstock. Pictured above is Spellbinders Label 17, which is 5 1/8 x 3 1/2″ in size. Cut out a tag, this one is 4 1/4 x 3″.
Put the two dies cuts together and cut about 3/4″ off the right side.
Glue the two pieces together. You want a thin line of glue right up against the edge, but not on the right side where you cut. This will create your pocket.
Use a 3/16 hole punch for your holes, about 1/4″ from the left edge.
For the tag, you will attach the 3/4″ end pieces to one end of the tag sandwiching the tag on both sides. Place the 3/4″ end piece about 1/4″ from the edge of the tag.
Use the next size down in the nesting die set to cut out your mat. Place the mat on the page and mark where you will need to cut.
Cut your piece where you marked. Ink edges and then attach to page.
Mat your tag using one of your nesting dies. Round corners 1/2″ on the tag.
Mat the back side as you did the front side.
COVER
Using your largest nesting die again, cut out of light weight chipboard your front and back covers. I used light weight chipboard because you can still use your dies with it. It does not cut medium weight chipboard. So you can use cardstock or light weight chipboard for your covers. If you use medium weight, you can trace a die cut piece on your chipboard and then cut it out.
Decorate your front cover.
OPTIONS
The top piece is Spellbinders Label 8 for page size of 5 1/2 x 4″ with tag size 4 1/4 x 3″ using 2 rings. The bottom left is Spellbinders Label 11 for page size of 4 1/4 x 3″ with tag size 3 1/2 x 2 1/2 using 1 ring. The bottom right is a Scallop circle for page size of 4 1/4″ with a tag size of 2 3/4 x 2 3/4″ using 1 ring.
You can use almost any nesting die. Play around and see what you can come up with.
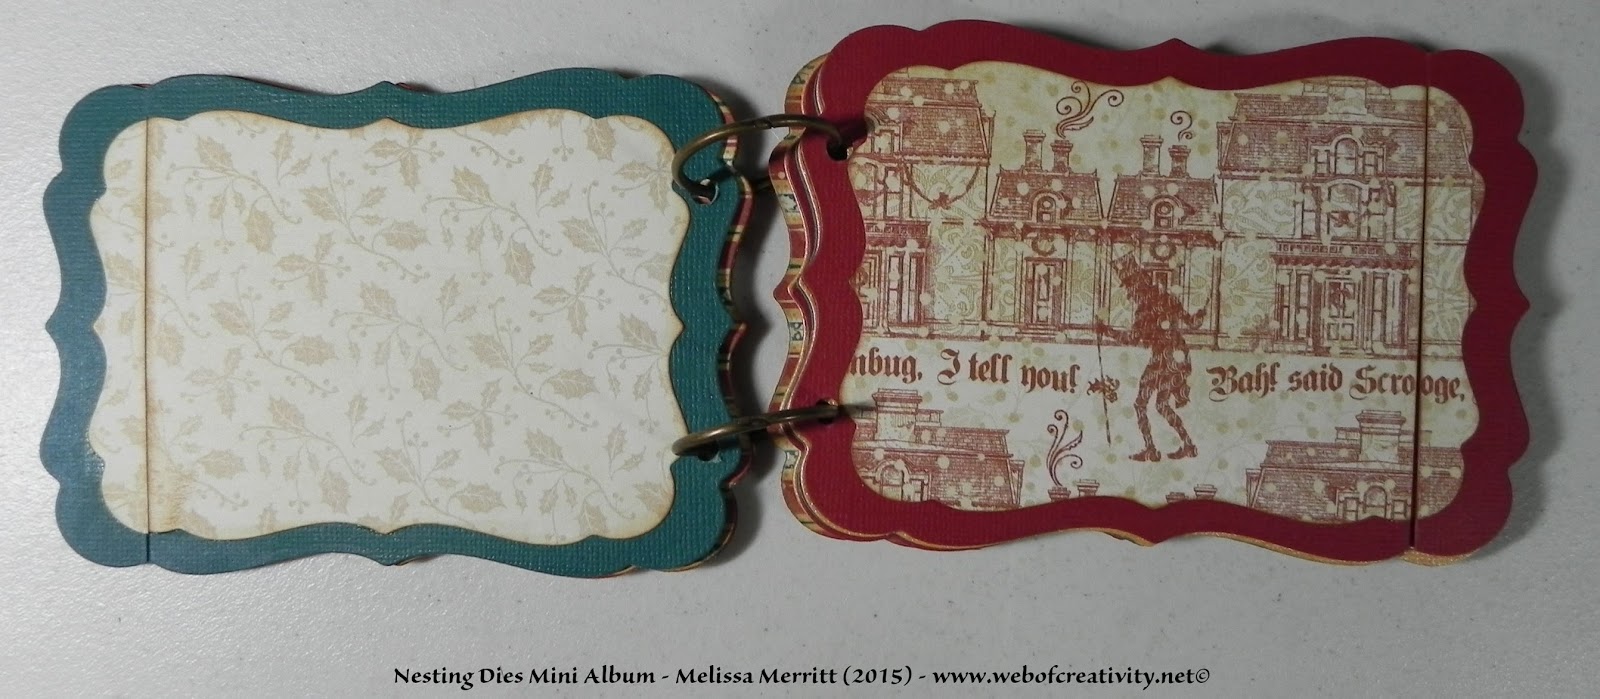
PICTURES OF THE PAGES
PICTURES OF THE TAGS
Now you can leave as is and add pictures or decorate it with stamping, stickers, and other embellishments.
VIDEO
Thank you for watching!
I hope you experiment with this project and see what kind of different albums you can come up with using your nesting dies.